Honda CB550 rear wheel rebuild & bearing install
When I started my Honda CB550 cafe racer build I didn't think the rear wheel rebuild would have such an elaborate post but, like most things on this project, it was far tougher than expected!
Work on the frame is paused as I'm worried about the rear wheel hitting my short seat hoop when the suspension is bottomed out.
I got a rear wheel & brake hub on eBay for £100 to replace the non-standard Comstar wheel that came with the bike. The first issue was not knowing for sure the year & model of the wheel. The eBay listing says 1975 CB550 F. My bike is a 1974 CB550 K0 but after some checking online they turn out to have the same parts.


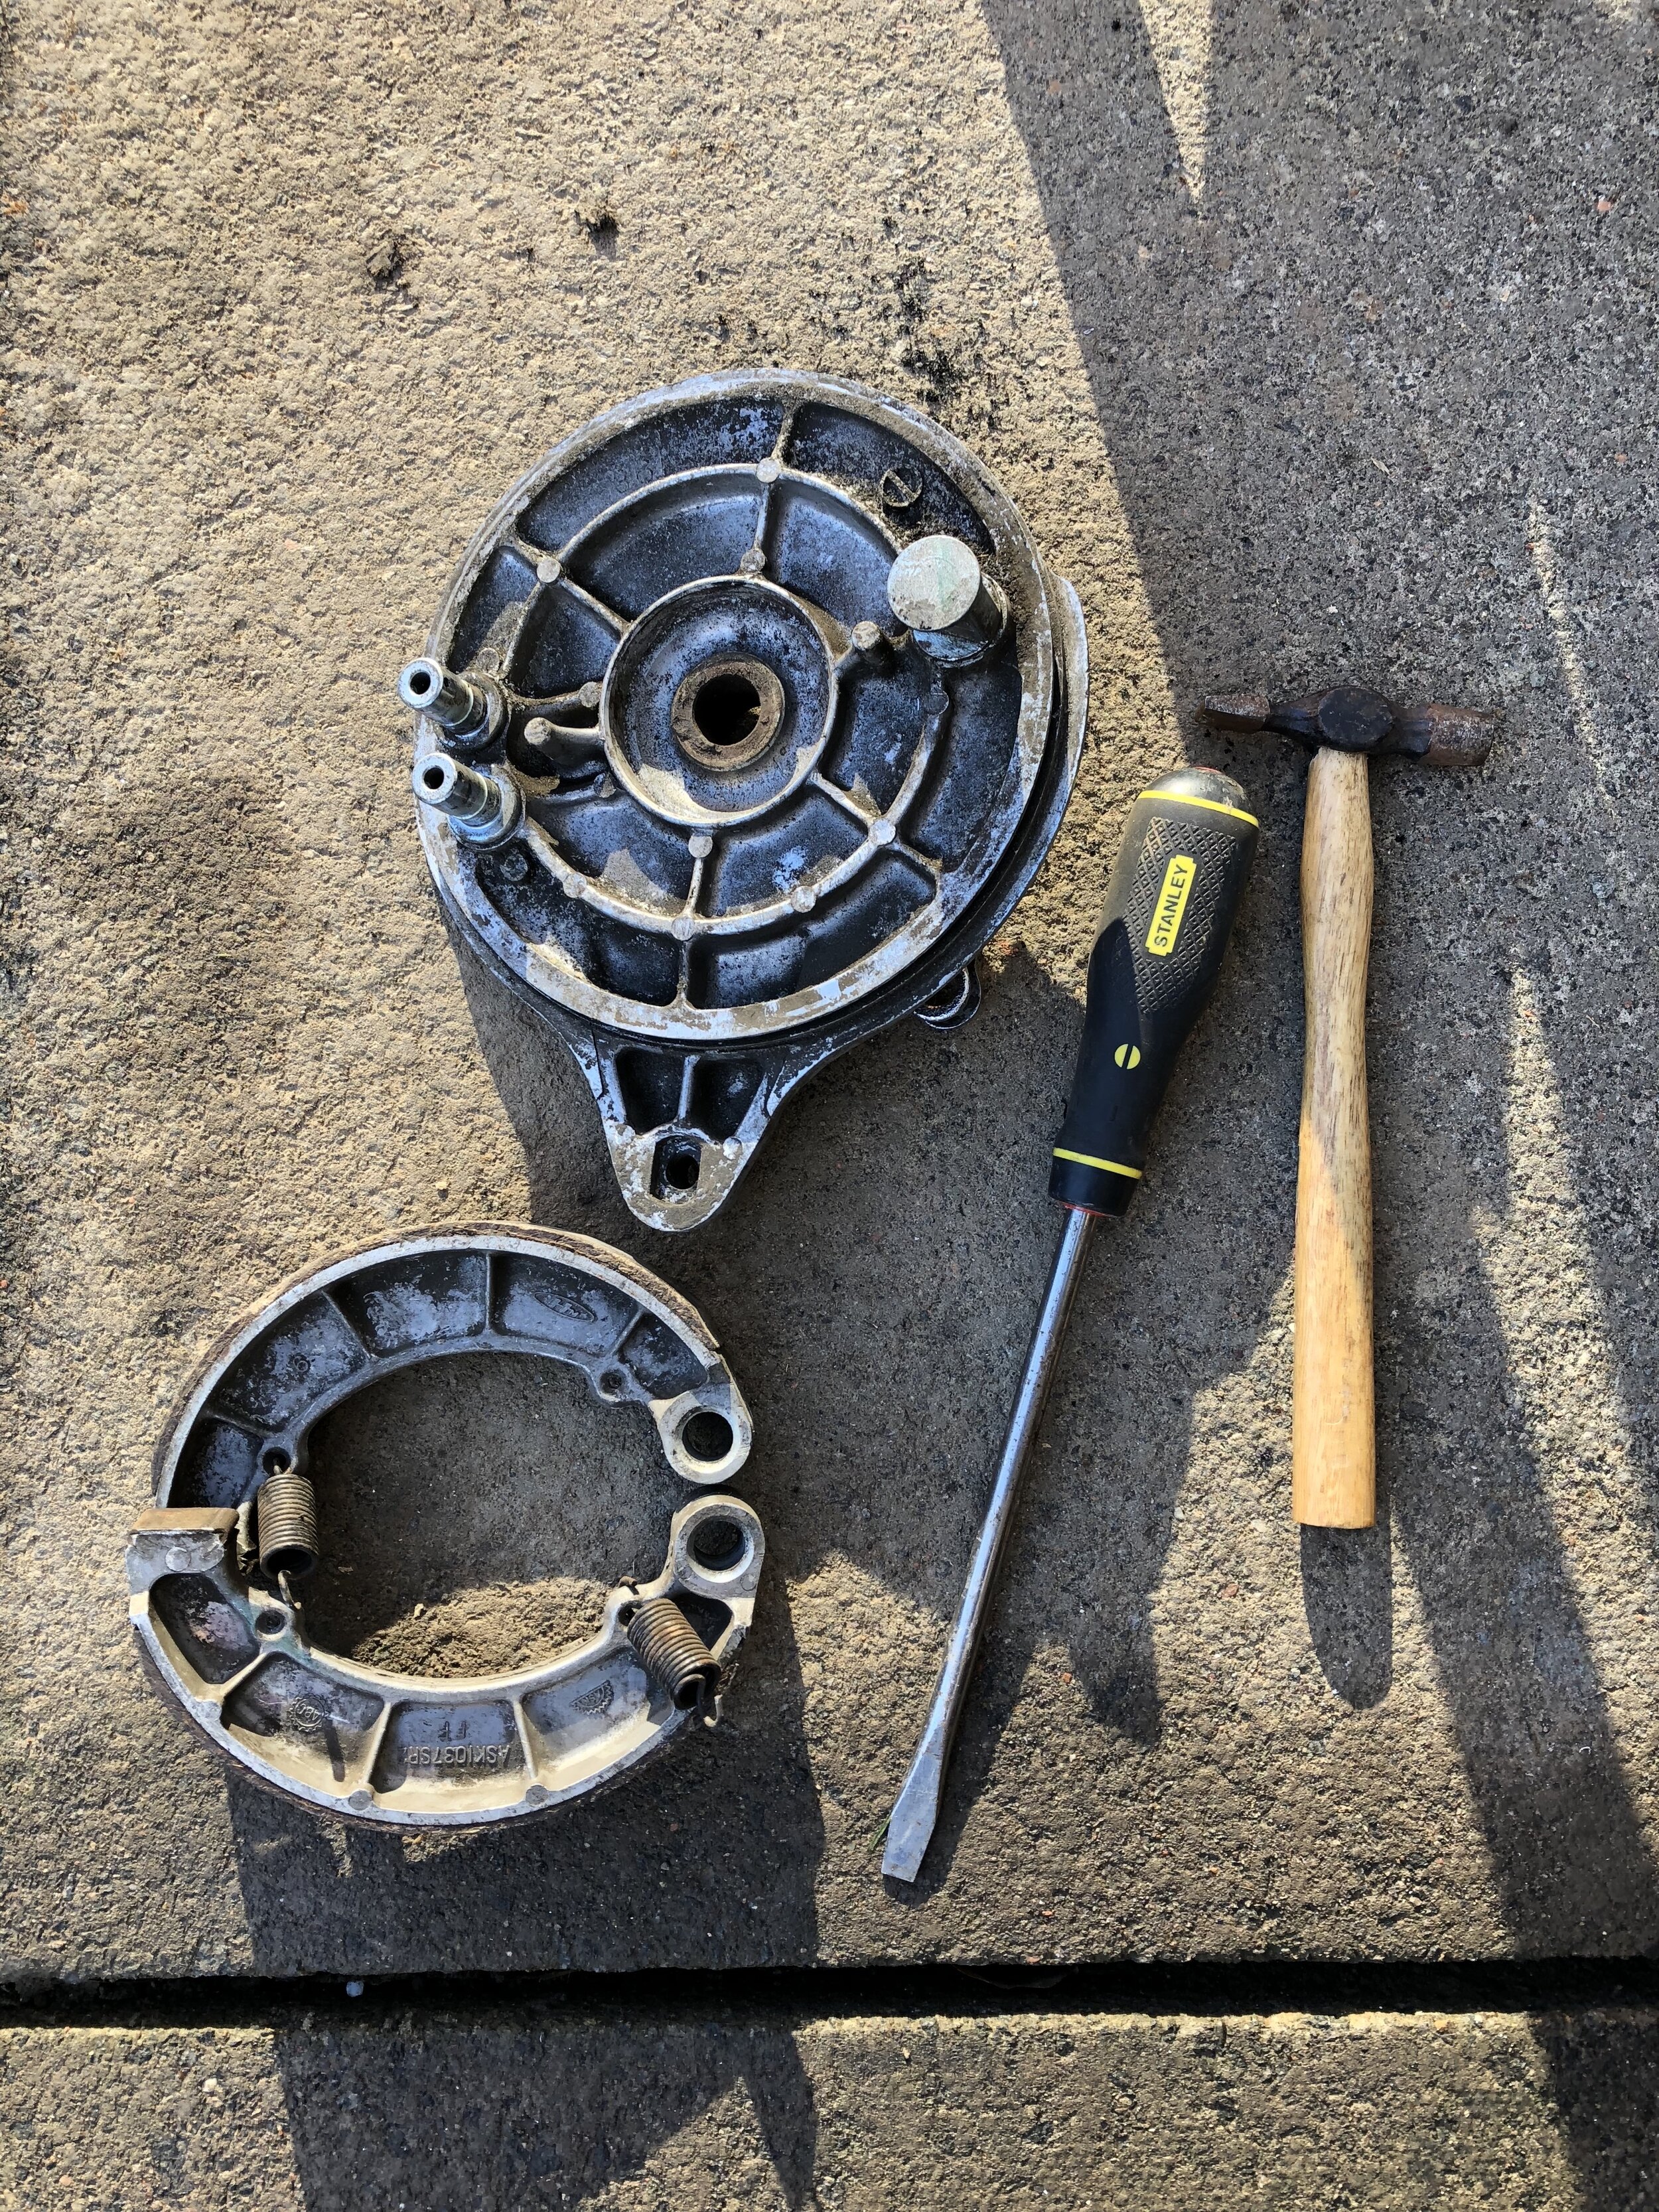
Stripping the rear wheel & hub
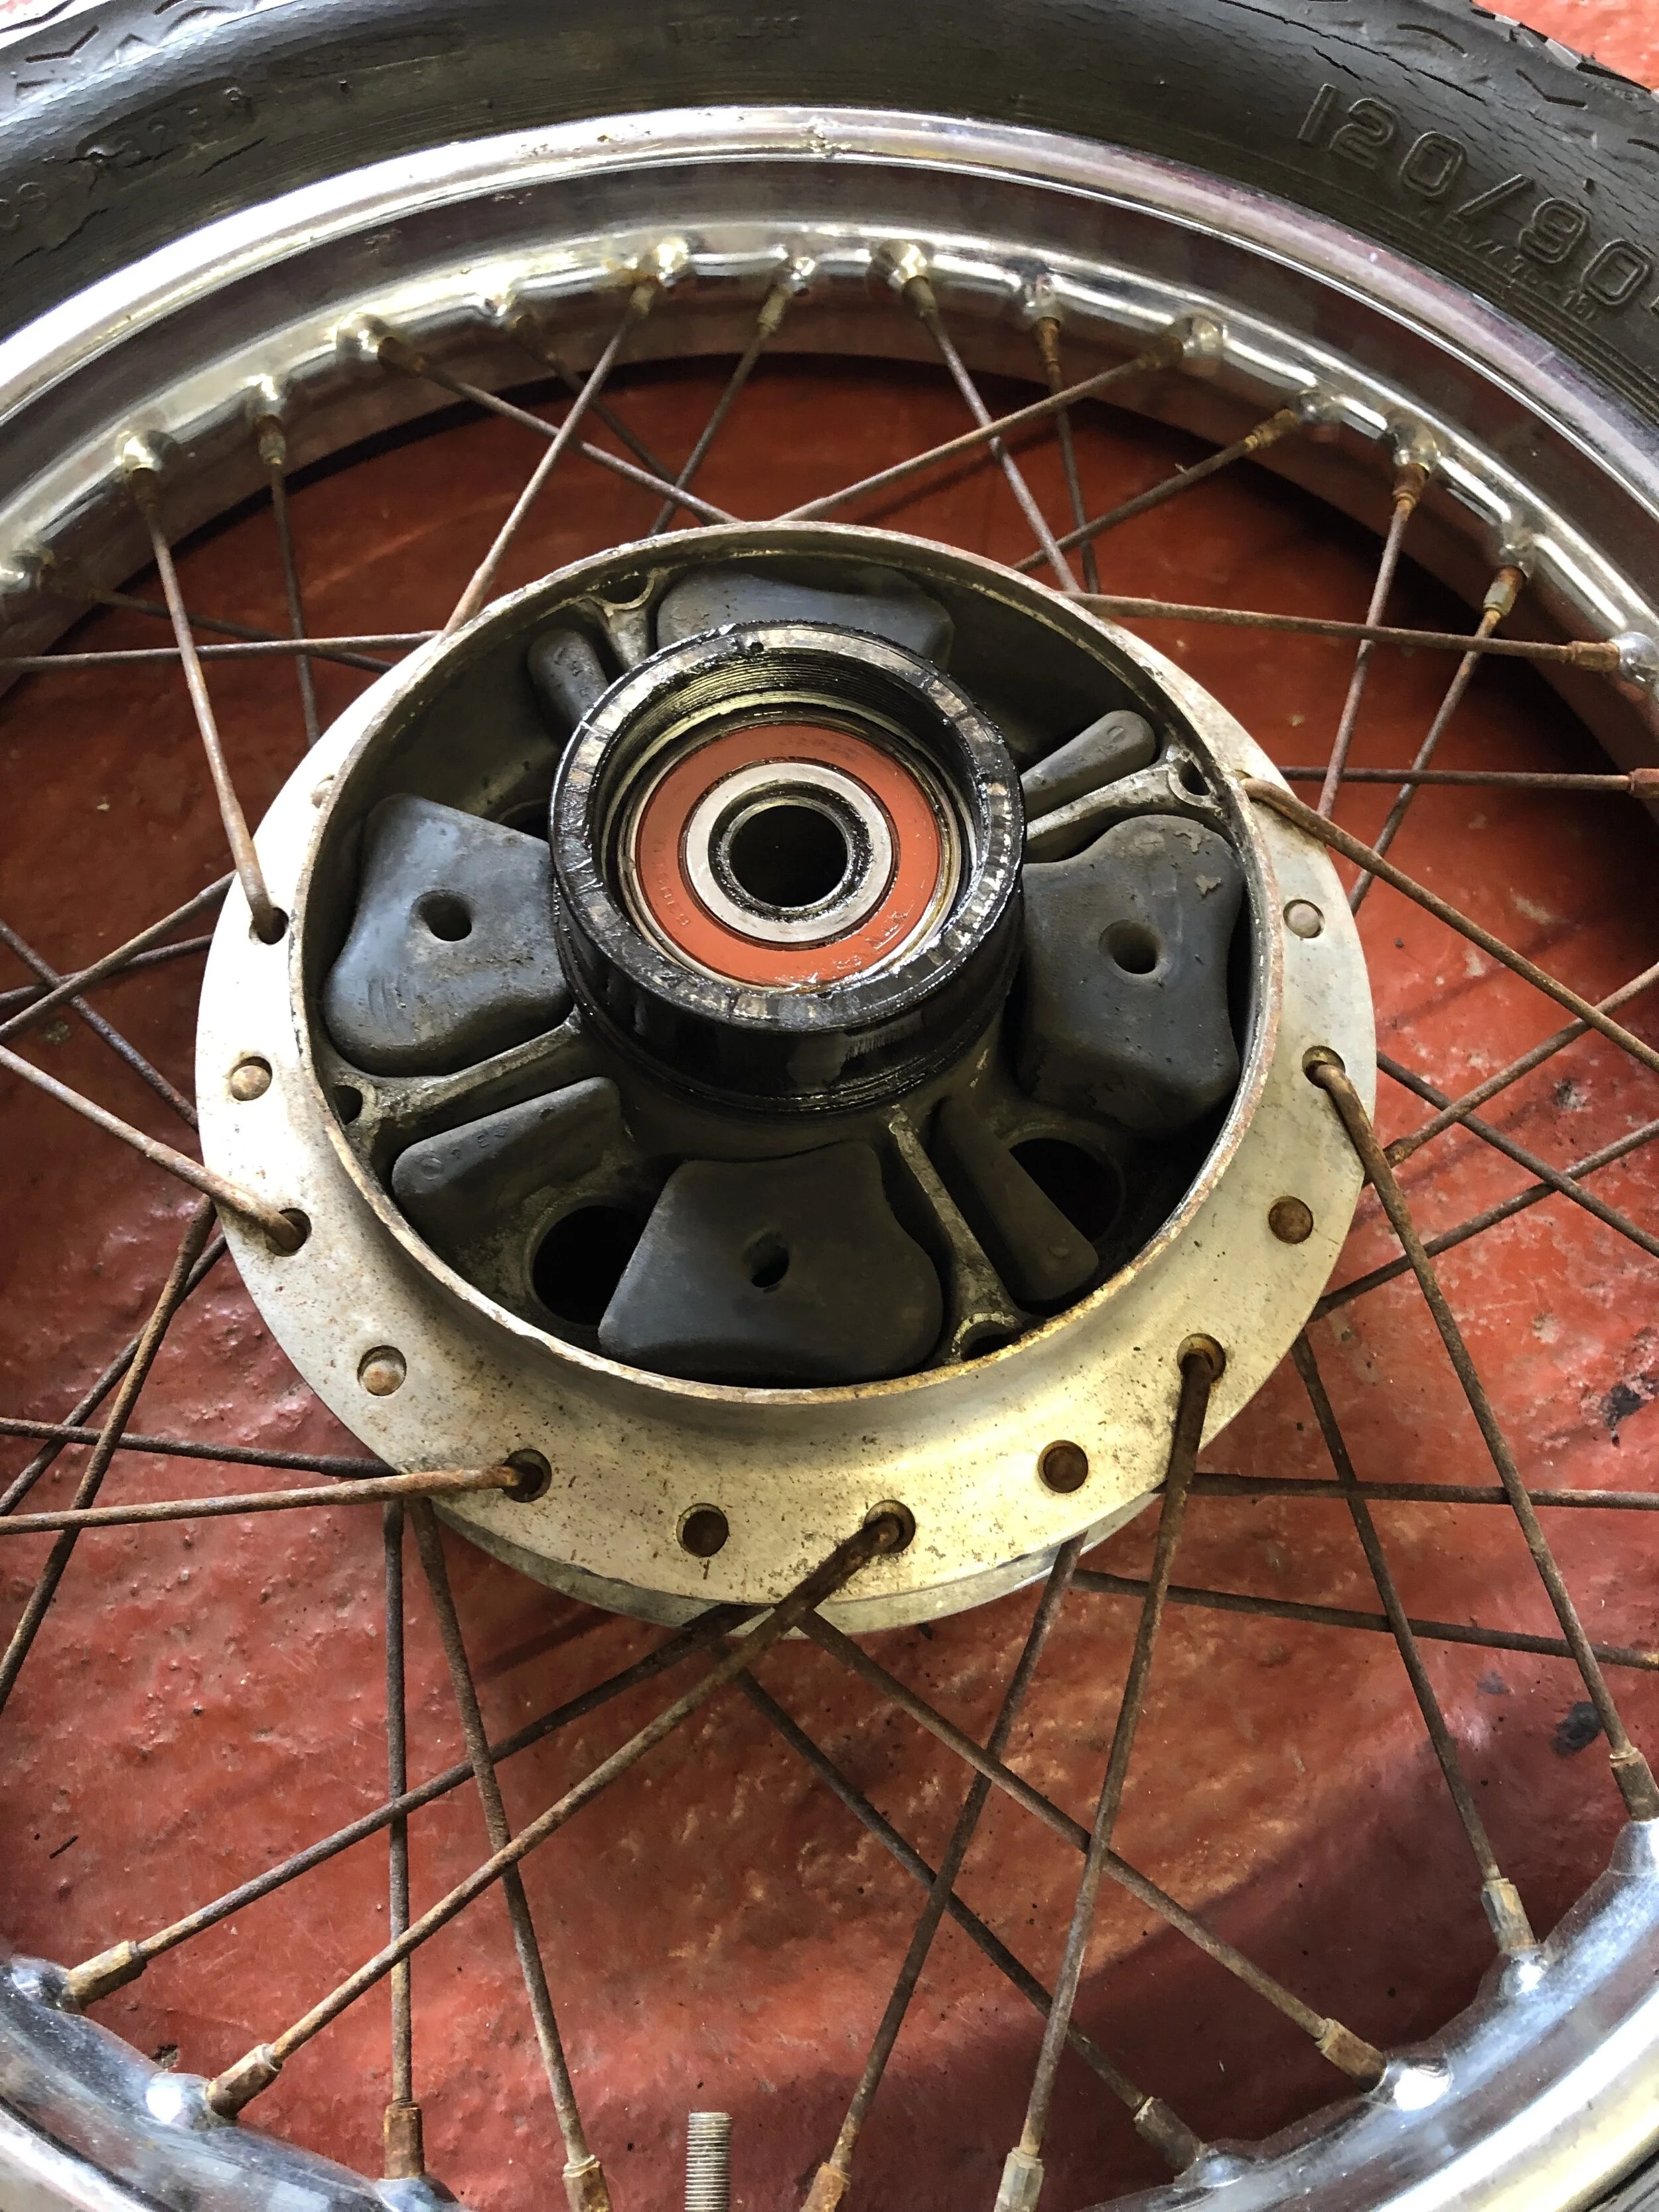
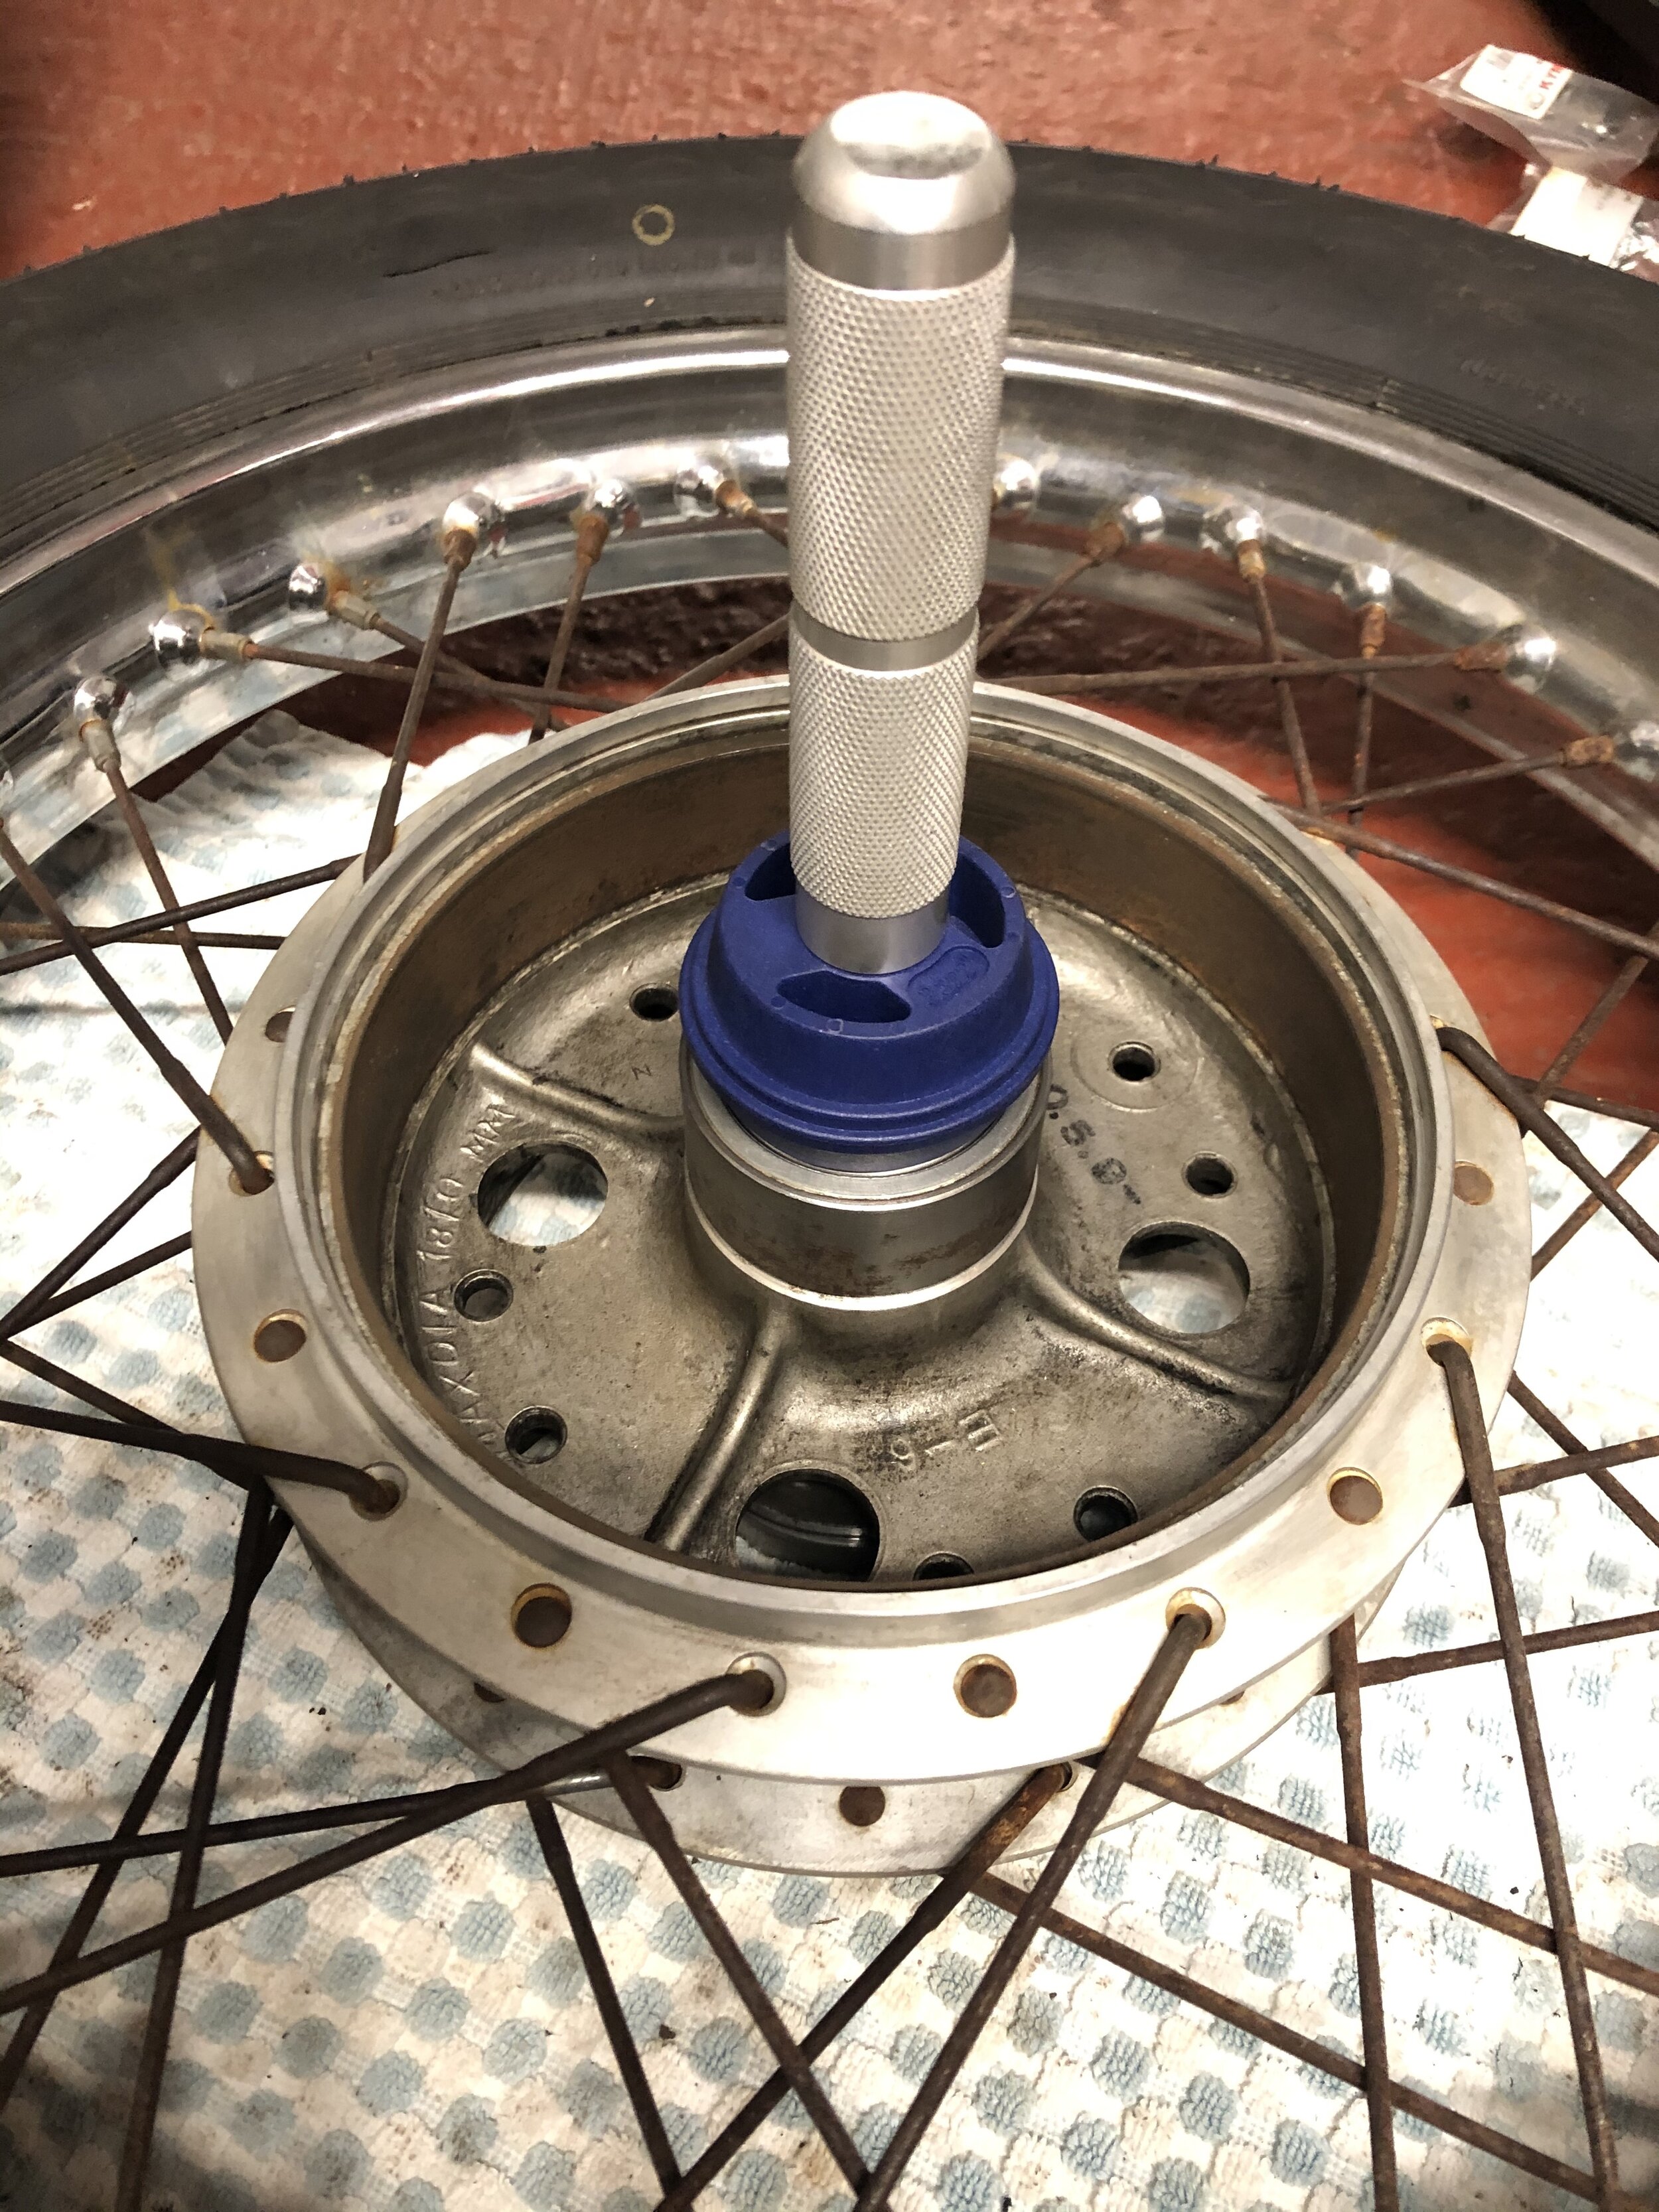
I decided to fully strip the wheel down, clean it up & replace any perished parts. As usual with parts of this age, things were seized together but most of it stripped down okay. I got stuck with what turns out to be the bearing retainer. I had to buy a specific bearing retainer tool which cost £37 - ouch! There are blogs & videos online showing how to drill & tap the holes, thread in bolts and remove it that way but I decided against it.

I didn't even know about cush / rubber drive. It turns out that all modern bikes have it. I decided to replace the rubbers as they were rock solid. No idea if that was necessary but, as seems to be the case on this build - in for a penny, in for a pound!! The replacement ones are far more supple so probably the right decision.

Removing the wheel bearings (round 1!)
The next problem was getting the bearings out. I tried knocking them through with a long screwdriver but struggled to get purchase as there's a collar between them. Someone told me to weld them as the heat shrinks them - no joy (or I did it wrong). I looked on YouTube and someone was using a blind hole puller. I bought one for £25, applied some heat and pulled on the slide hammer like a mad man - no joy. Penetrating fluid - no joy.
FYI - penetrating fluid + naked flame = fireball! Best use a heat gun like a paint stripper.
I got fed-up and took it to my local bike garage. £10 and they removed them in no time at all. They used a long sharp edged spike - easy when you know how & have the tools.

Fitting rear wheel bearings (round 1!)
I got bearings from David Silver Spares for £30. The left one was a genuine open bearing and the right was a replacement sealed bearing. I also had to buy the bearing seal separately for £3.50.
Once I got them, I didn't like the idea of an open bearing so I ended up getting an All Balls Racing kit (25-1361) - 2 x sealed bearings & the bearing seal for £12 in a sale. Mega cheap in comparison to the OEM ones and good rep. I sold the large OEM bearing on eBay and clawed back a few quid.
I though that I'd get the new bearings in myself no problem. Bit of heat on the hub, freeze the bearings and use a socket to whack them in. It turns out that you need a pretty big socket and the biggest I have was nowhere near big enough. I tried to improvise and ended up knackering one of the bearings - you can't put any sideways force onto the inner race - just the outer. I took it back to the local garage so they could use their hydraulic press for another £10.
Once I got the wheel back I realised that the bearings didn’t spin freely. There are inner lips for the bearings to seat against plus an inner spacer that pushes up against the inner race. Maybe the All Balls bearings are a little different - who knows. The guys at the garage don't work on 1974 bikes often so I took it to see another bike mechanic I know called Roy - he restores old bikes. He tapped out the bearings a little but they weren’t spinning smoothly anymore so I wrote them off and decided to get new bearings. This time I got all four front and rear PFI bearings on eBay with free delivery for £15.79 - super cheap. They seem to get good reviews so fingers crossed.


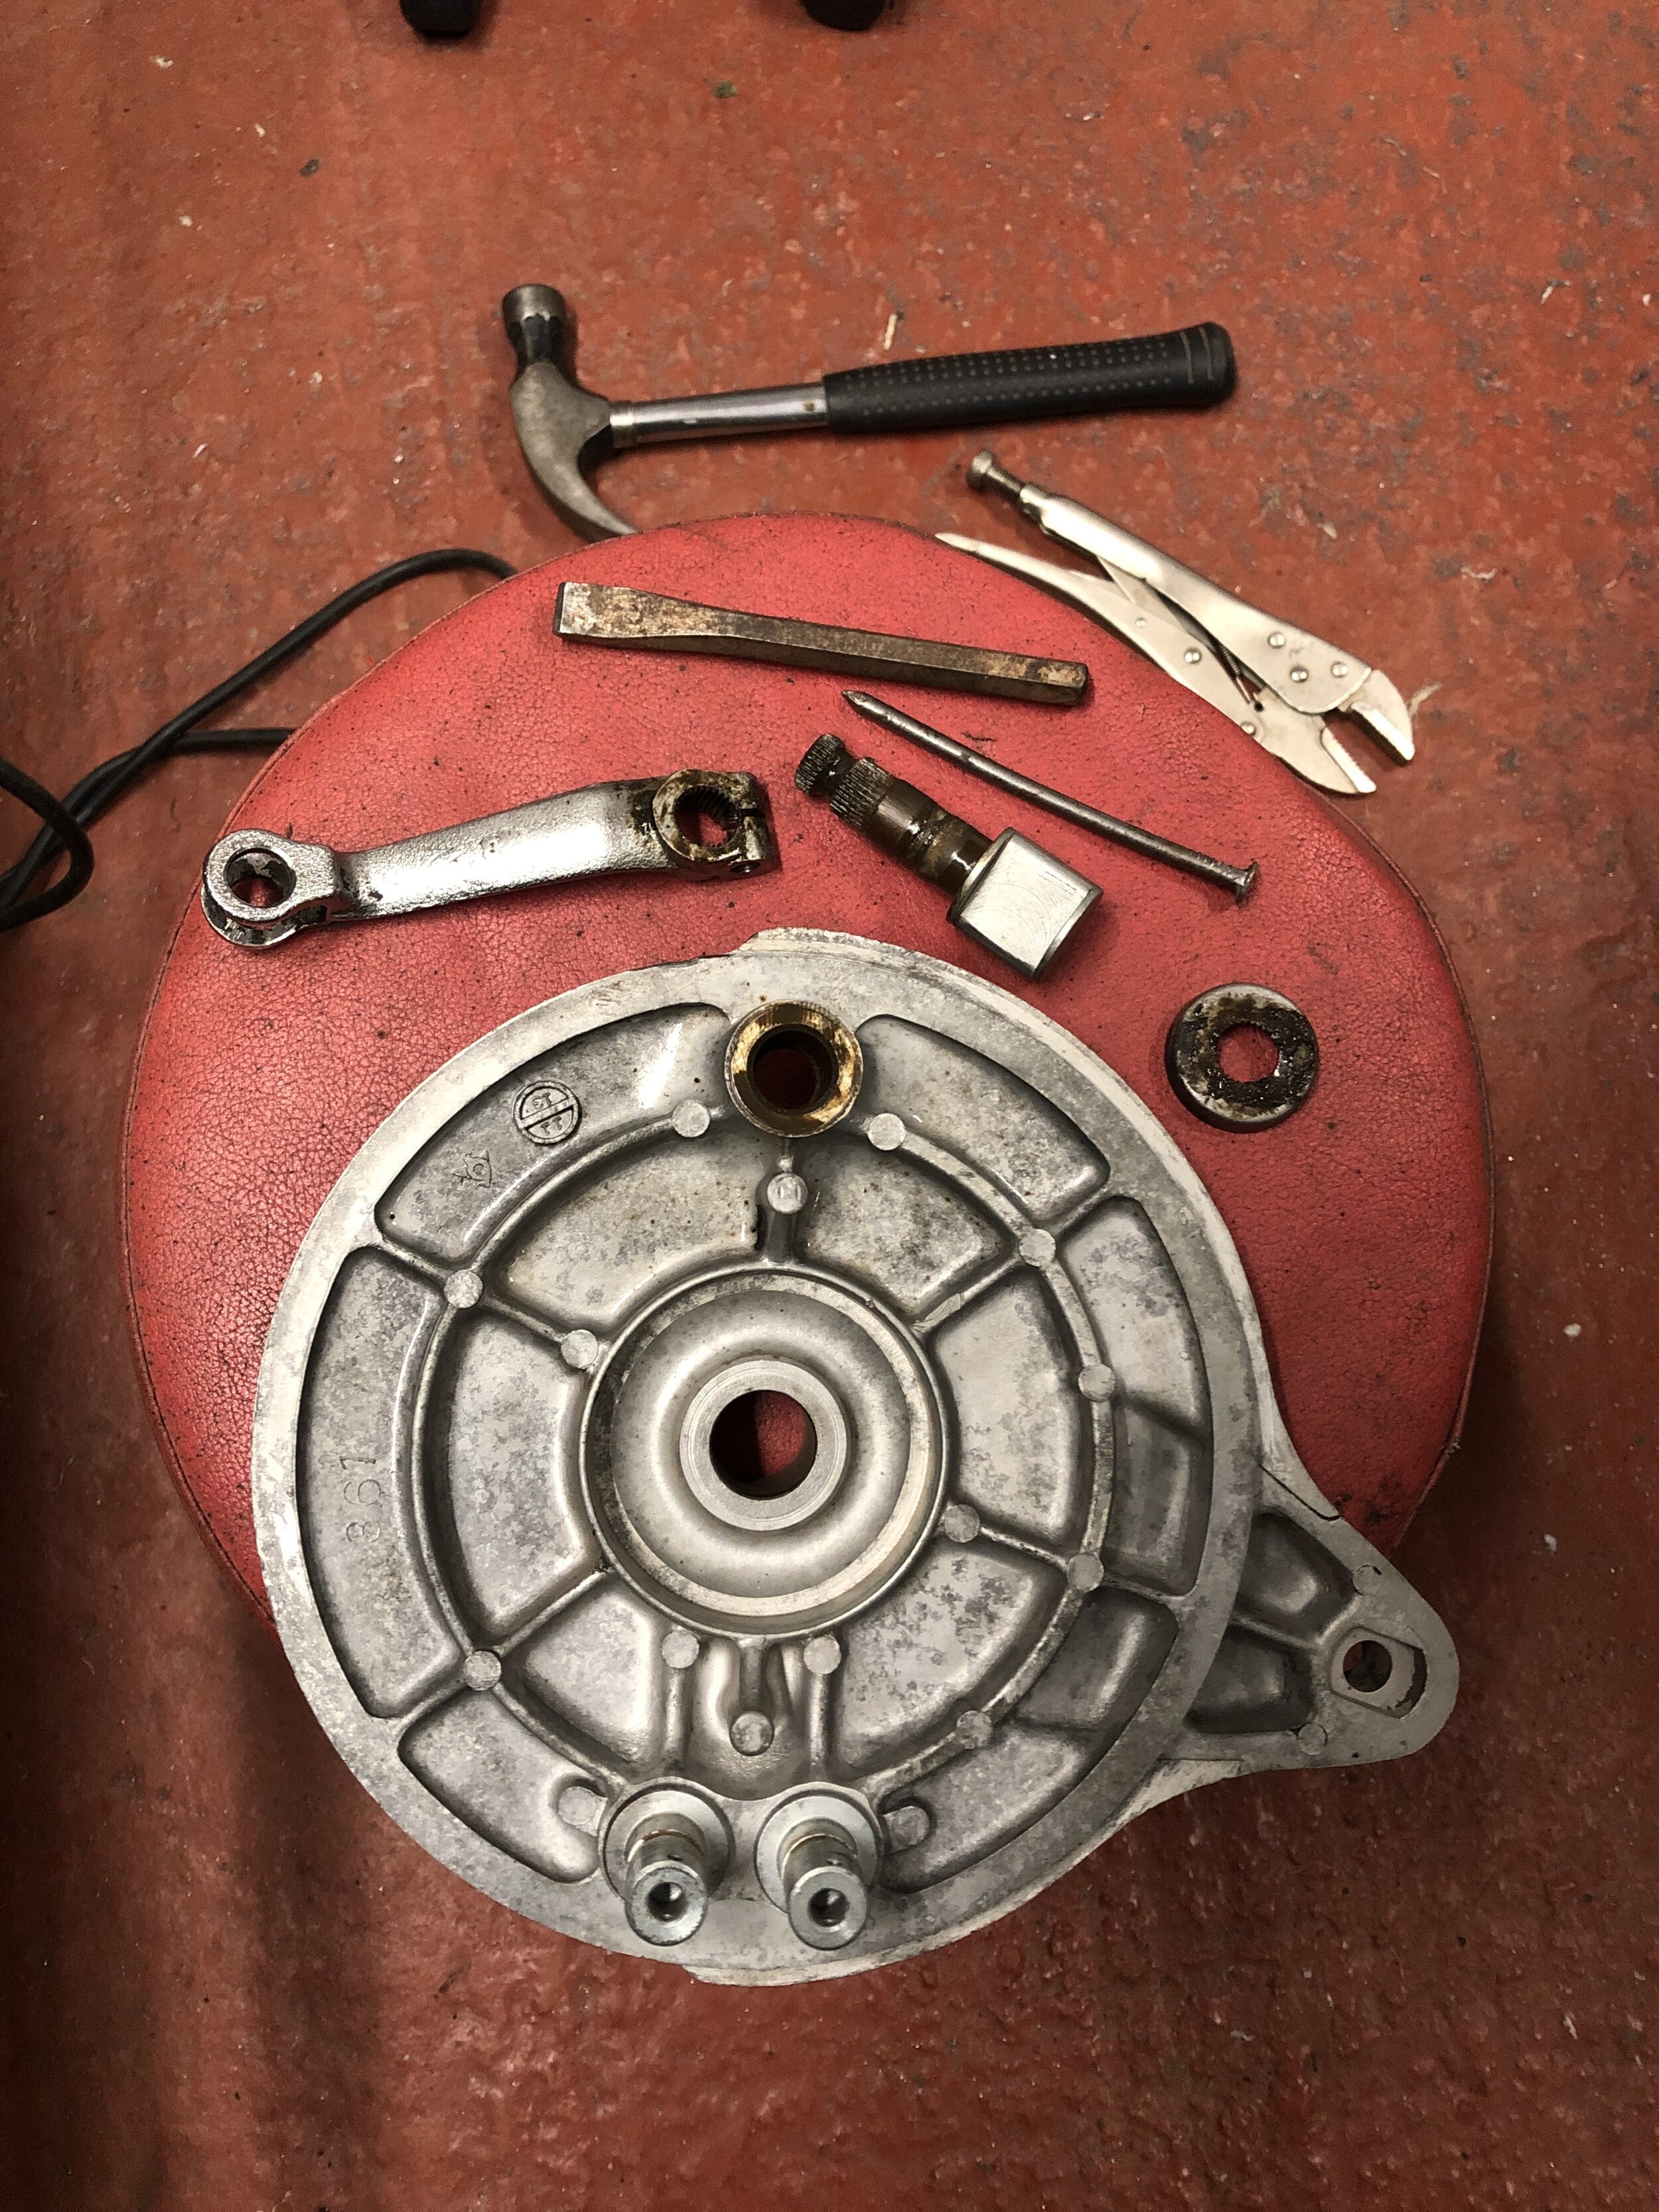
Removing rear wheel bearings (round 2!)
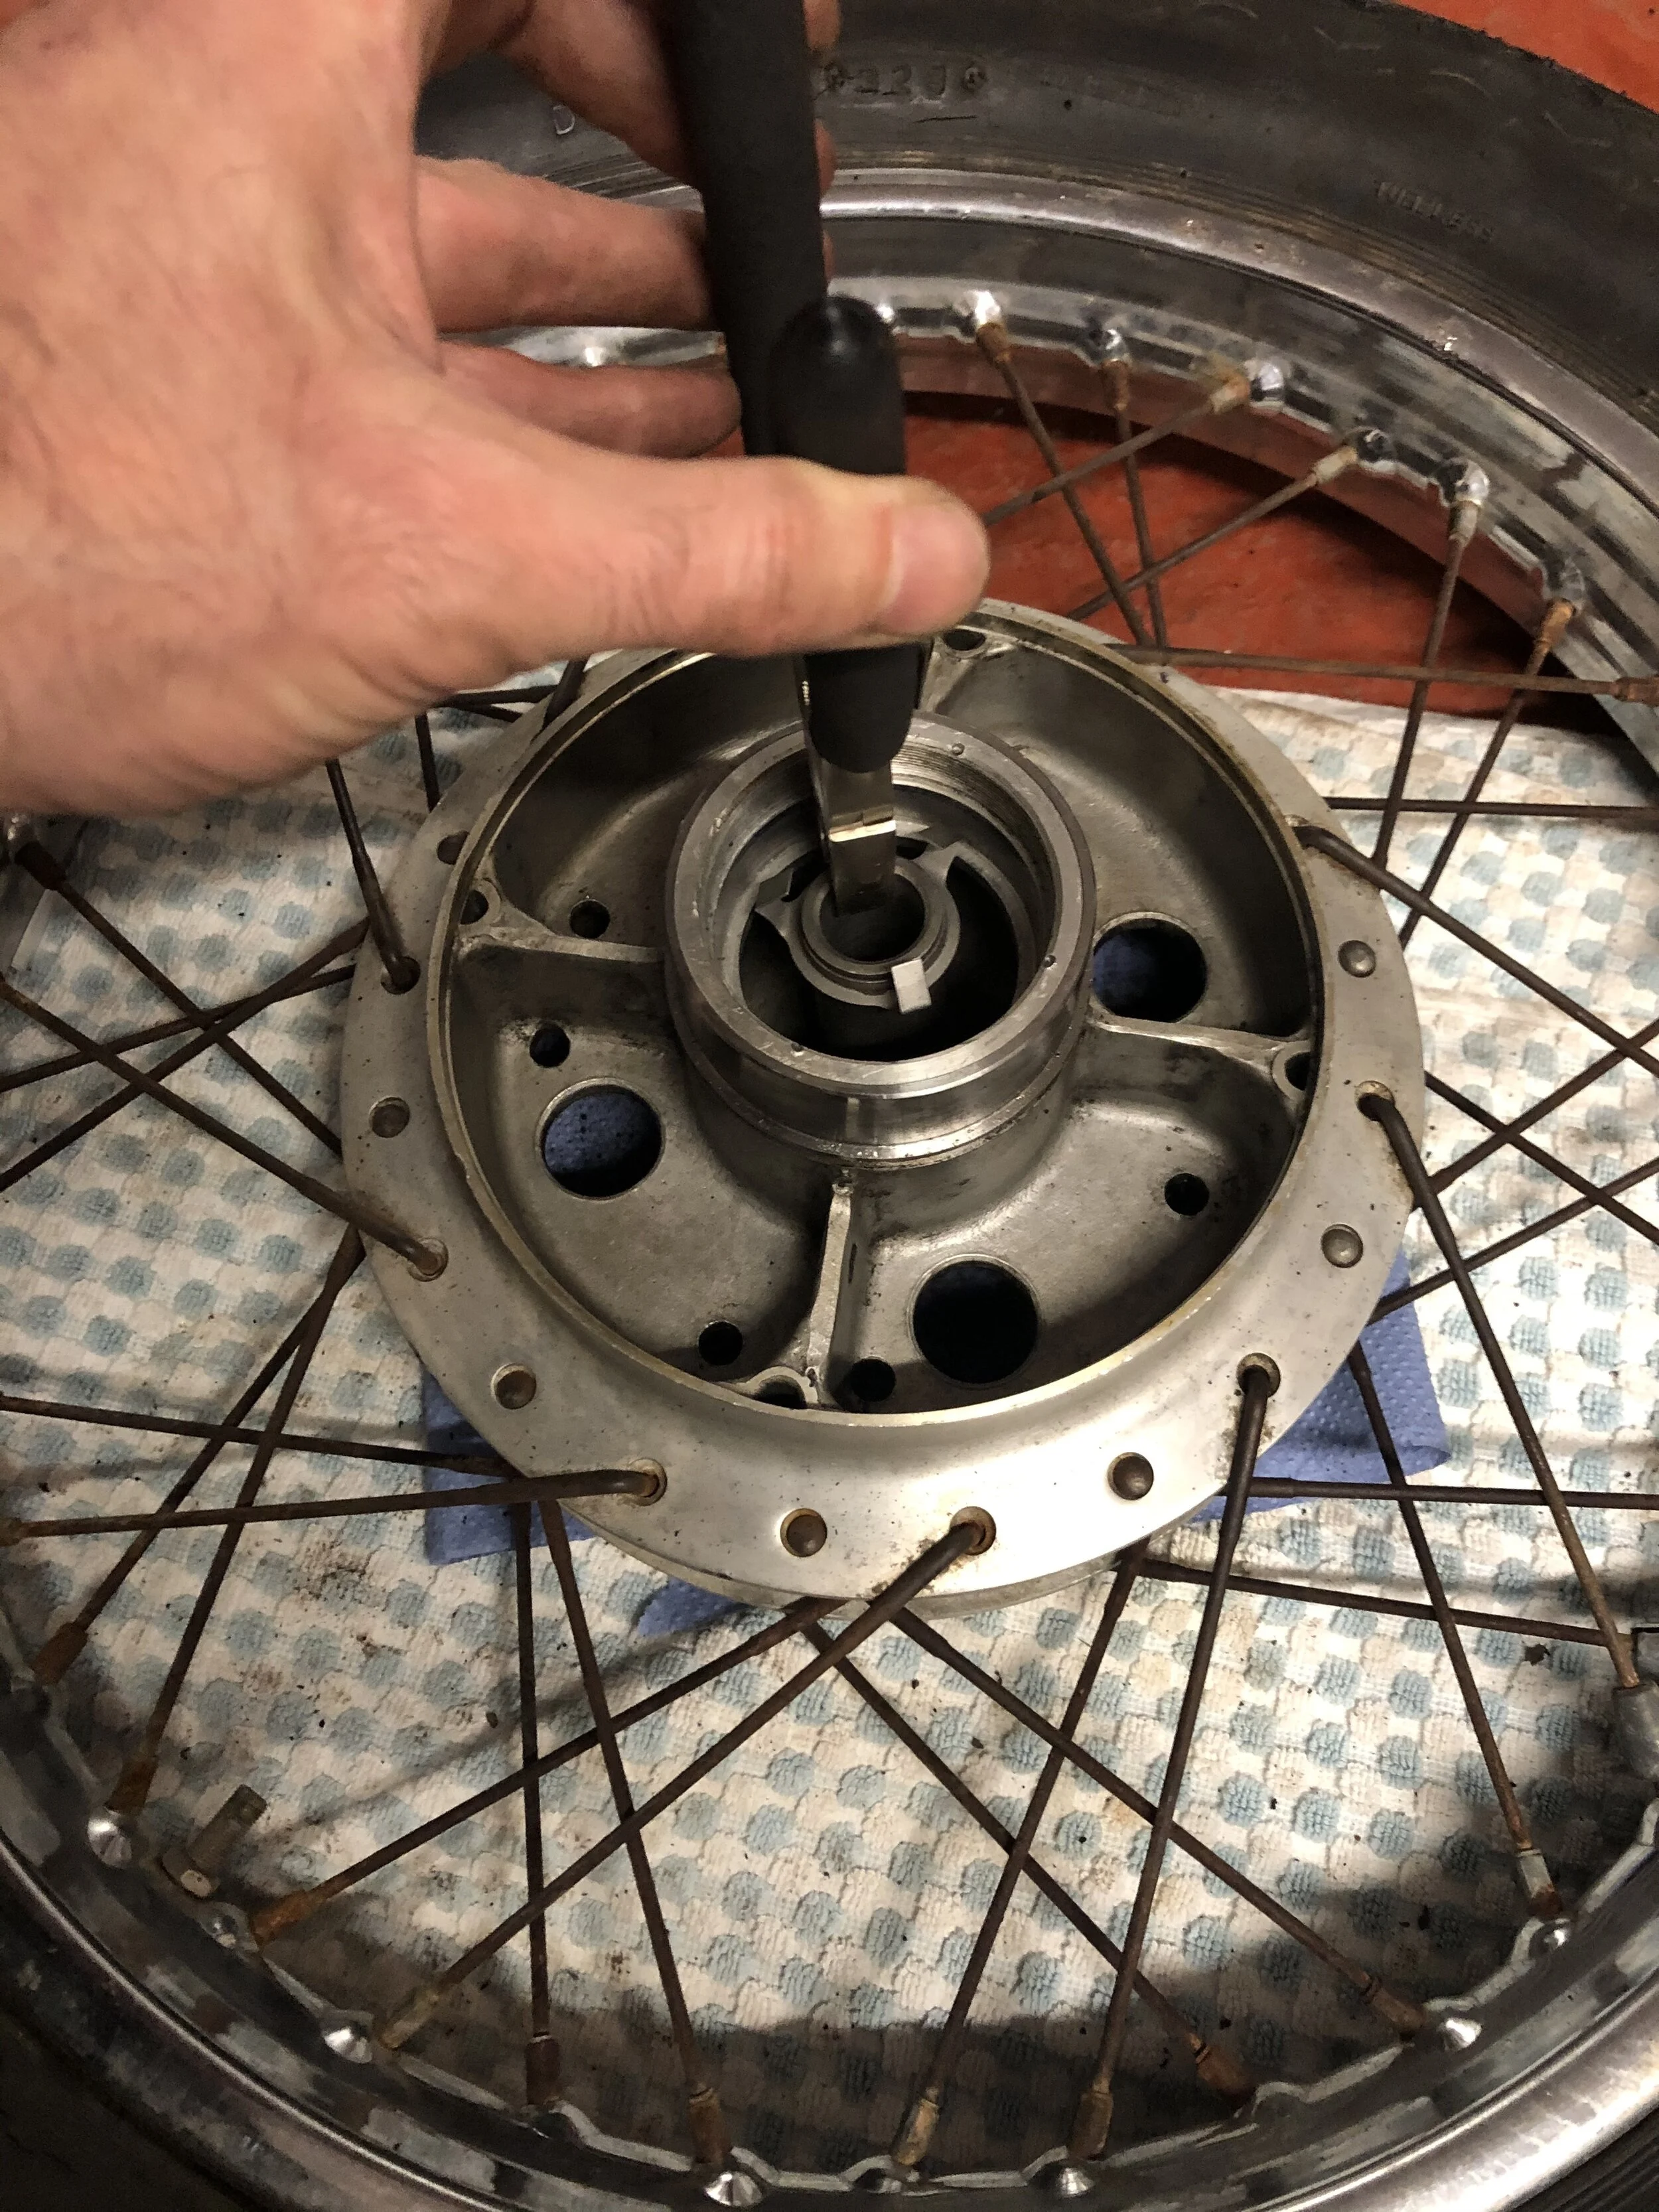
Since I saw the bike mechanics use a long thin punch I bought a couple of Kennedy long taper punches - 3mm & 6mm. These work great at getting bearings out. The 3mm can get in between the collar and bearing but once there’s a gap, switch to the 6mm punch and work your way around the bearing basically walking it out the housing. The 6mm punch is also handy for removing the front wheel axle.
I’l explain the bearing driver kit / tool below.


De-grease and bead blast
I de-greased, cleaned and blasted all the parts. I've no idea how long this wheel was sitting but it needed some cleaning. Handy having a de-greasing tank & blast cabinet in the garage.


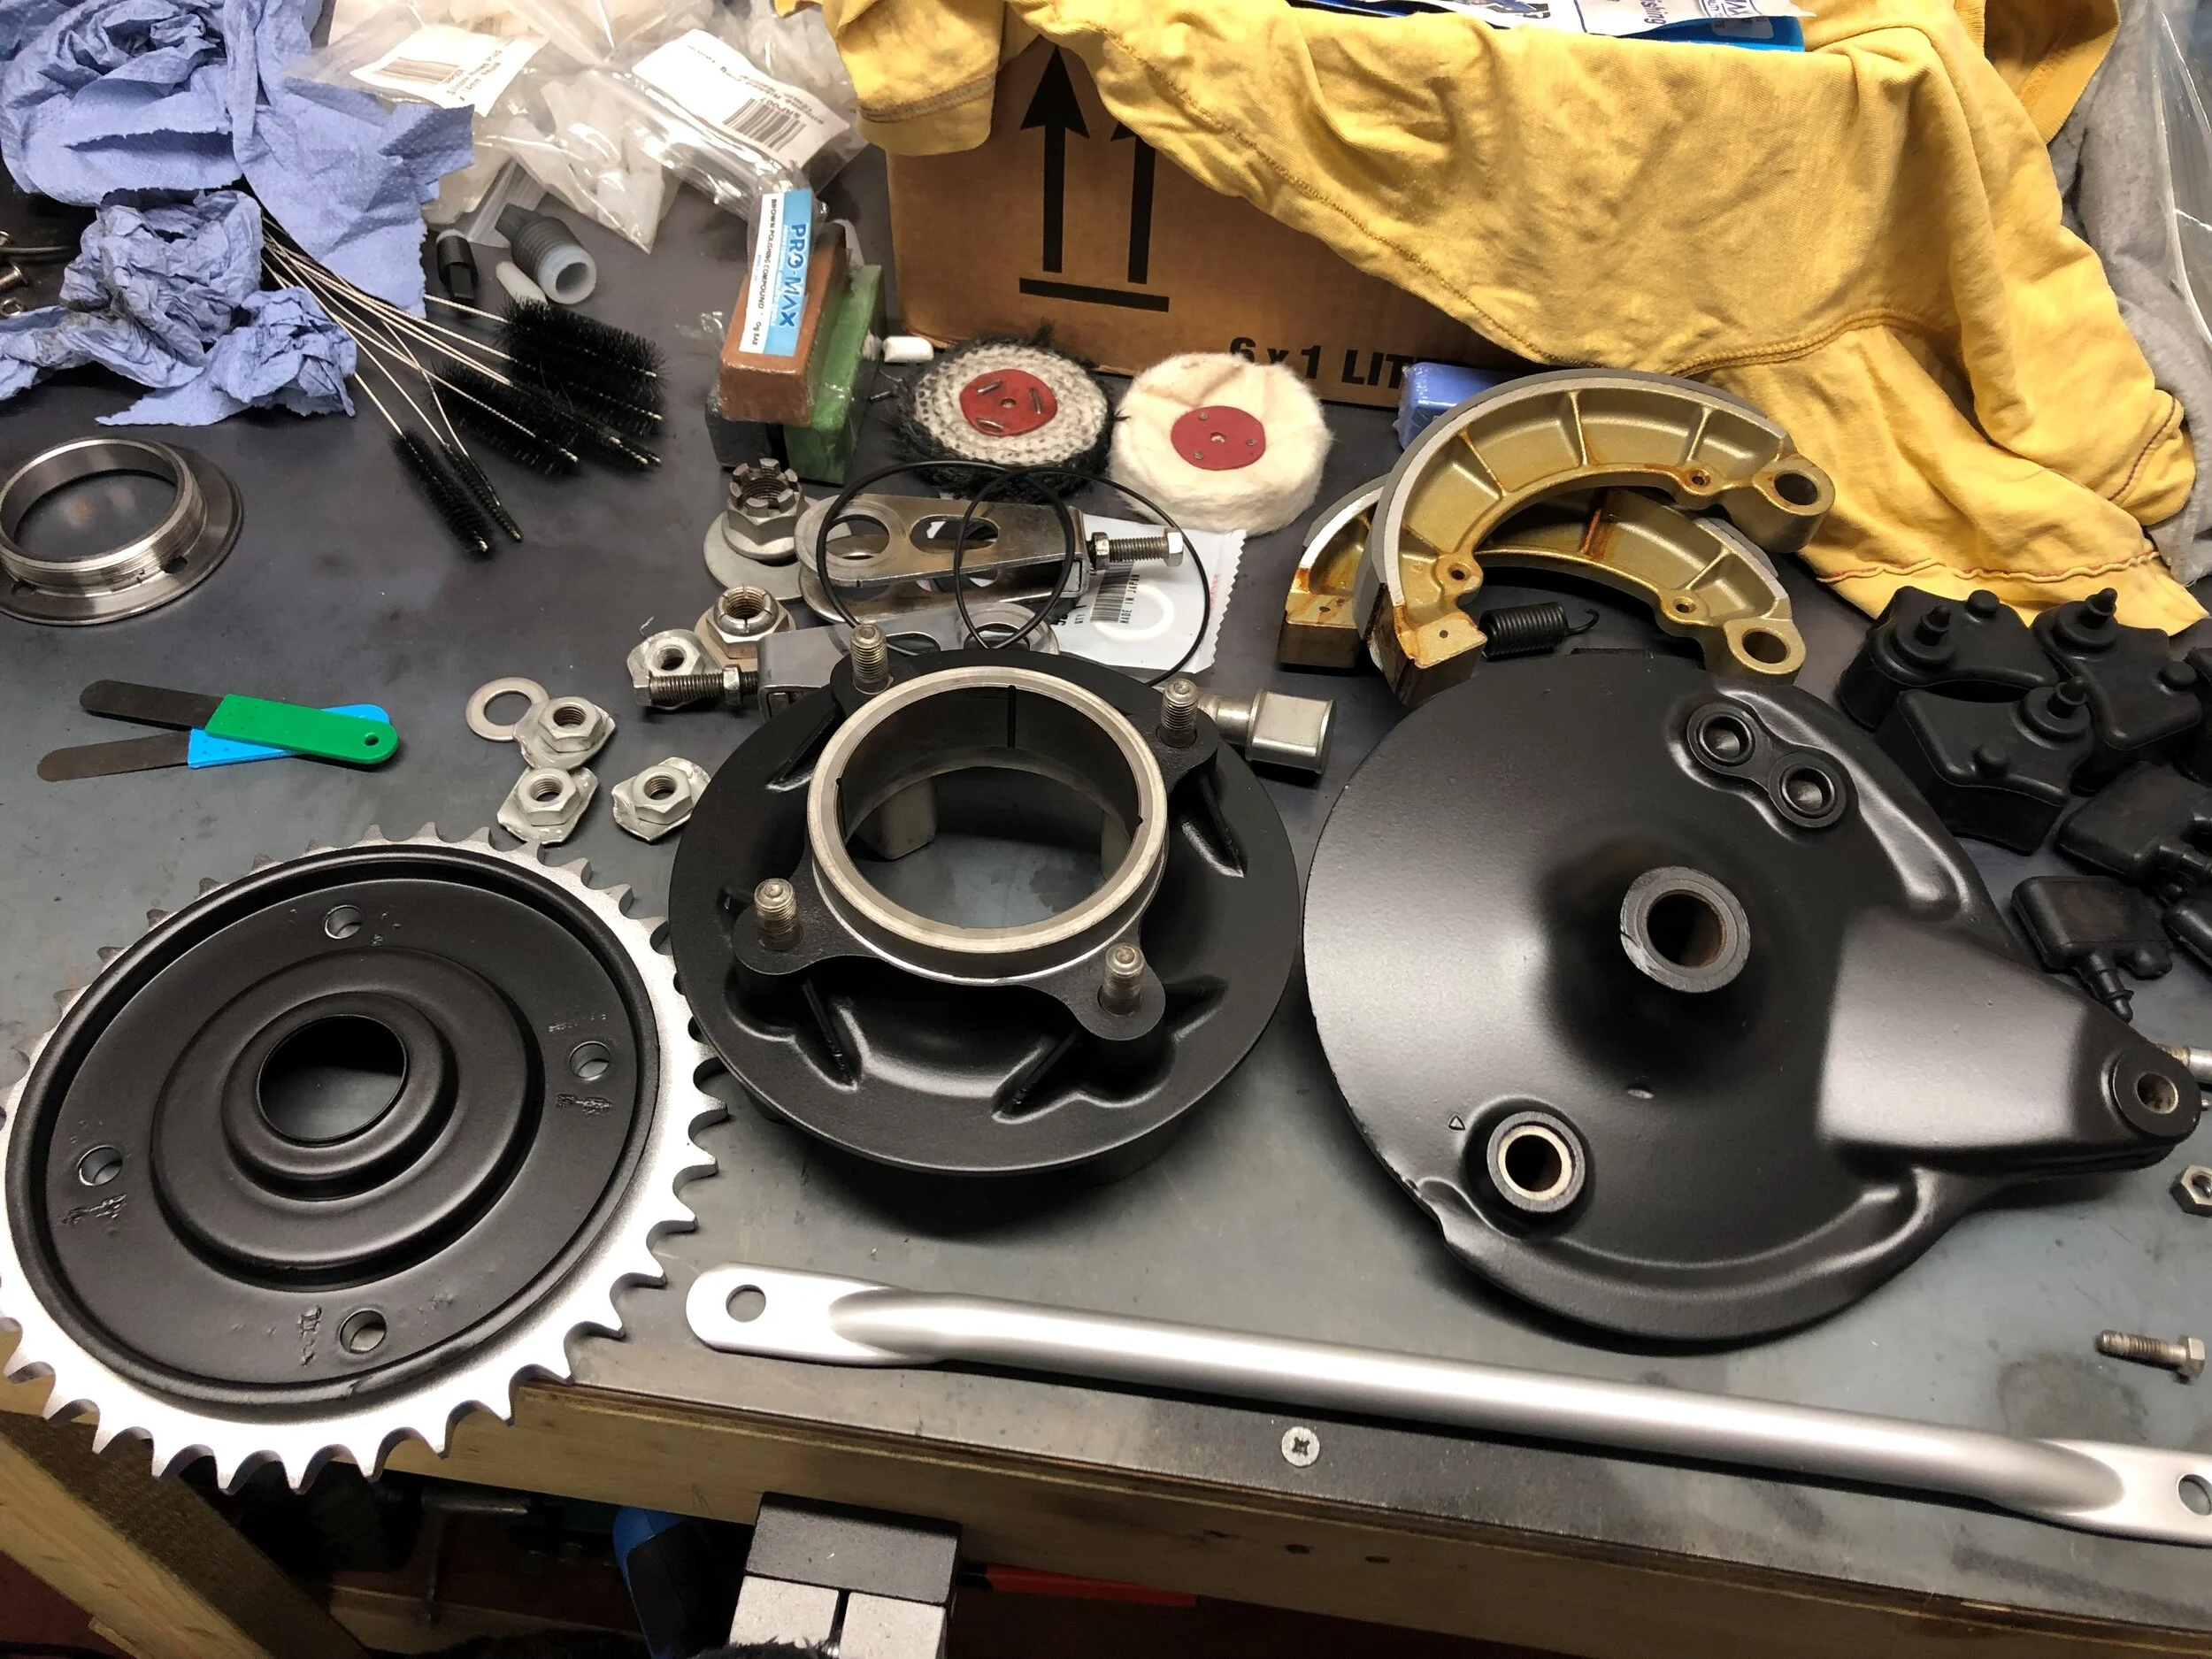
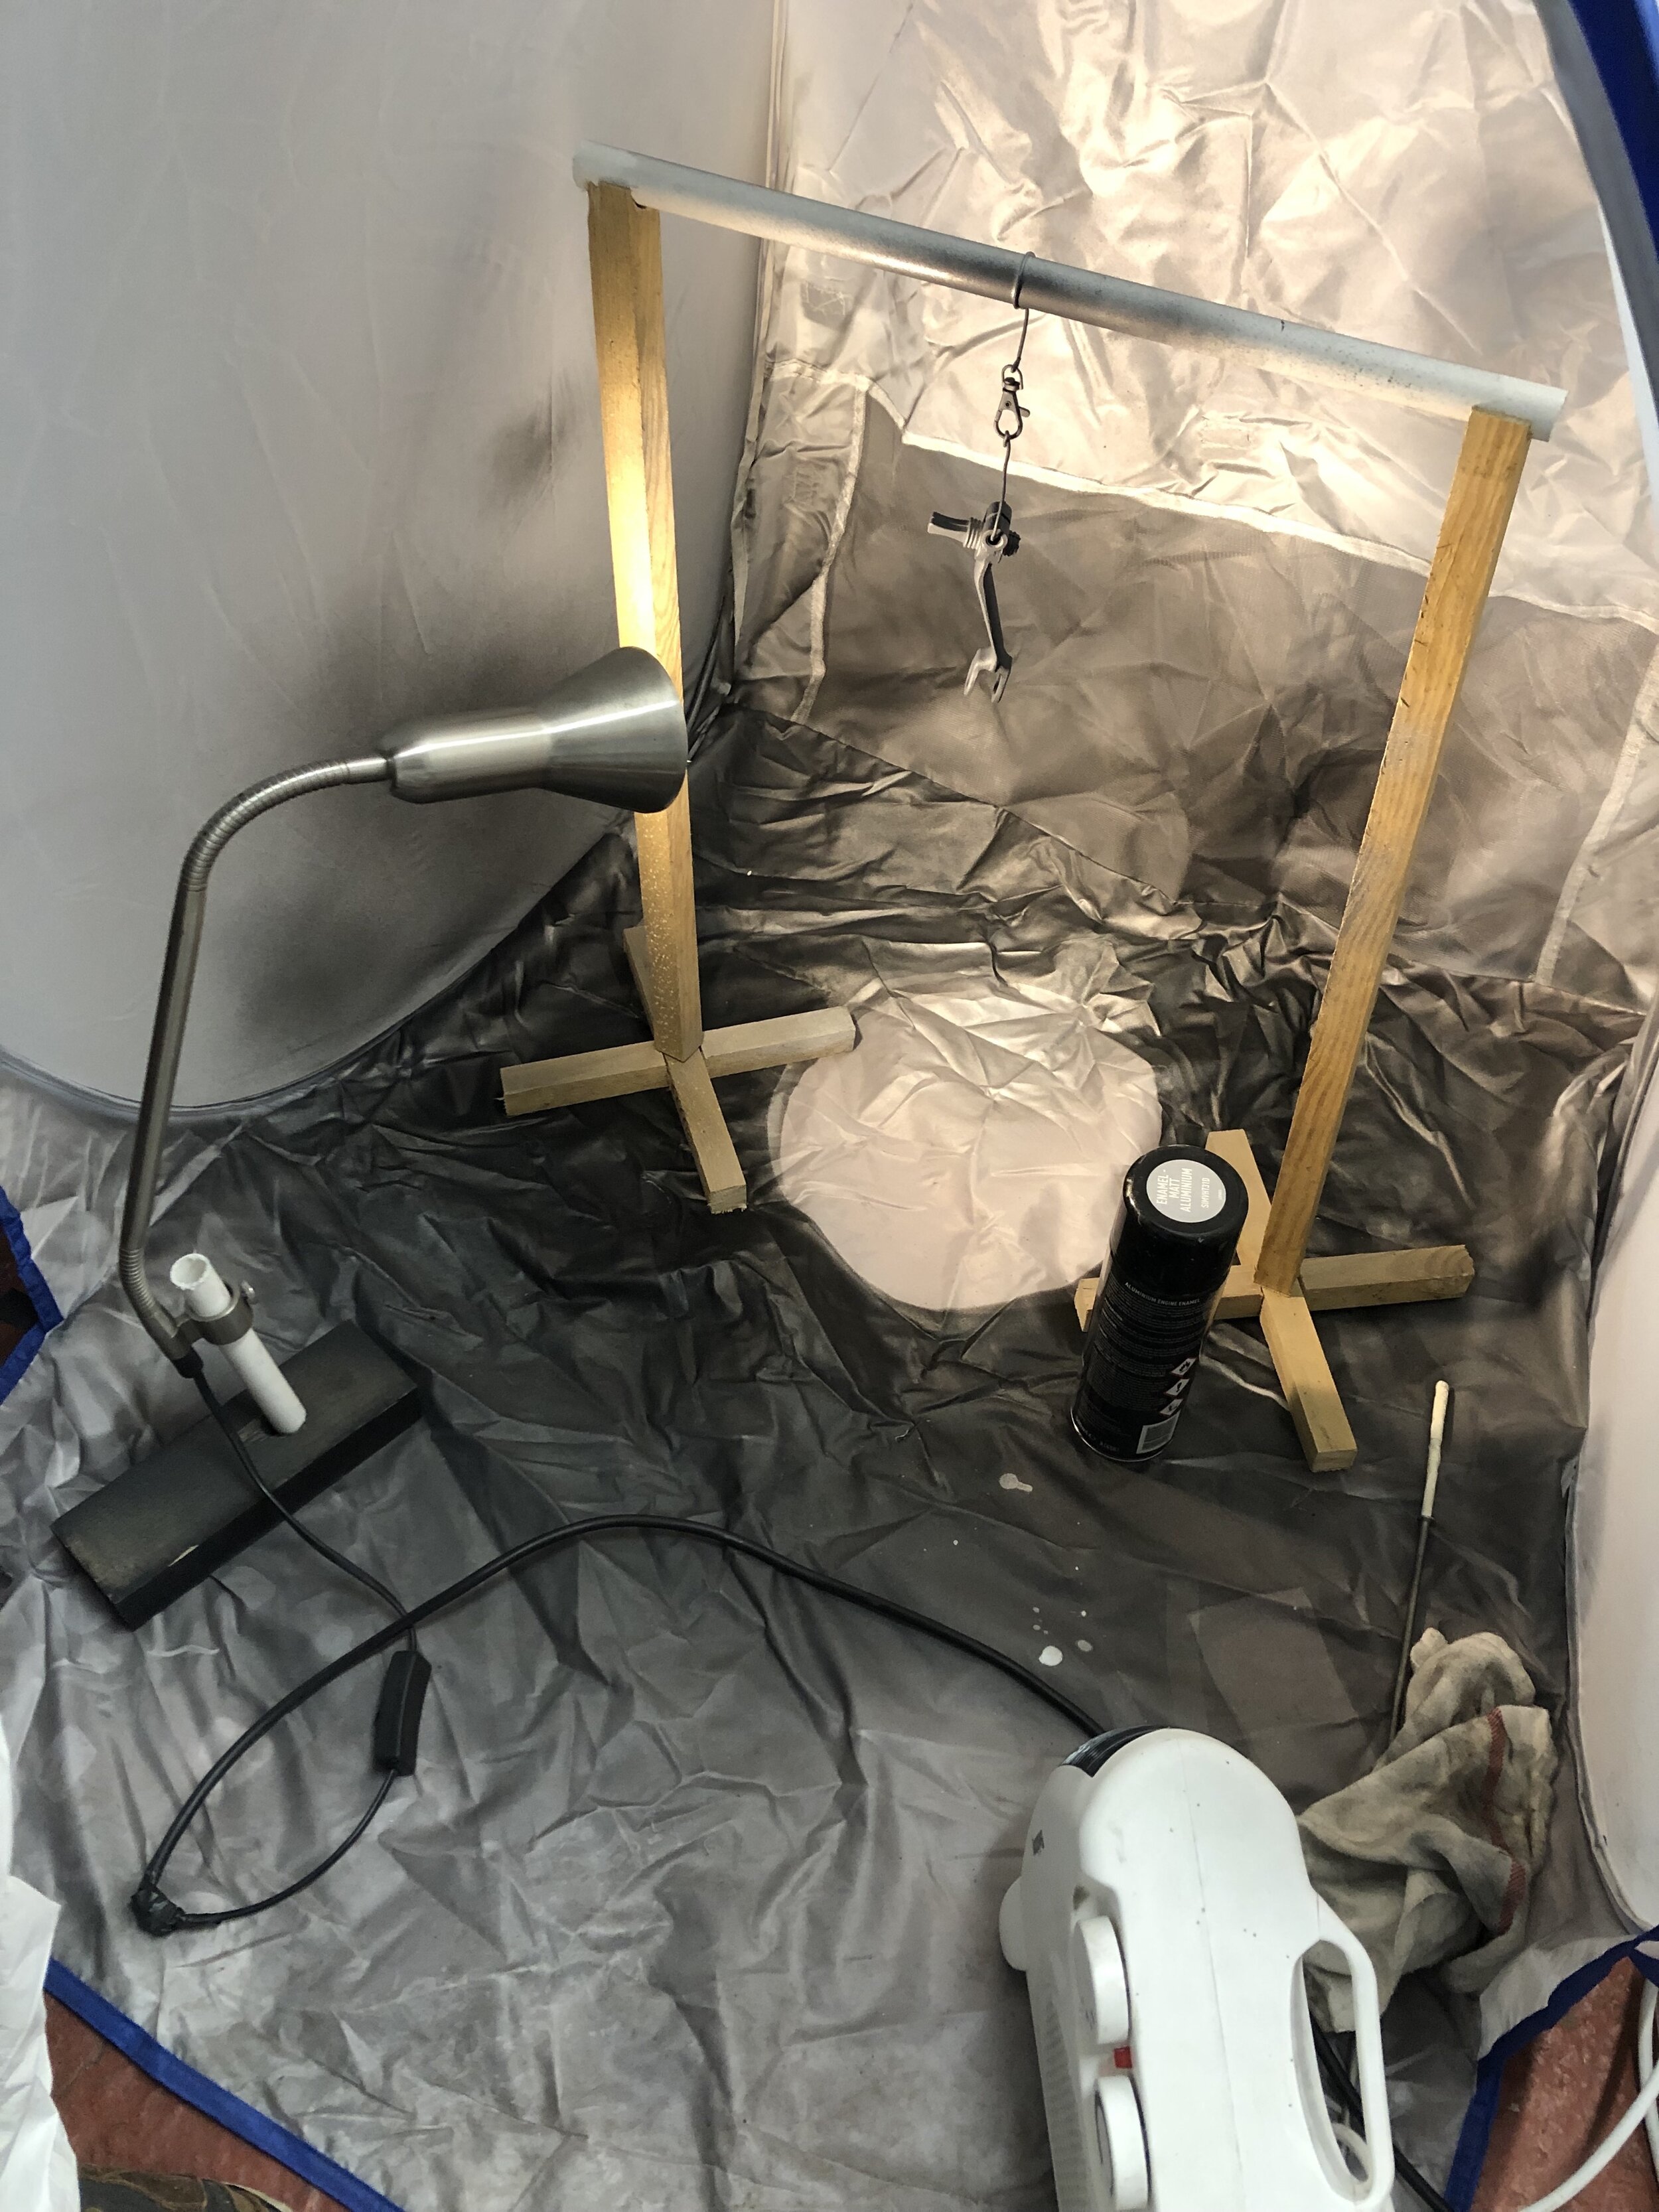
Spray some parts
I then sprayed the parts that I wanted to be black with Simoniz satin black Tough Paint. Some parts got left bare and others I sprayed in Simoniz aluminium Engine Enamel.


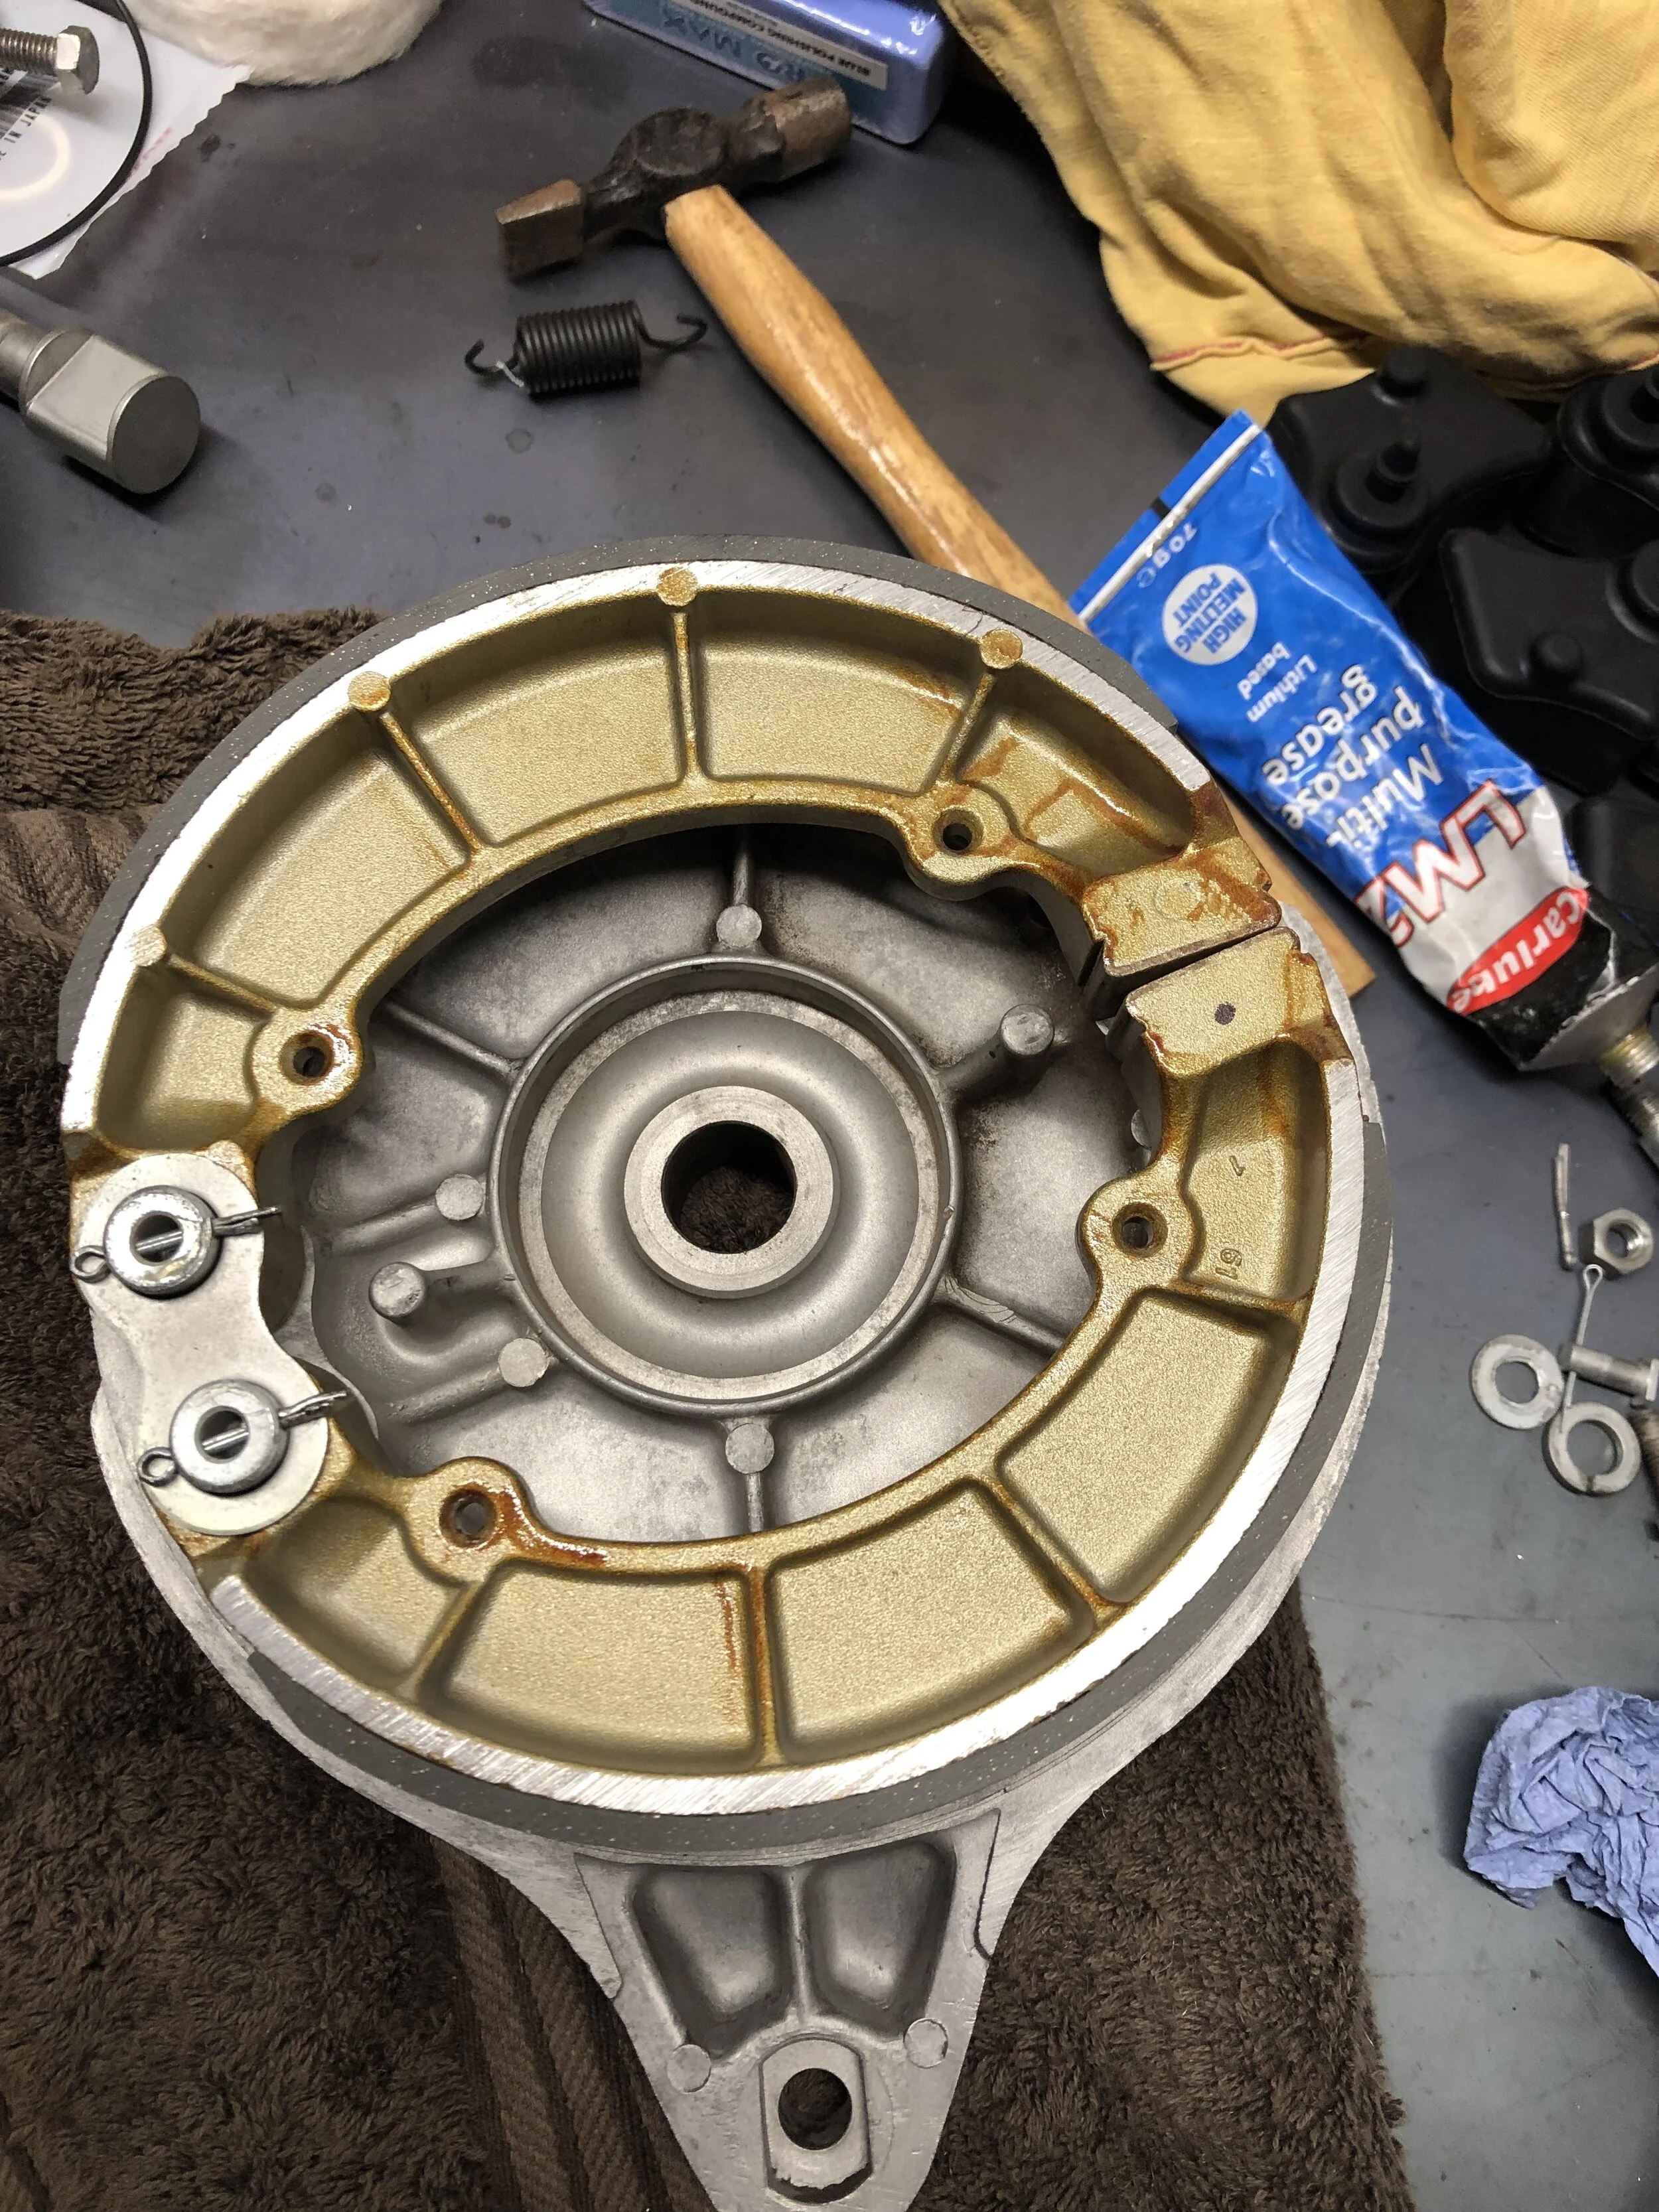
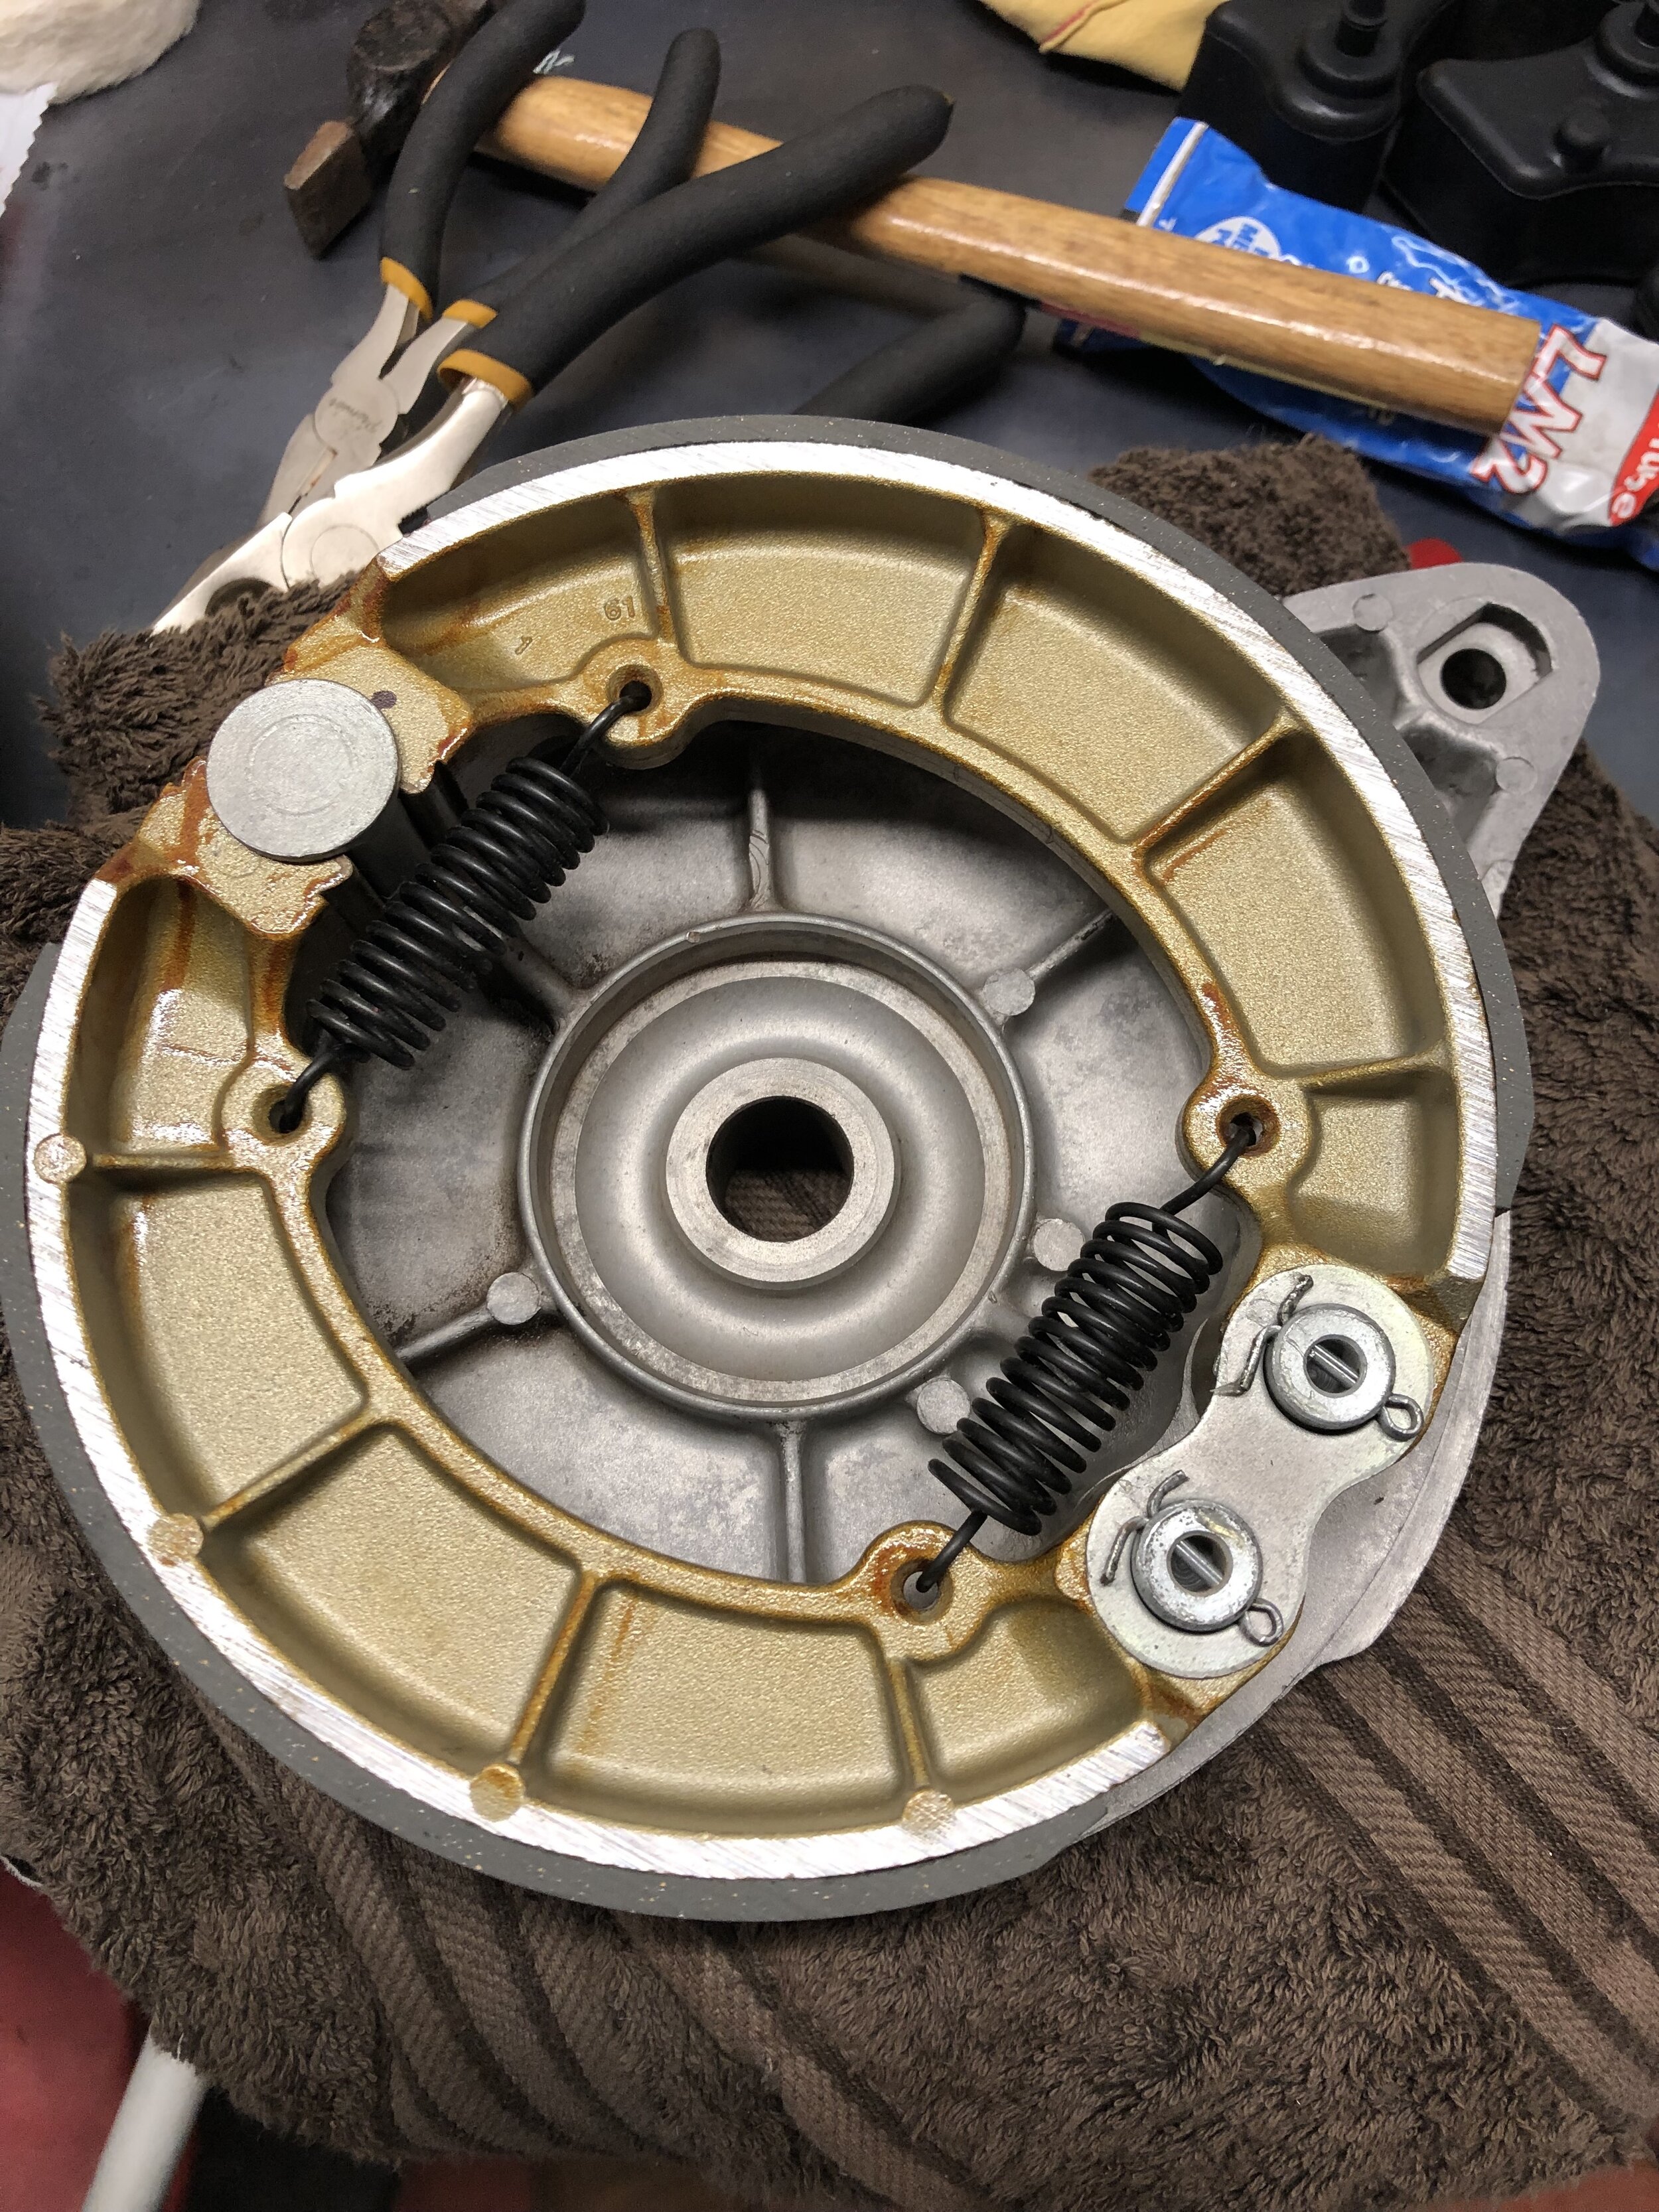
Replace the rear brake shoes
I fitted new EBC shoes to the hub. I tend to always use EBC when it comes to brakes. Nothing complicated here, just grease the moving parts.

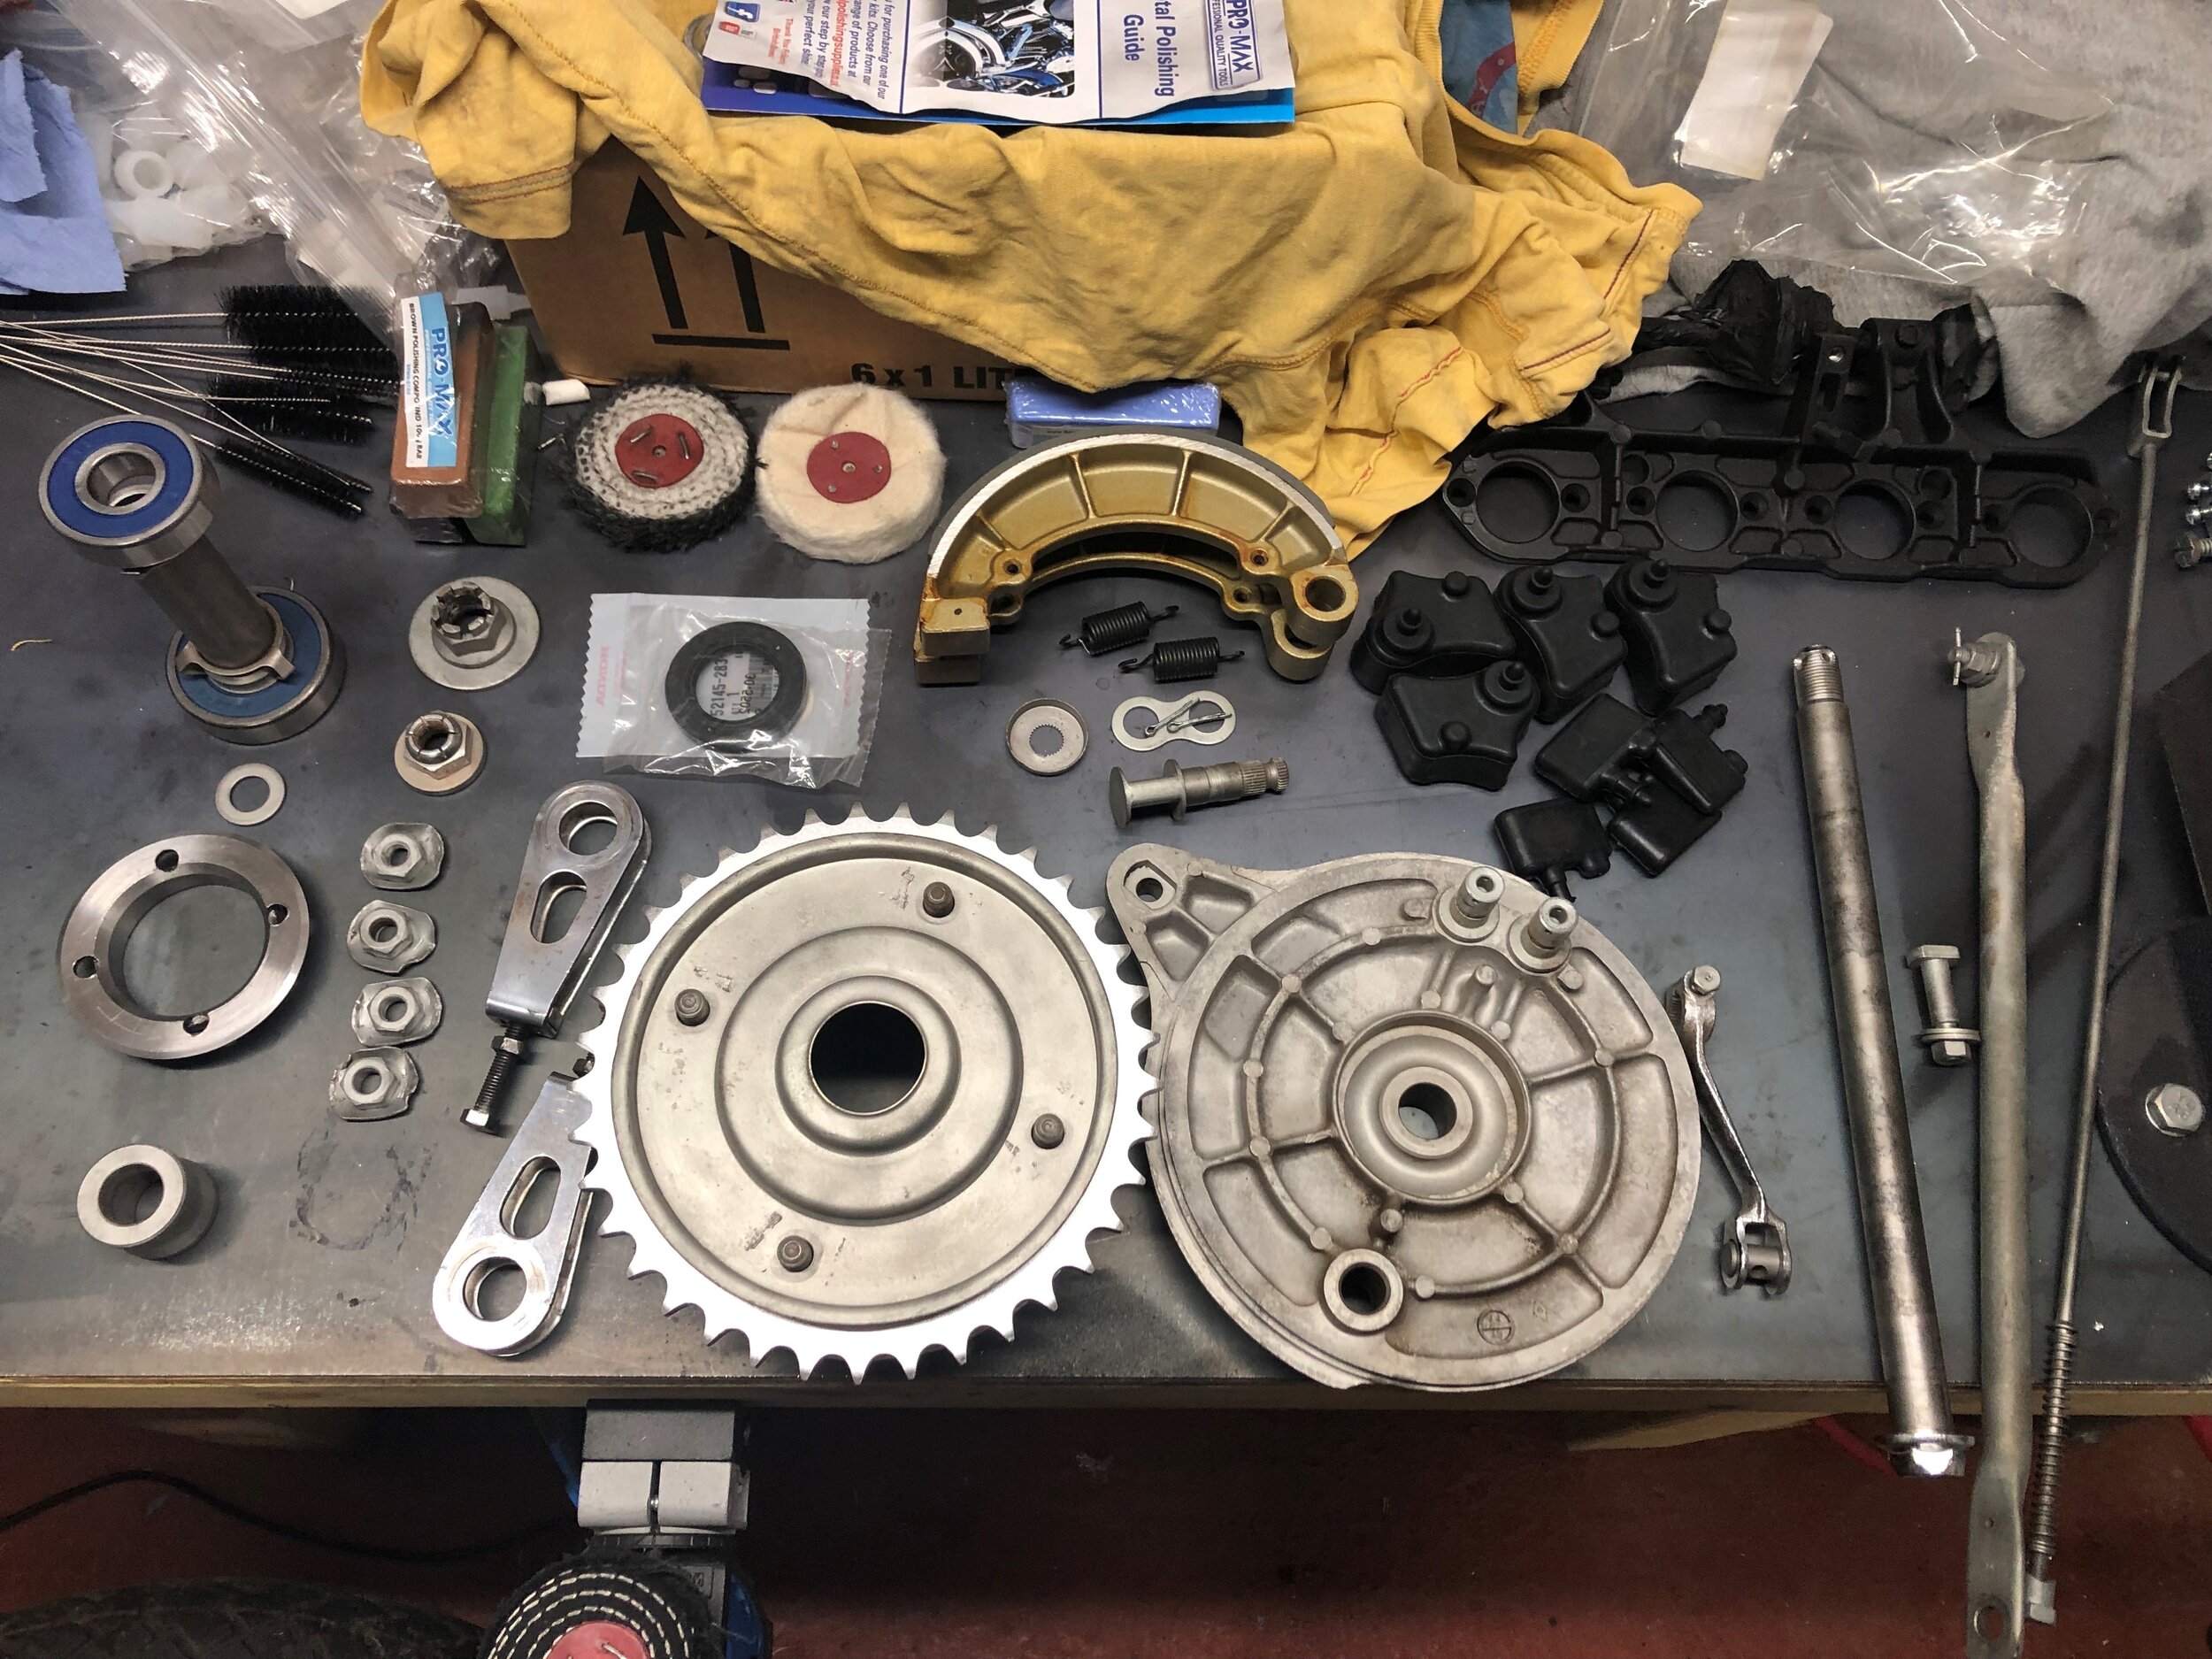
Rear sprocket
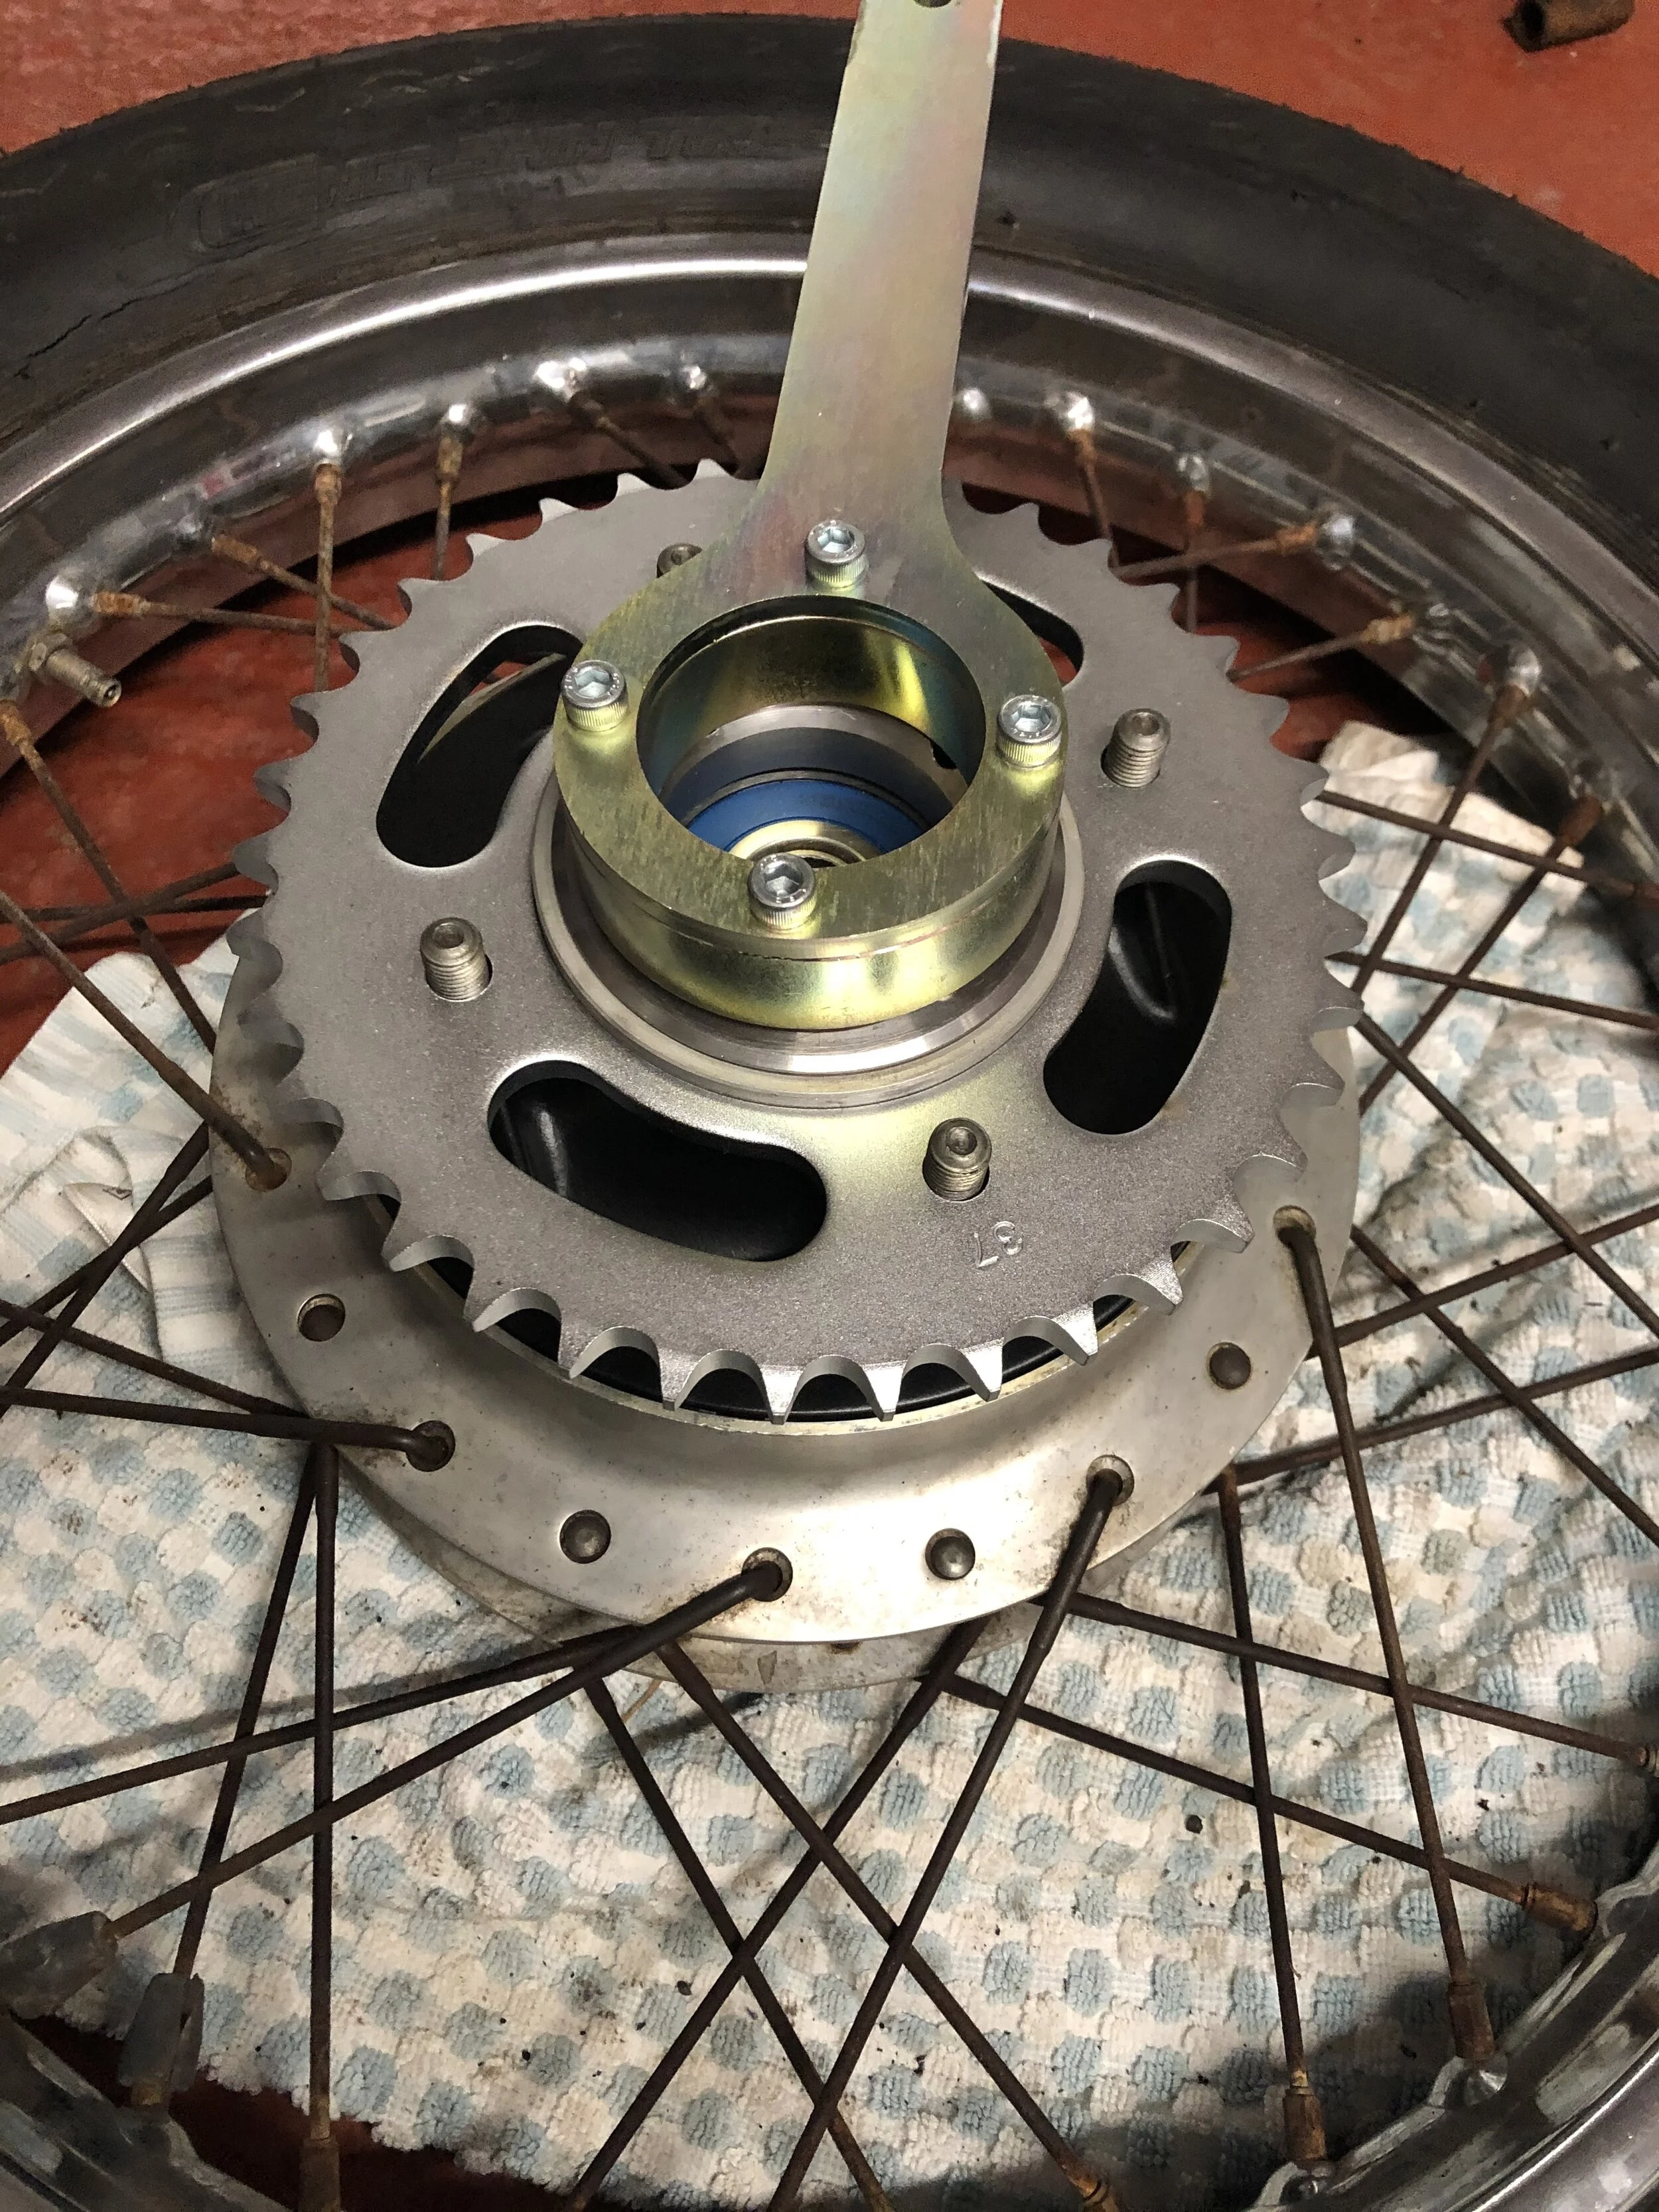
The rear sprocket was badly worn and I originally got a replacement from David Silver for £18.60; it’s in most of the pictures. It probably sounds pedantic but every sprocket I’ve ever fitted has had the little rising sun logo - turns out that’s JT Sprockets. The replacement front sprocket I bought is a JT one so I decided to buy a rear JT Sprocket (JTR282.37) for £18.99 and sell the other one. No point having something niggling away - just swap it out. it weighs 130g less and I think it looks better!


Fitting rear wheel bearings (round 2!)
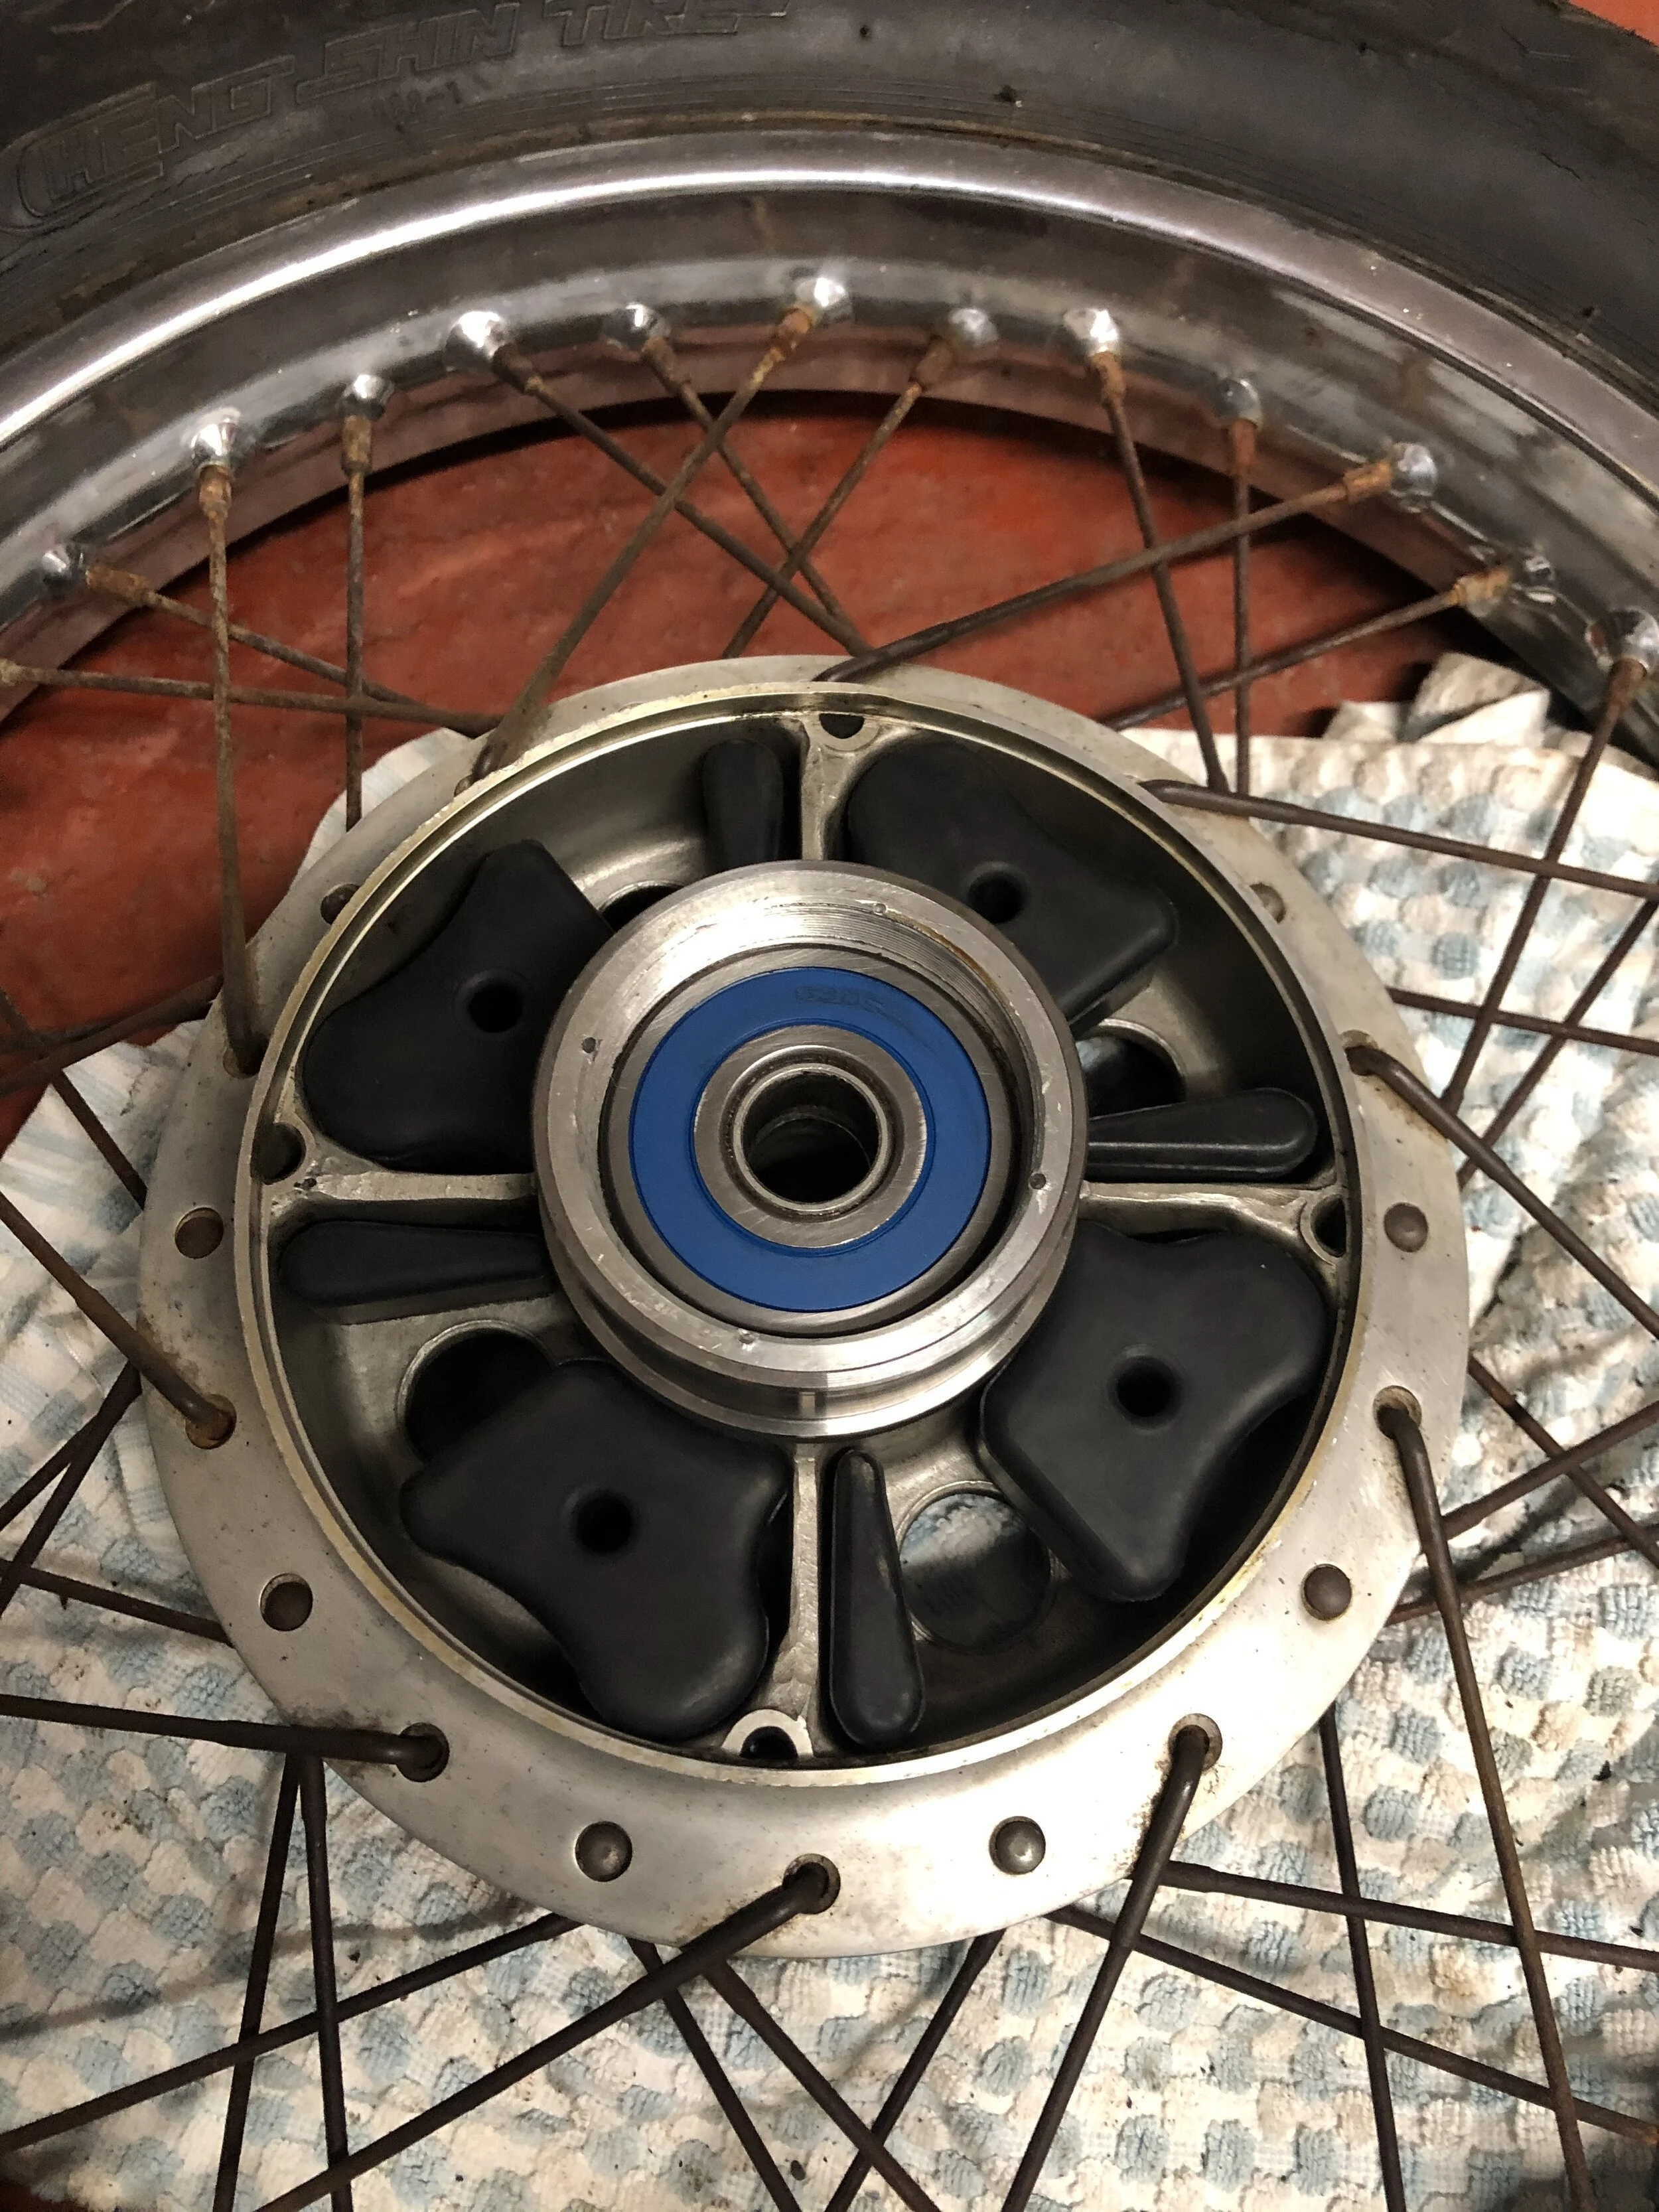
When I visited Roy, I spotted that he had a bearing driver kit - basically plastic (or metal) circles of different diameters to fit the outer bearing rims and a central punch to hit with a hammer. I bought a Sealey kit (VS709) for £17.95. This time I put the bearings in the freezer overnight, used a heat gun to expand the hub and tapped them in using the bearing driver - they went in no problem. The last bearing actually dropped right in!
Here are a few tips:
Remember to keep the old bearings - they may be needed as a spacer to tap in the new ones.
Put the bearings in the freezer overnight - they’ll shrink a little.
Heat the hub evenly with a heat gun for around 5-10 mins. Wear gloves!
Have everything lying out ready to use - correct bearing punch, rag, pliers, grease etc.
Smear a little copper grease on the bearing outer rim. Apparently a contentious subject but I like to use it.
Fit the smaller bearing first and drive it right to the lip i.e. as far as it’ll go. Flip the wheel.
Drop in the inner collar with pliers (hub still hot!) then the lay on the bearing collar / spacer using the 3 prong arms to line things up.
Drop in the large bearing and tap it in with the driver tool. Mine are tapered so won’t go all the way down. Use the old bearing as a spacer but still use the tool to tap in the bearing.
Now and then, put your finger in and check the fitment between the inner collar and the bearing. They should only just touch, not so hard that the bearing centre is under tension.
It’s easy when you know how or have tried everything else and burned a small fortune making mistakes & buying tools!


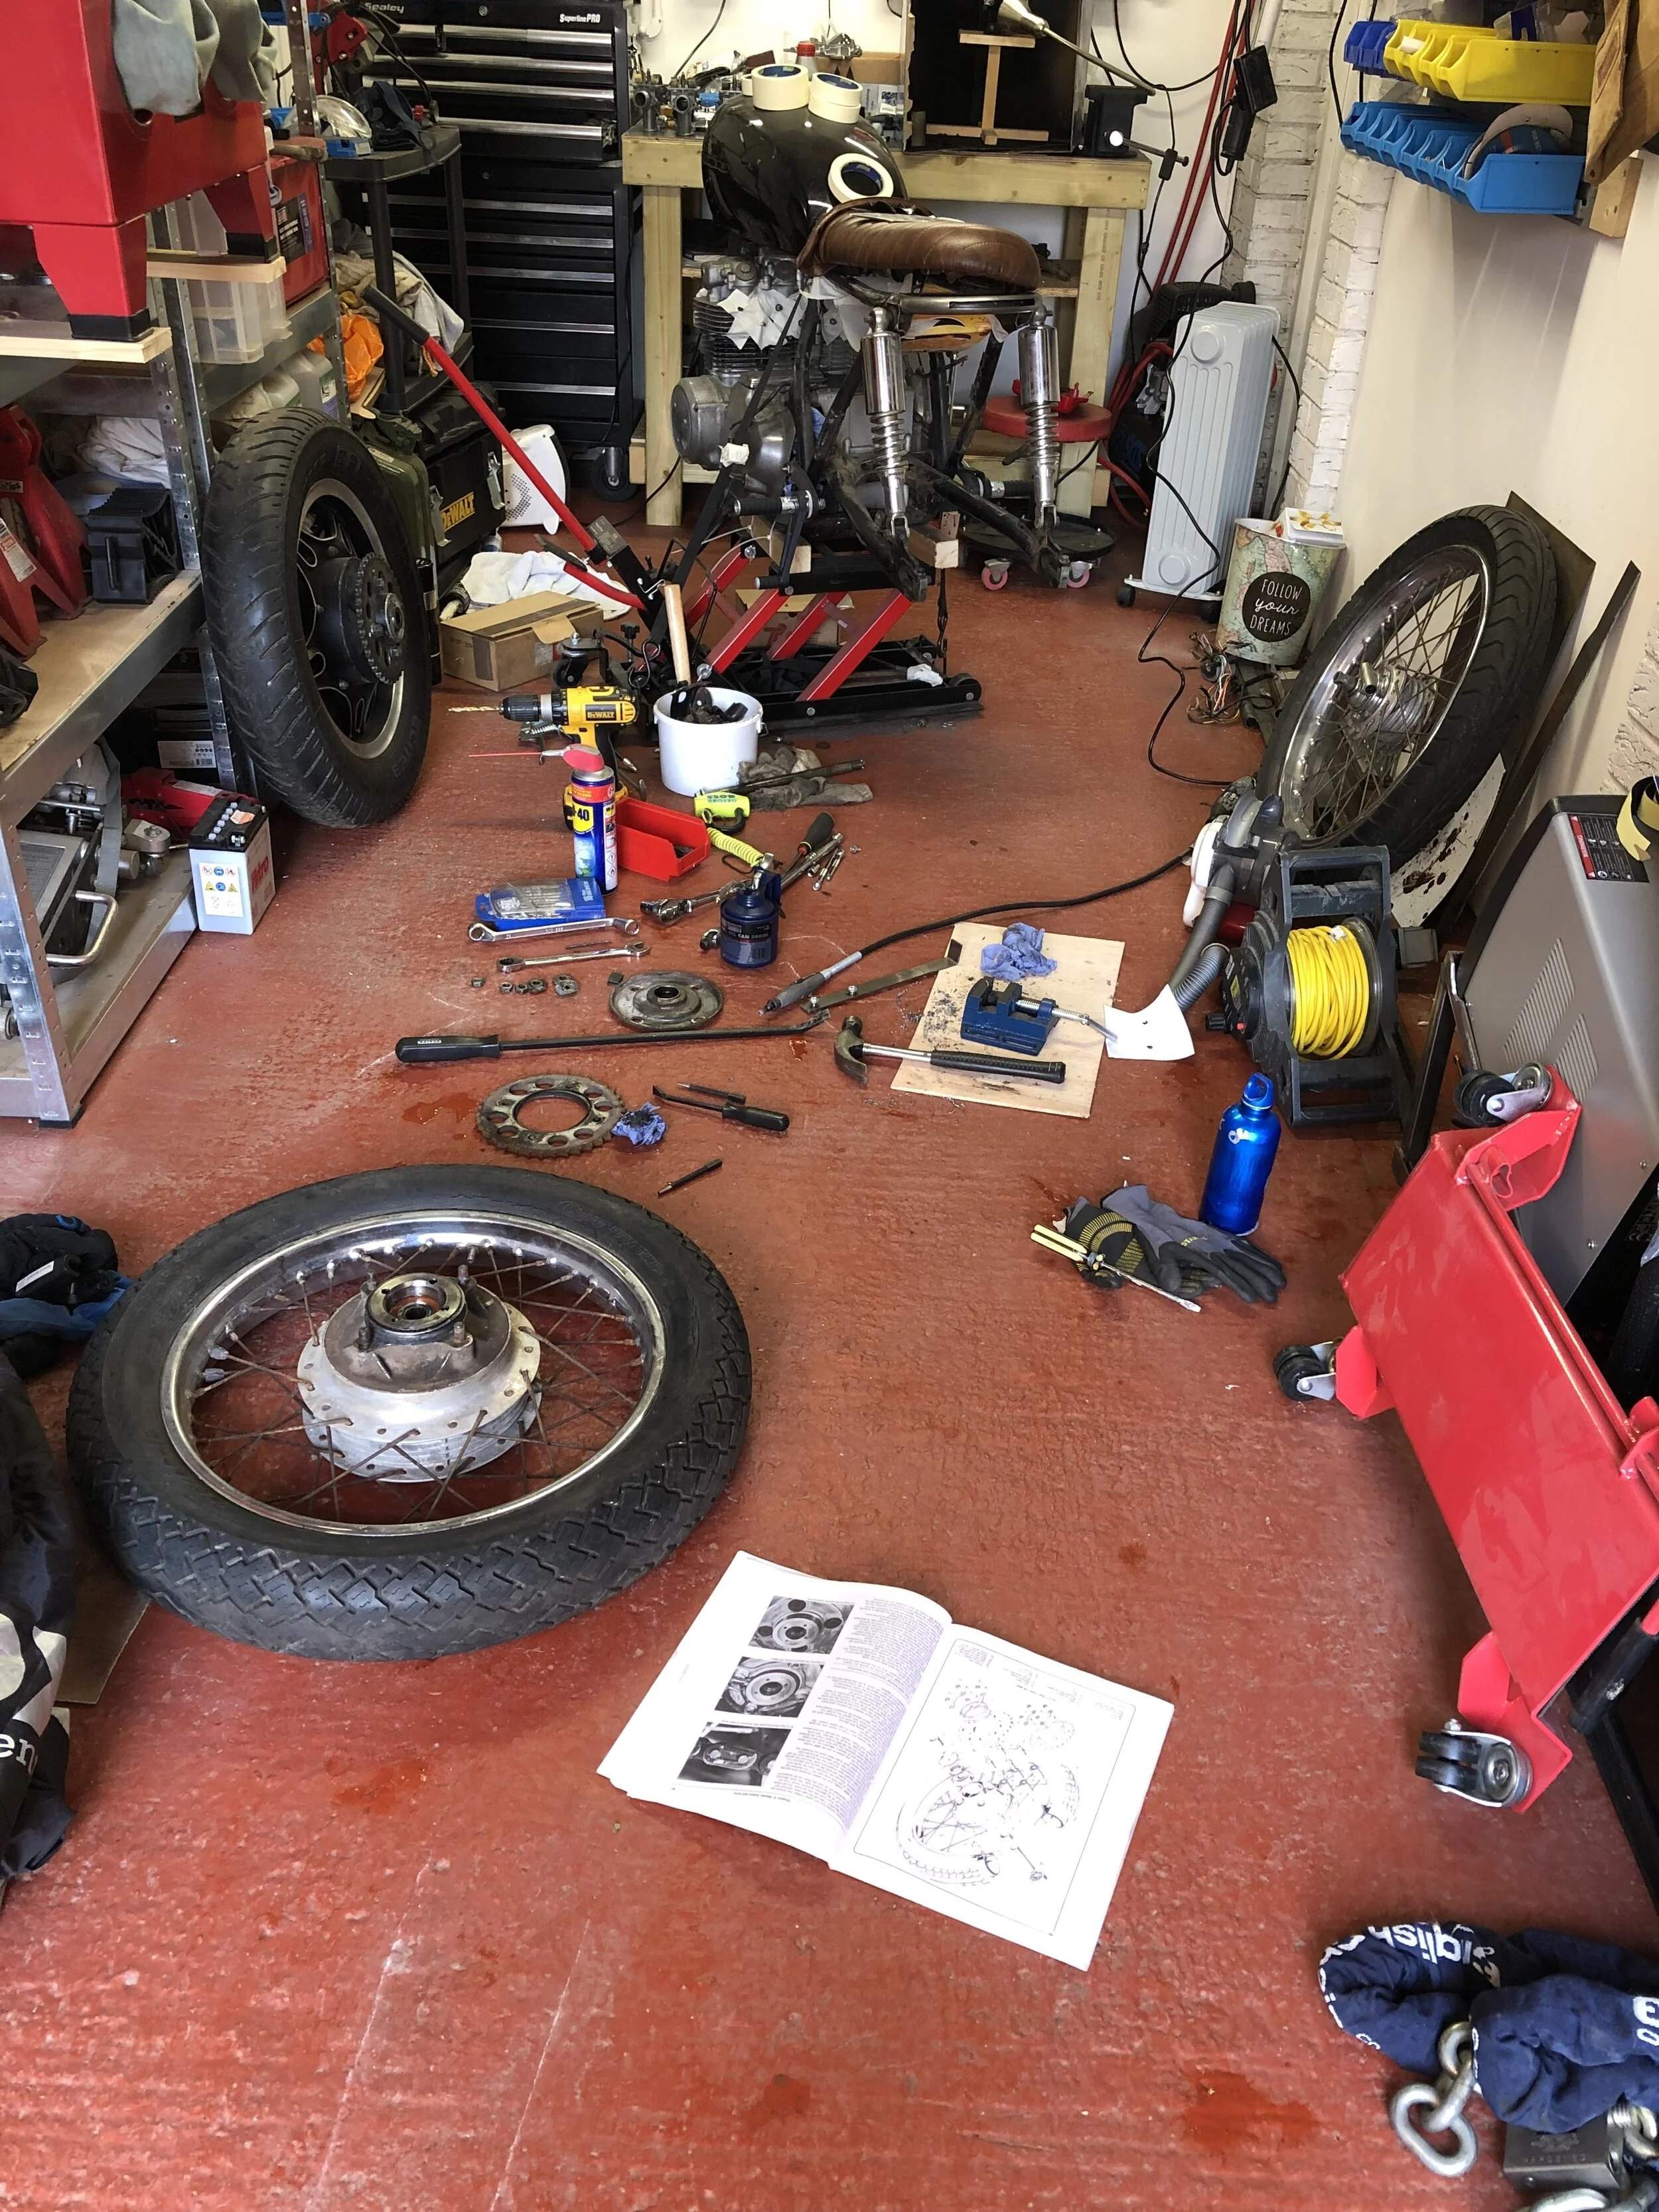
Sourcing parts & exploded diagrams
I've learned that exploded parts diagrams are a savoir; they let you see how things go together. I have a Haynes manual buy usually use CMSNL because it also has part numbers. I worked out that the left bearing has a collar inside it. I'd have probably thrown it out thinking that it was just part of the bearing!
I also found that I needed an axle collar (42311323040) that was missing from the wheel that I bought. I also wanted to replace two O/D rings (91261323000, 91262323000). One was probably re-usable and the other got a little cremated by the blow torch because I didn't know it was there.
Annoyingly, all of these parts are discontinued and even places like David Silver Spares don't have them. I ended up buying from Germany via eBay but the delivery costs really rack up and waiting for parts stalls progress. Anyway, the d-ring replacement turned out to be an o-ring so not ideal.
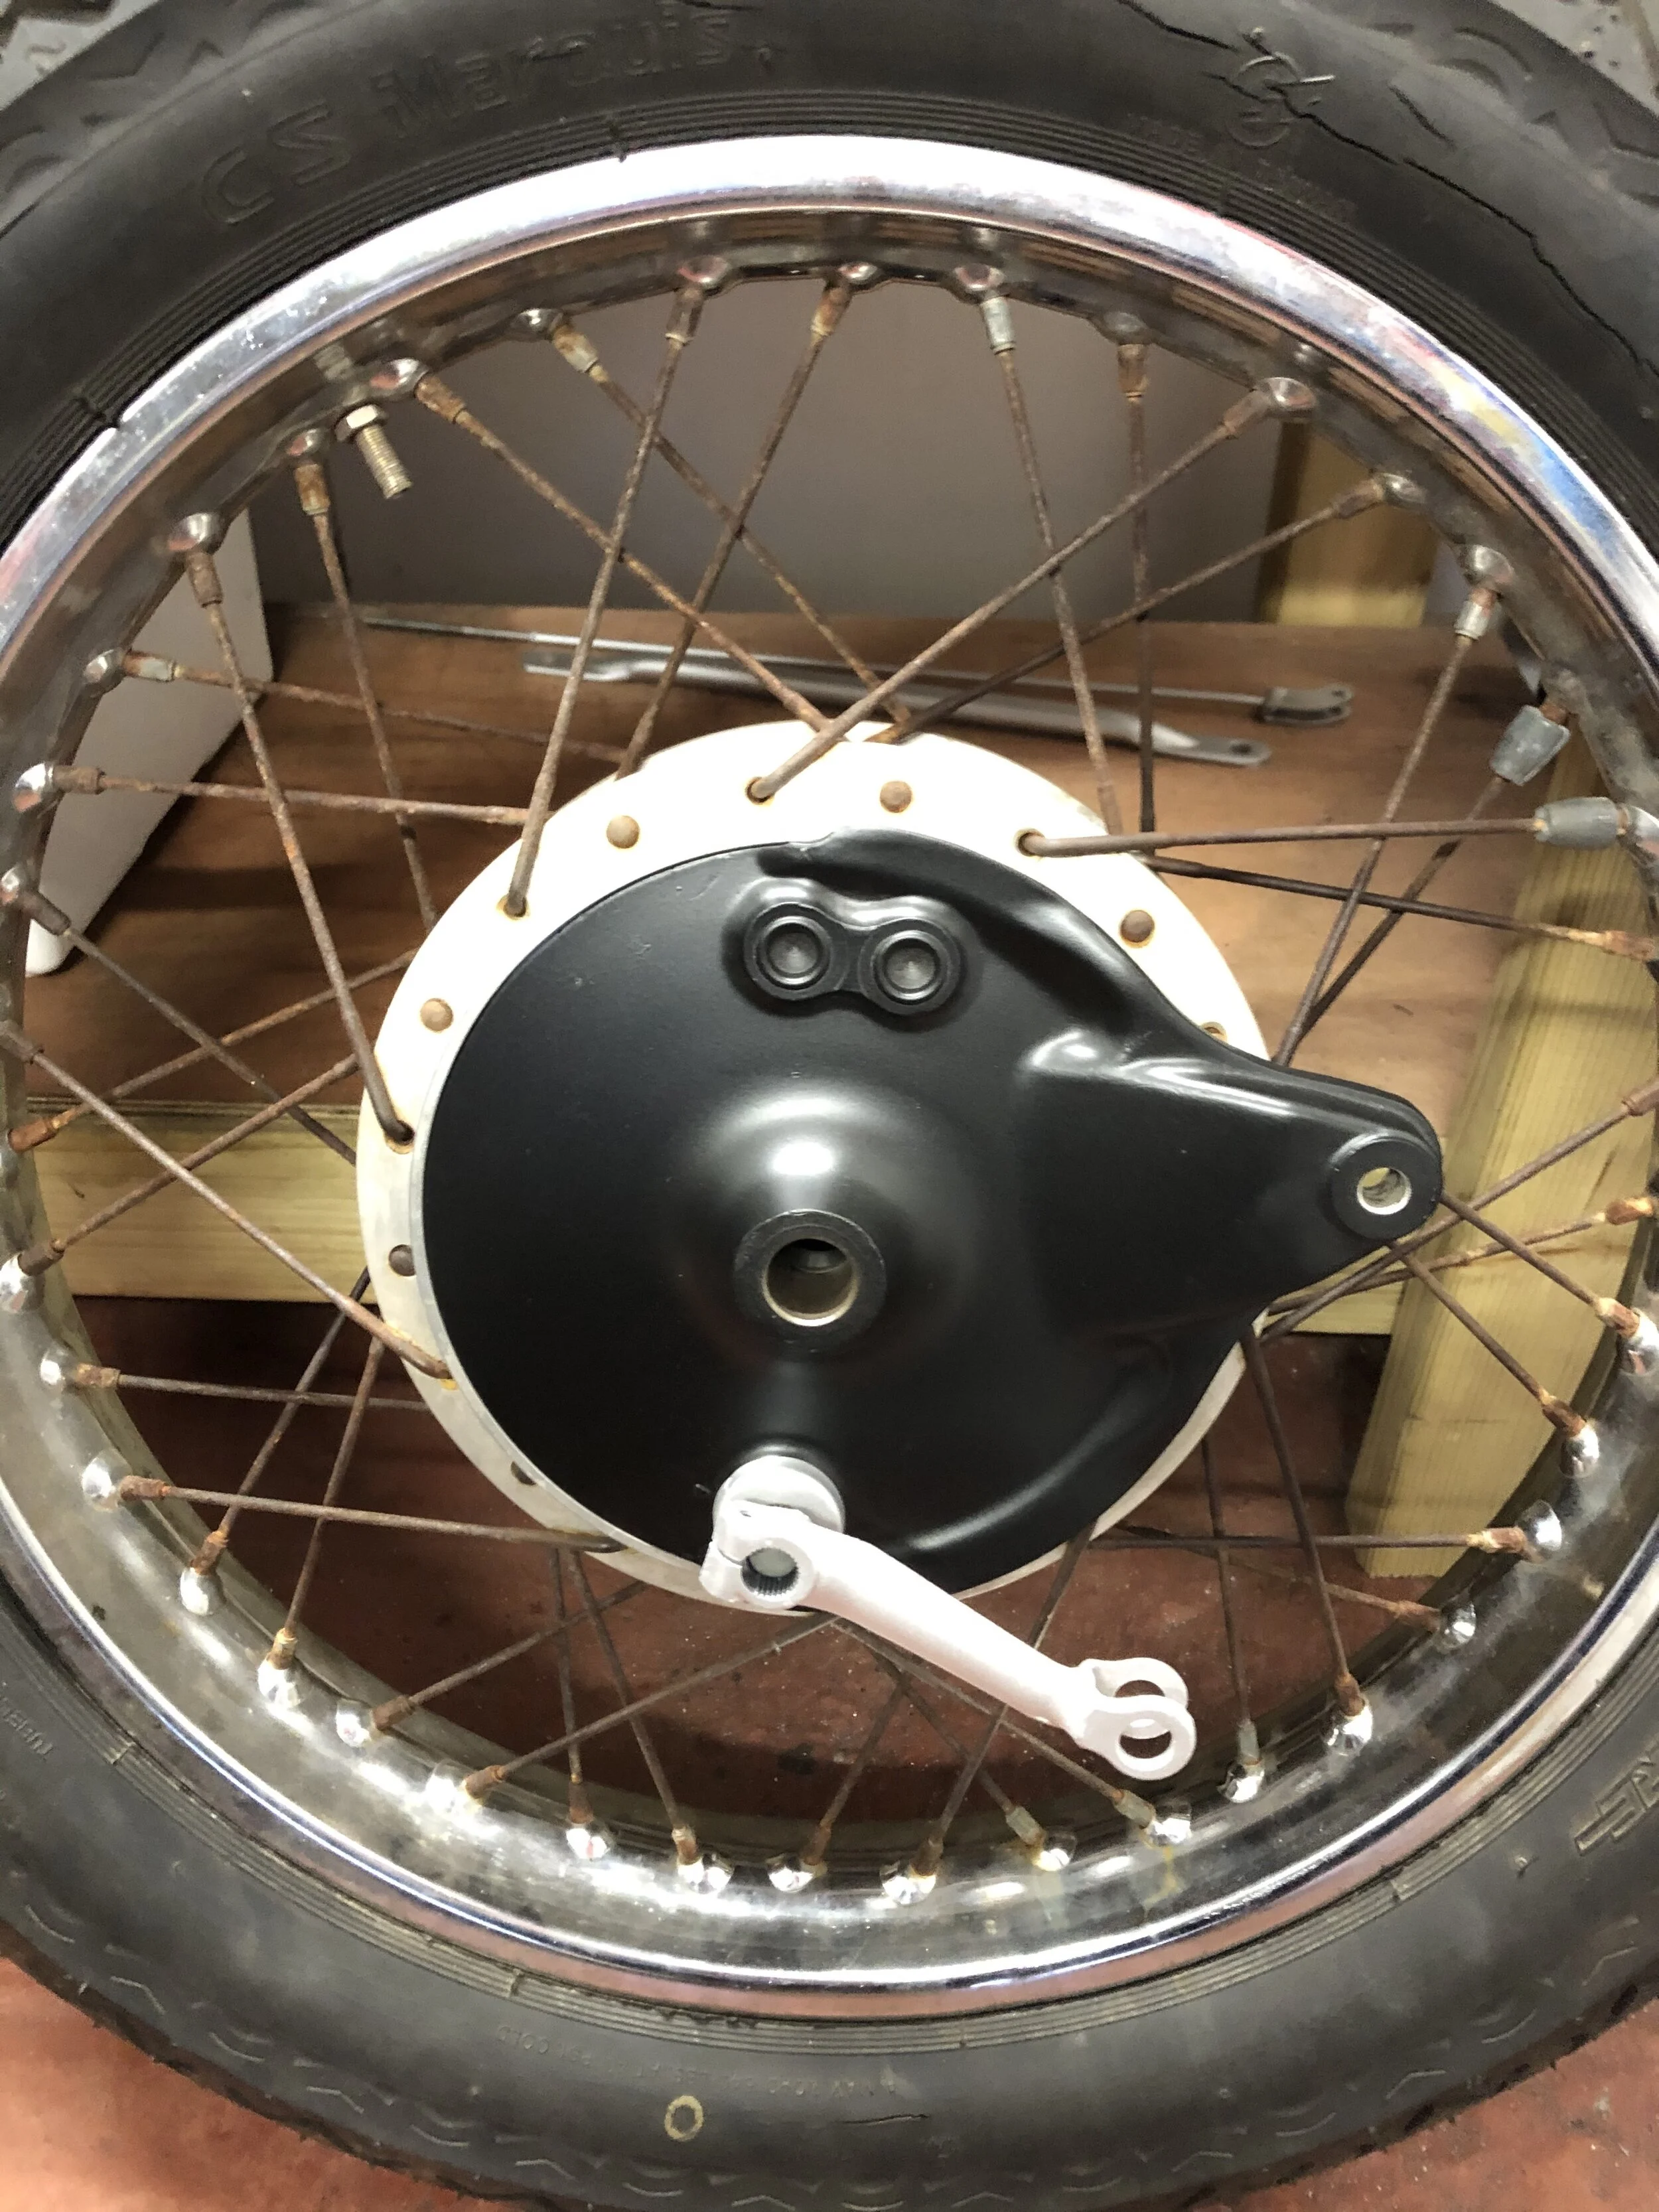
Re-assembling
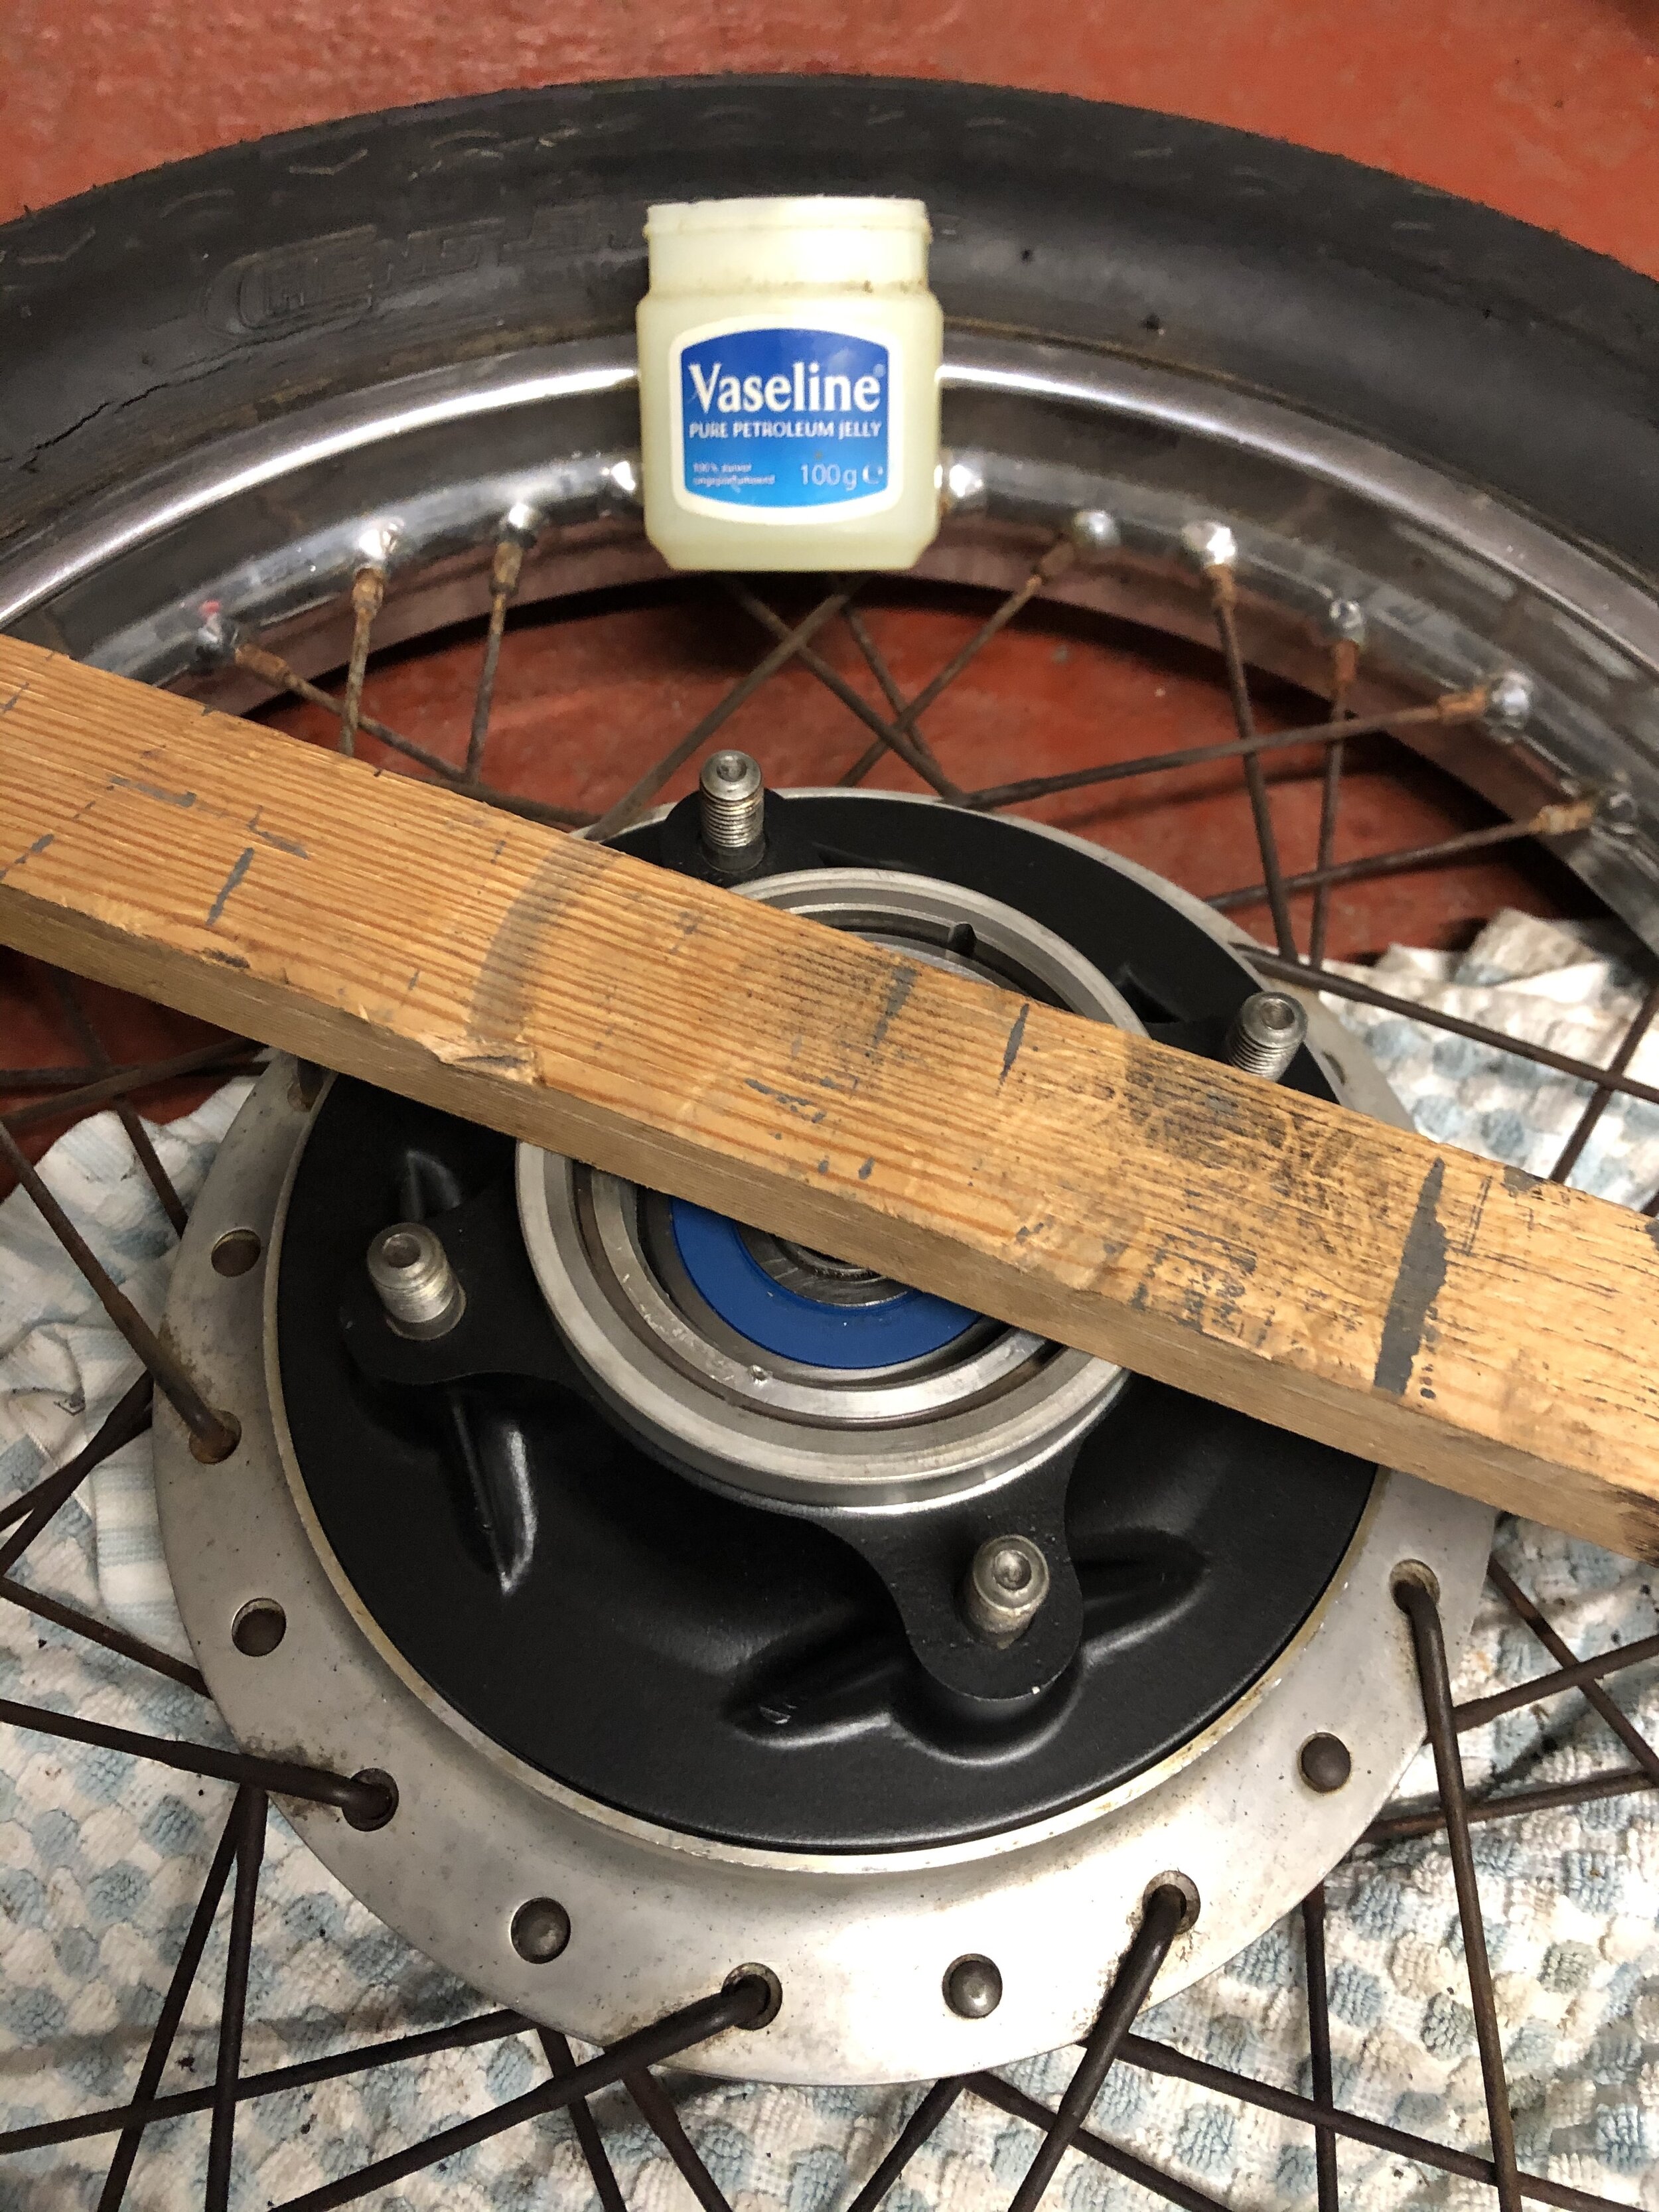
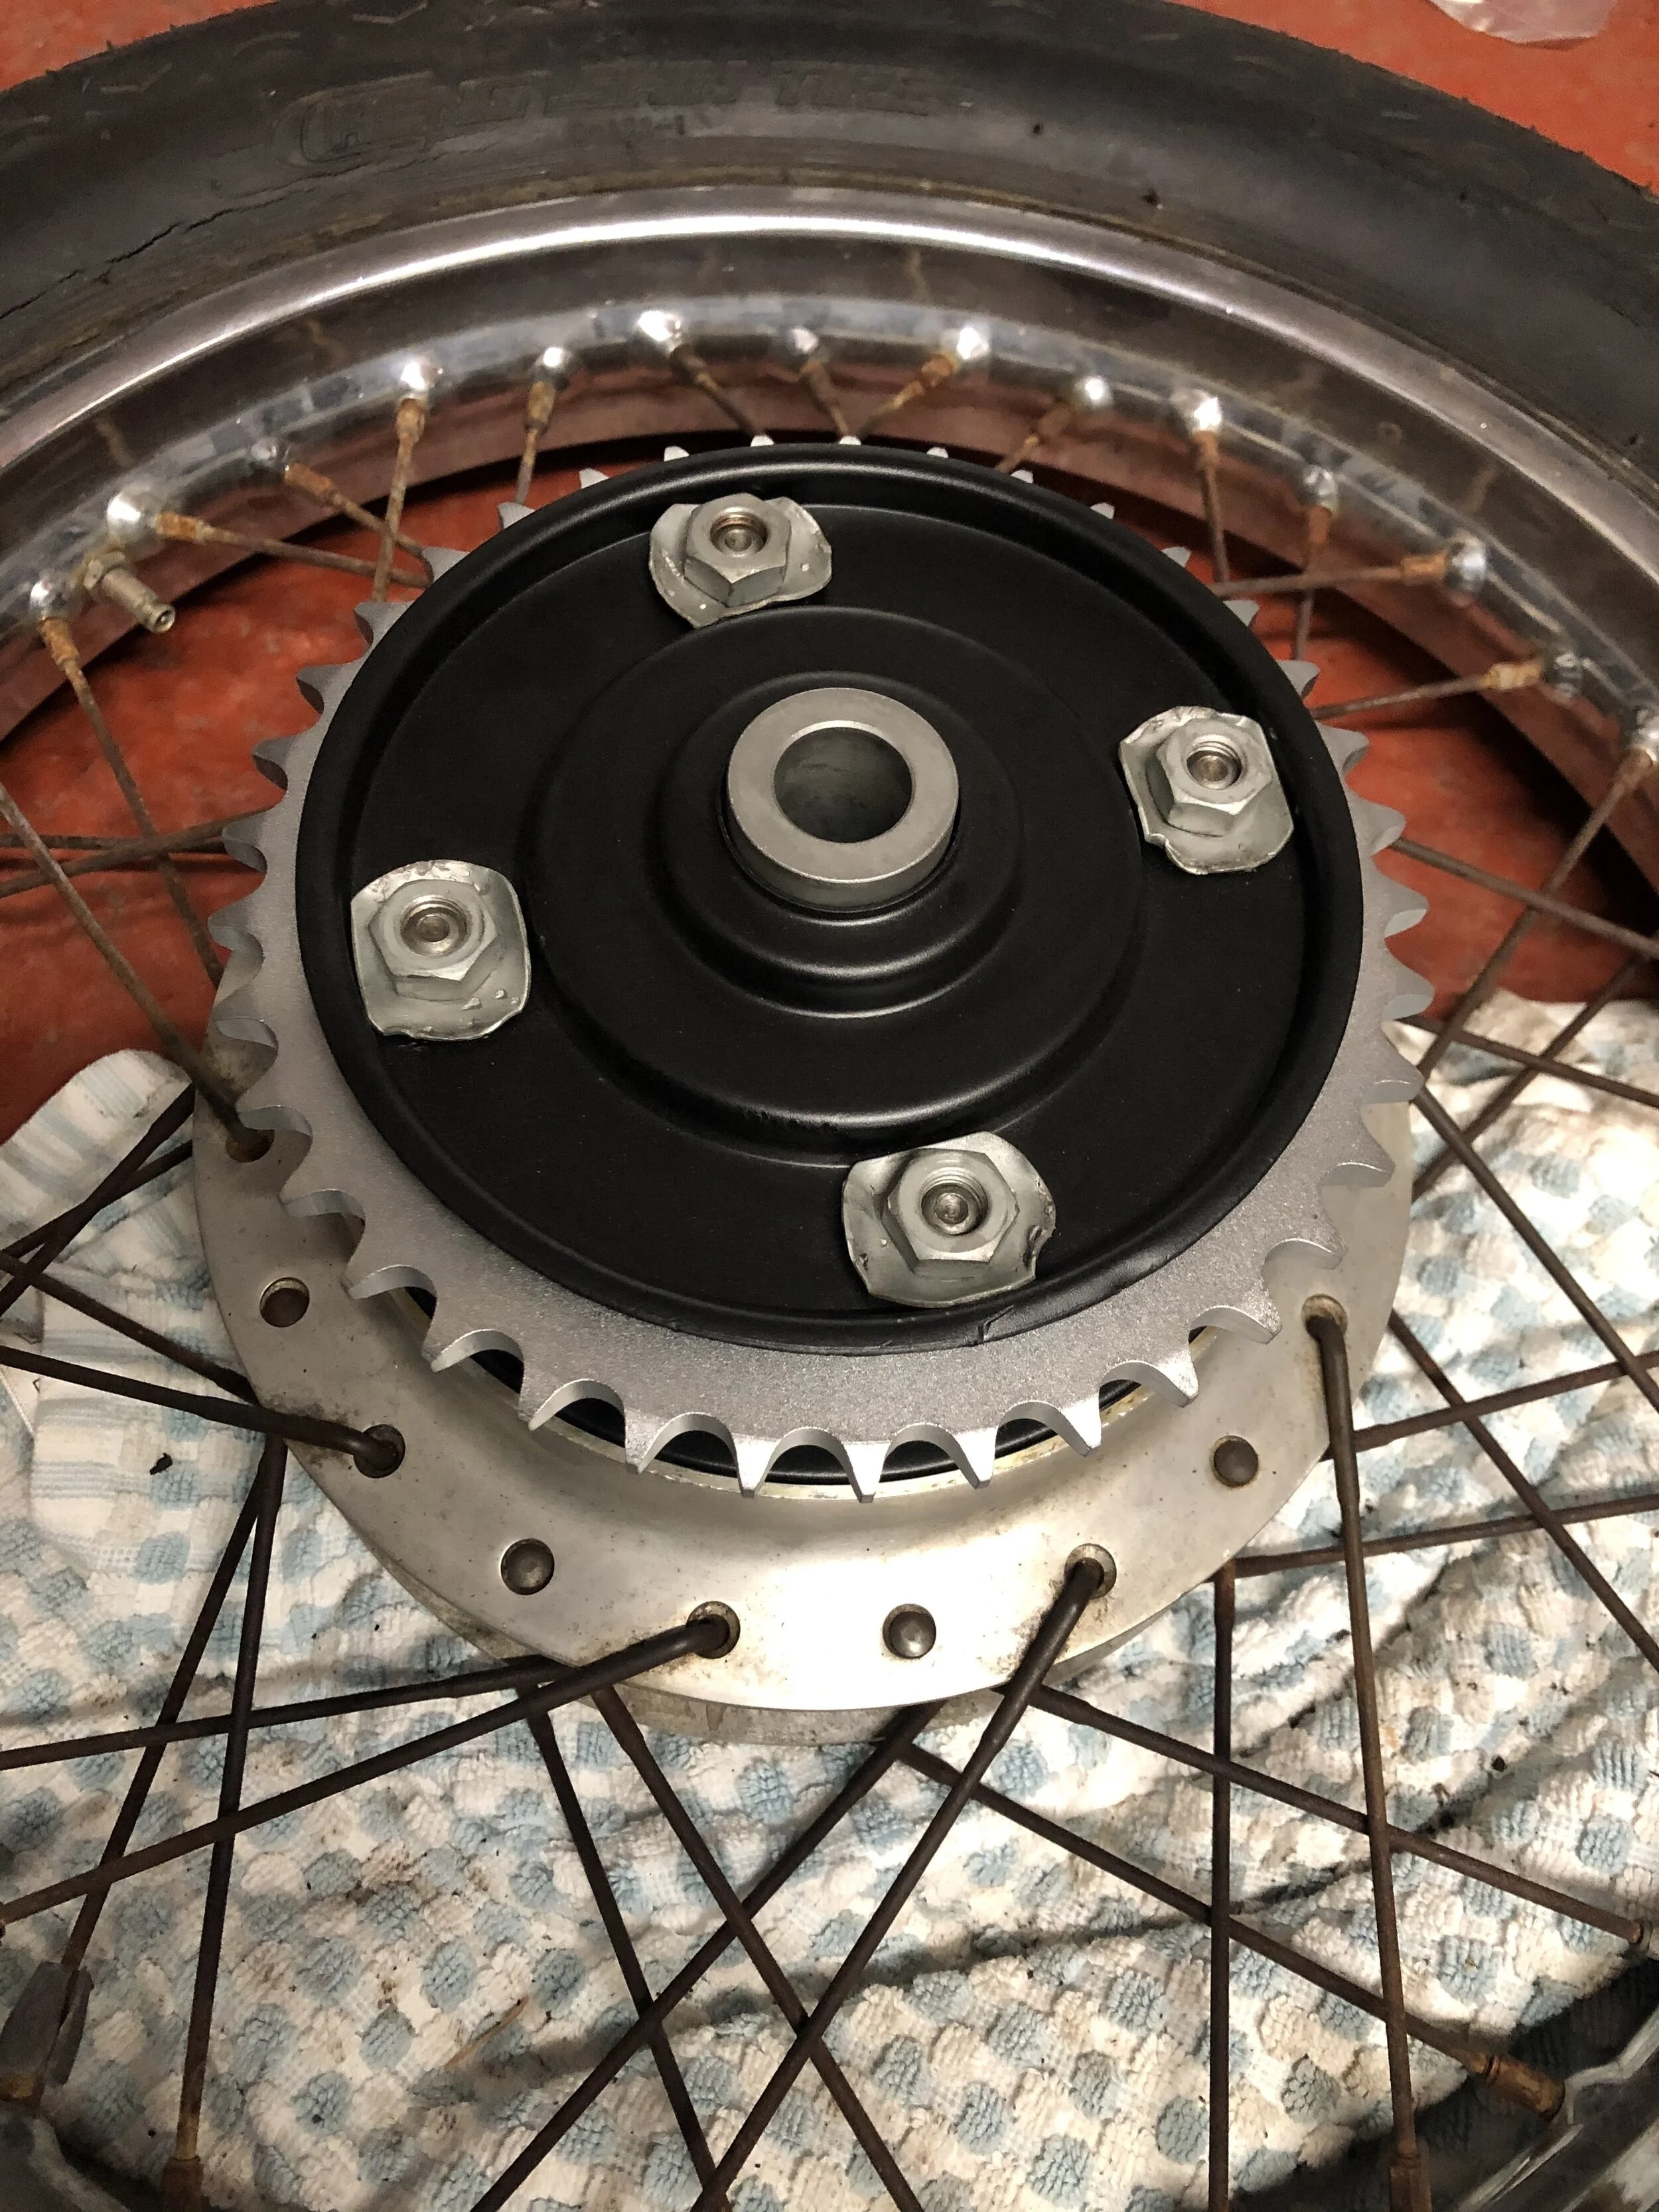
Using the exploded diagram for reference, it’s pretty simple to put back together. I test assembled the final drive flange on the bench and used some silicone spray on the dust seal / axle collar. The flange needs to be stripped to re-assemble on the wheel as the bearing retainer also secures it in place. Getting the flange on the new cush drive rubbers was tricky - a lot of friction. I ended up using some Vaseline and an off-cut of wood to hit it down.


In summary
After all that, the wheel still looks rough! I'm keeping the old spokes & WM2 rim for now to mock things up but later on I'll strip the wheel again (leaving the bearings in), snip the spokes, clean & spray the hub black then get the wheel re-laced on a WM3 rim plus a new tyre fitted and balanced at the same time.
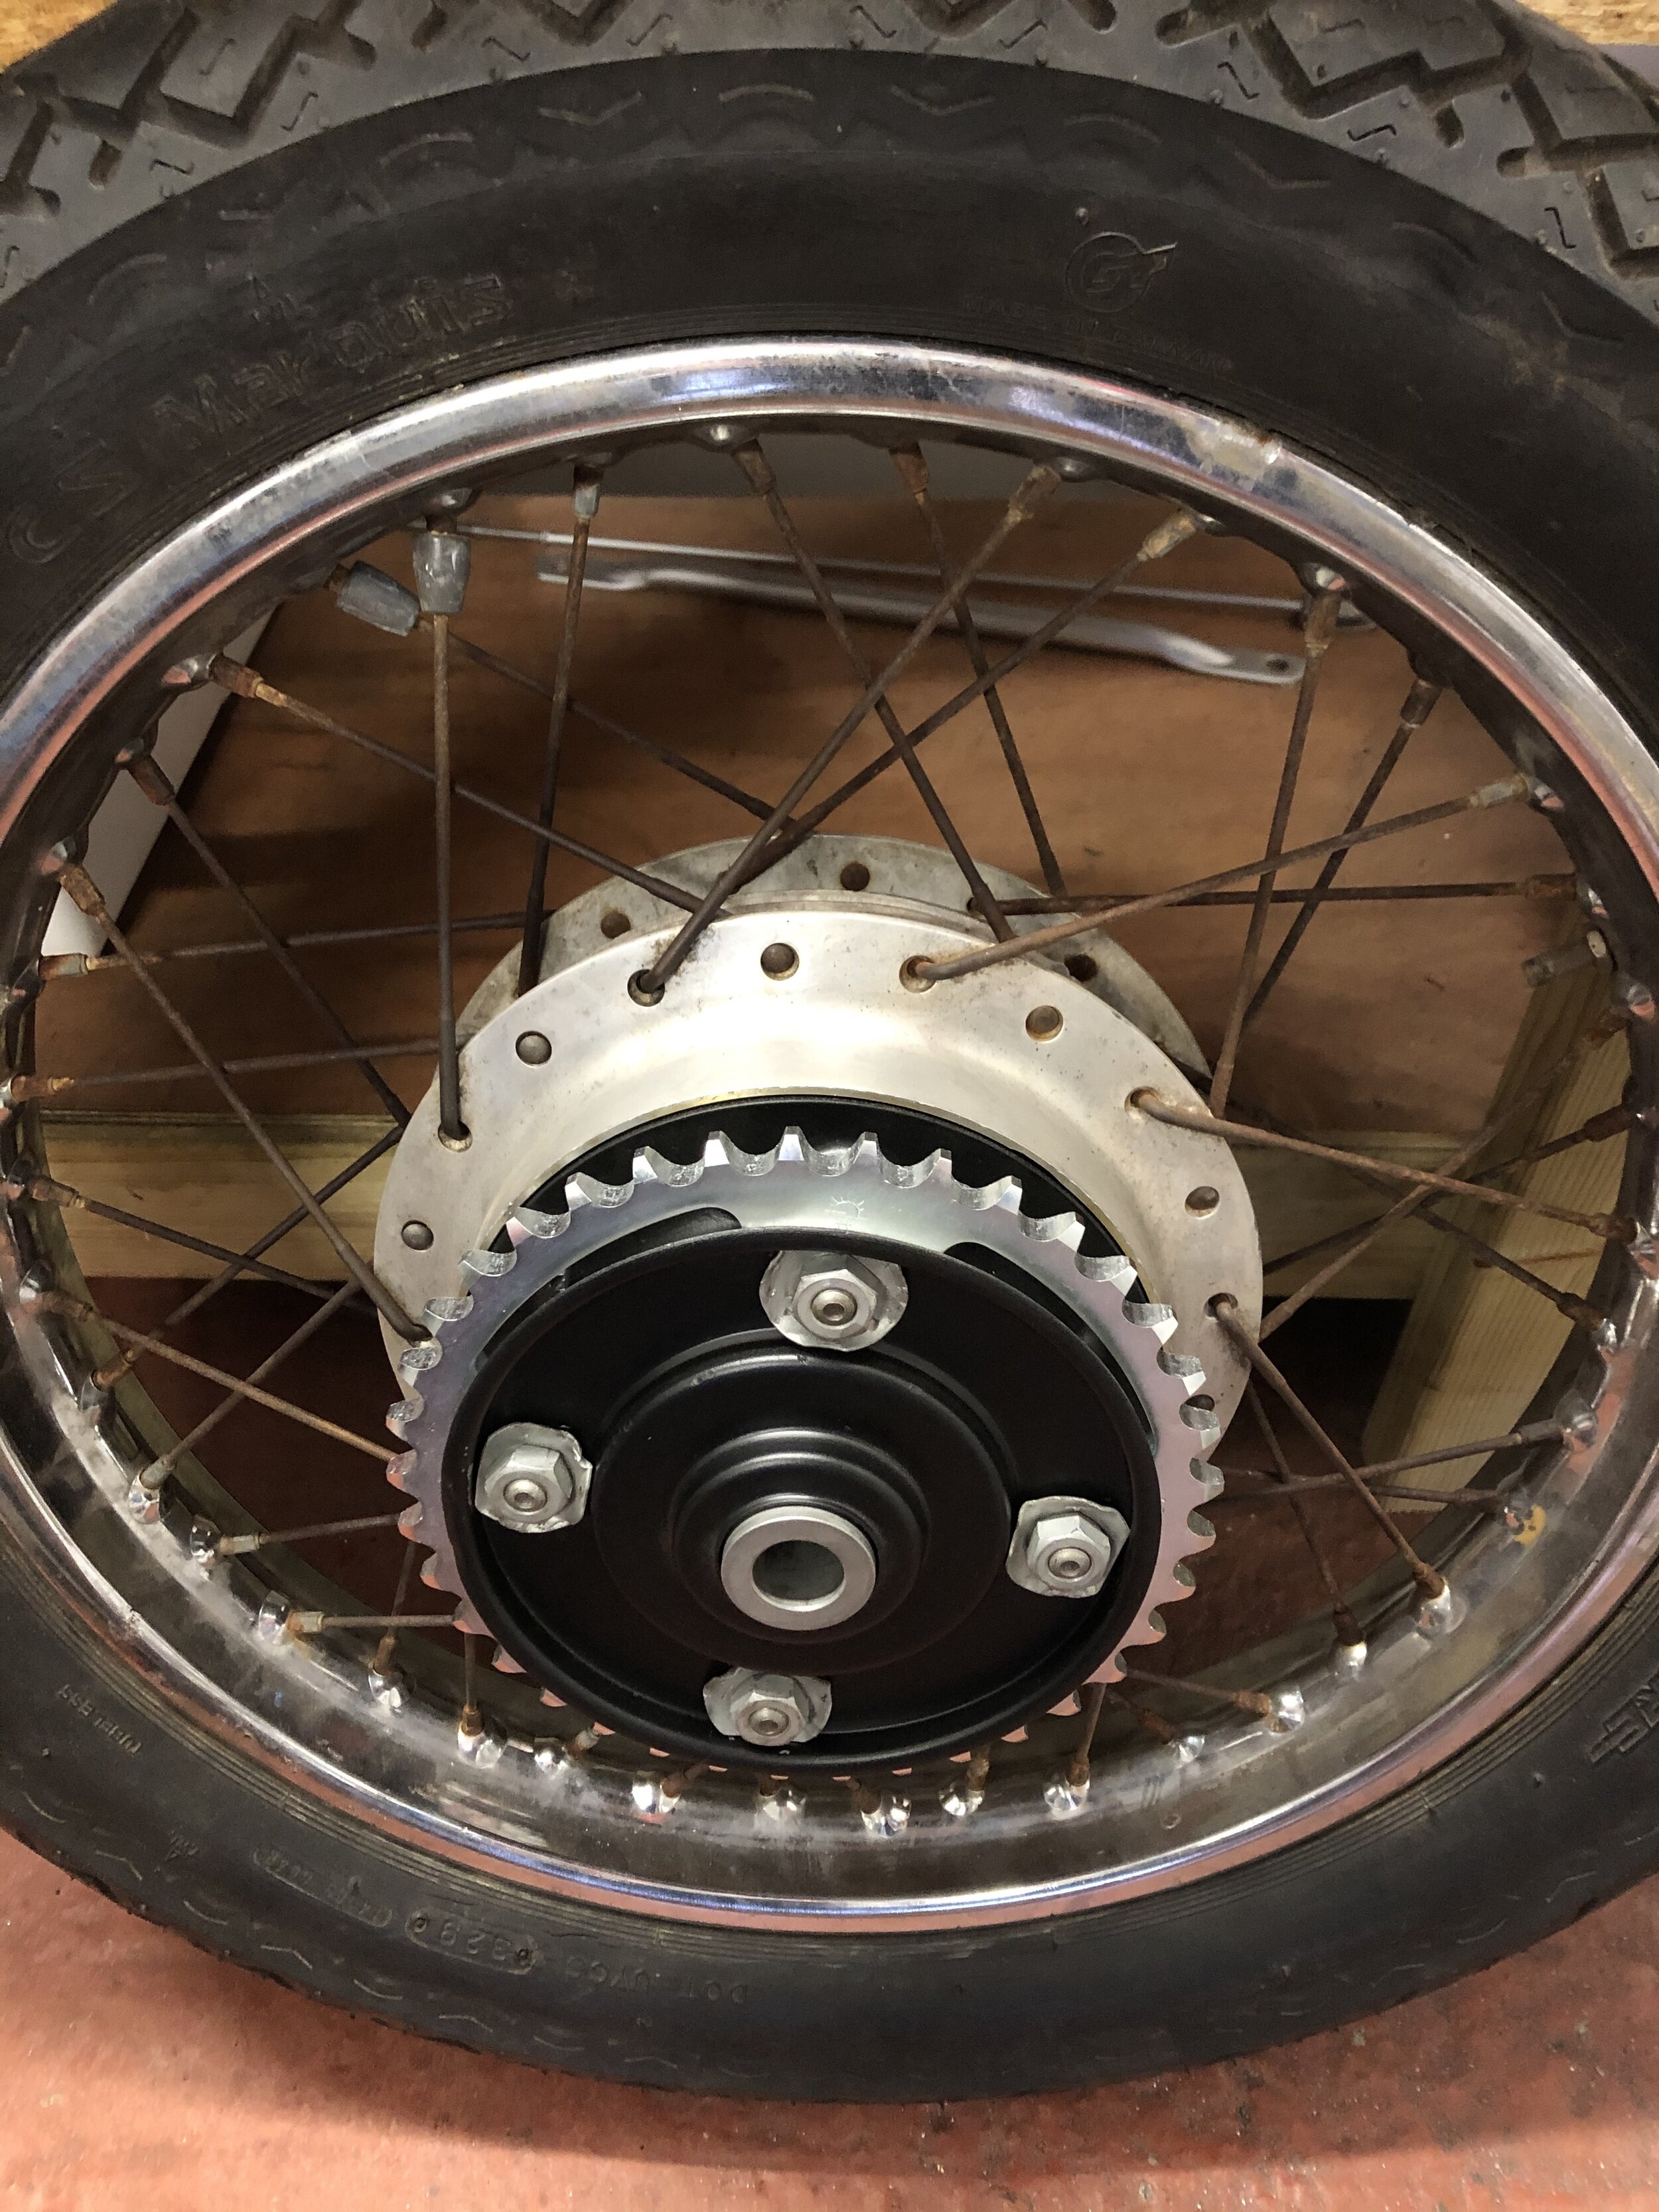
A good, clean, refurbished flange & rear brake hub + new bearings was the aim for this part of the build. I just didn't expect it to take months, be such a learning curve and cost so much!
The next job to tackle is the front shocks…


All copyright belongs to whoever owns any brand / logo on this site. Ride the miles has no affiliation nor permission to use them. They are purely products that have been used and found to be good.