Honda CB550 front end build, roller taper bearings & fender

Being a cafe racer (albeit with a brat style seat) and going for the obligatory clip-ons, I got rid of the stock top yoke / clamp that had risers on it. I went with a Cognito billet aluminium one in bare metal to modify and spray satin black myself to match the rest of the bike.
I also bought an aluminium top nut from Cognito Moto and a 24mm aluminium washer from eBay. It’s only around 3mm wide so sits under the nut out of sight.
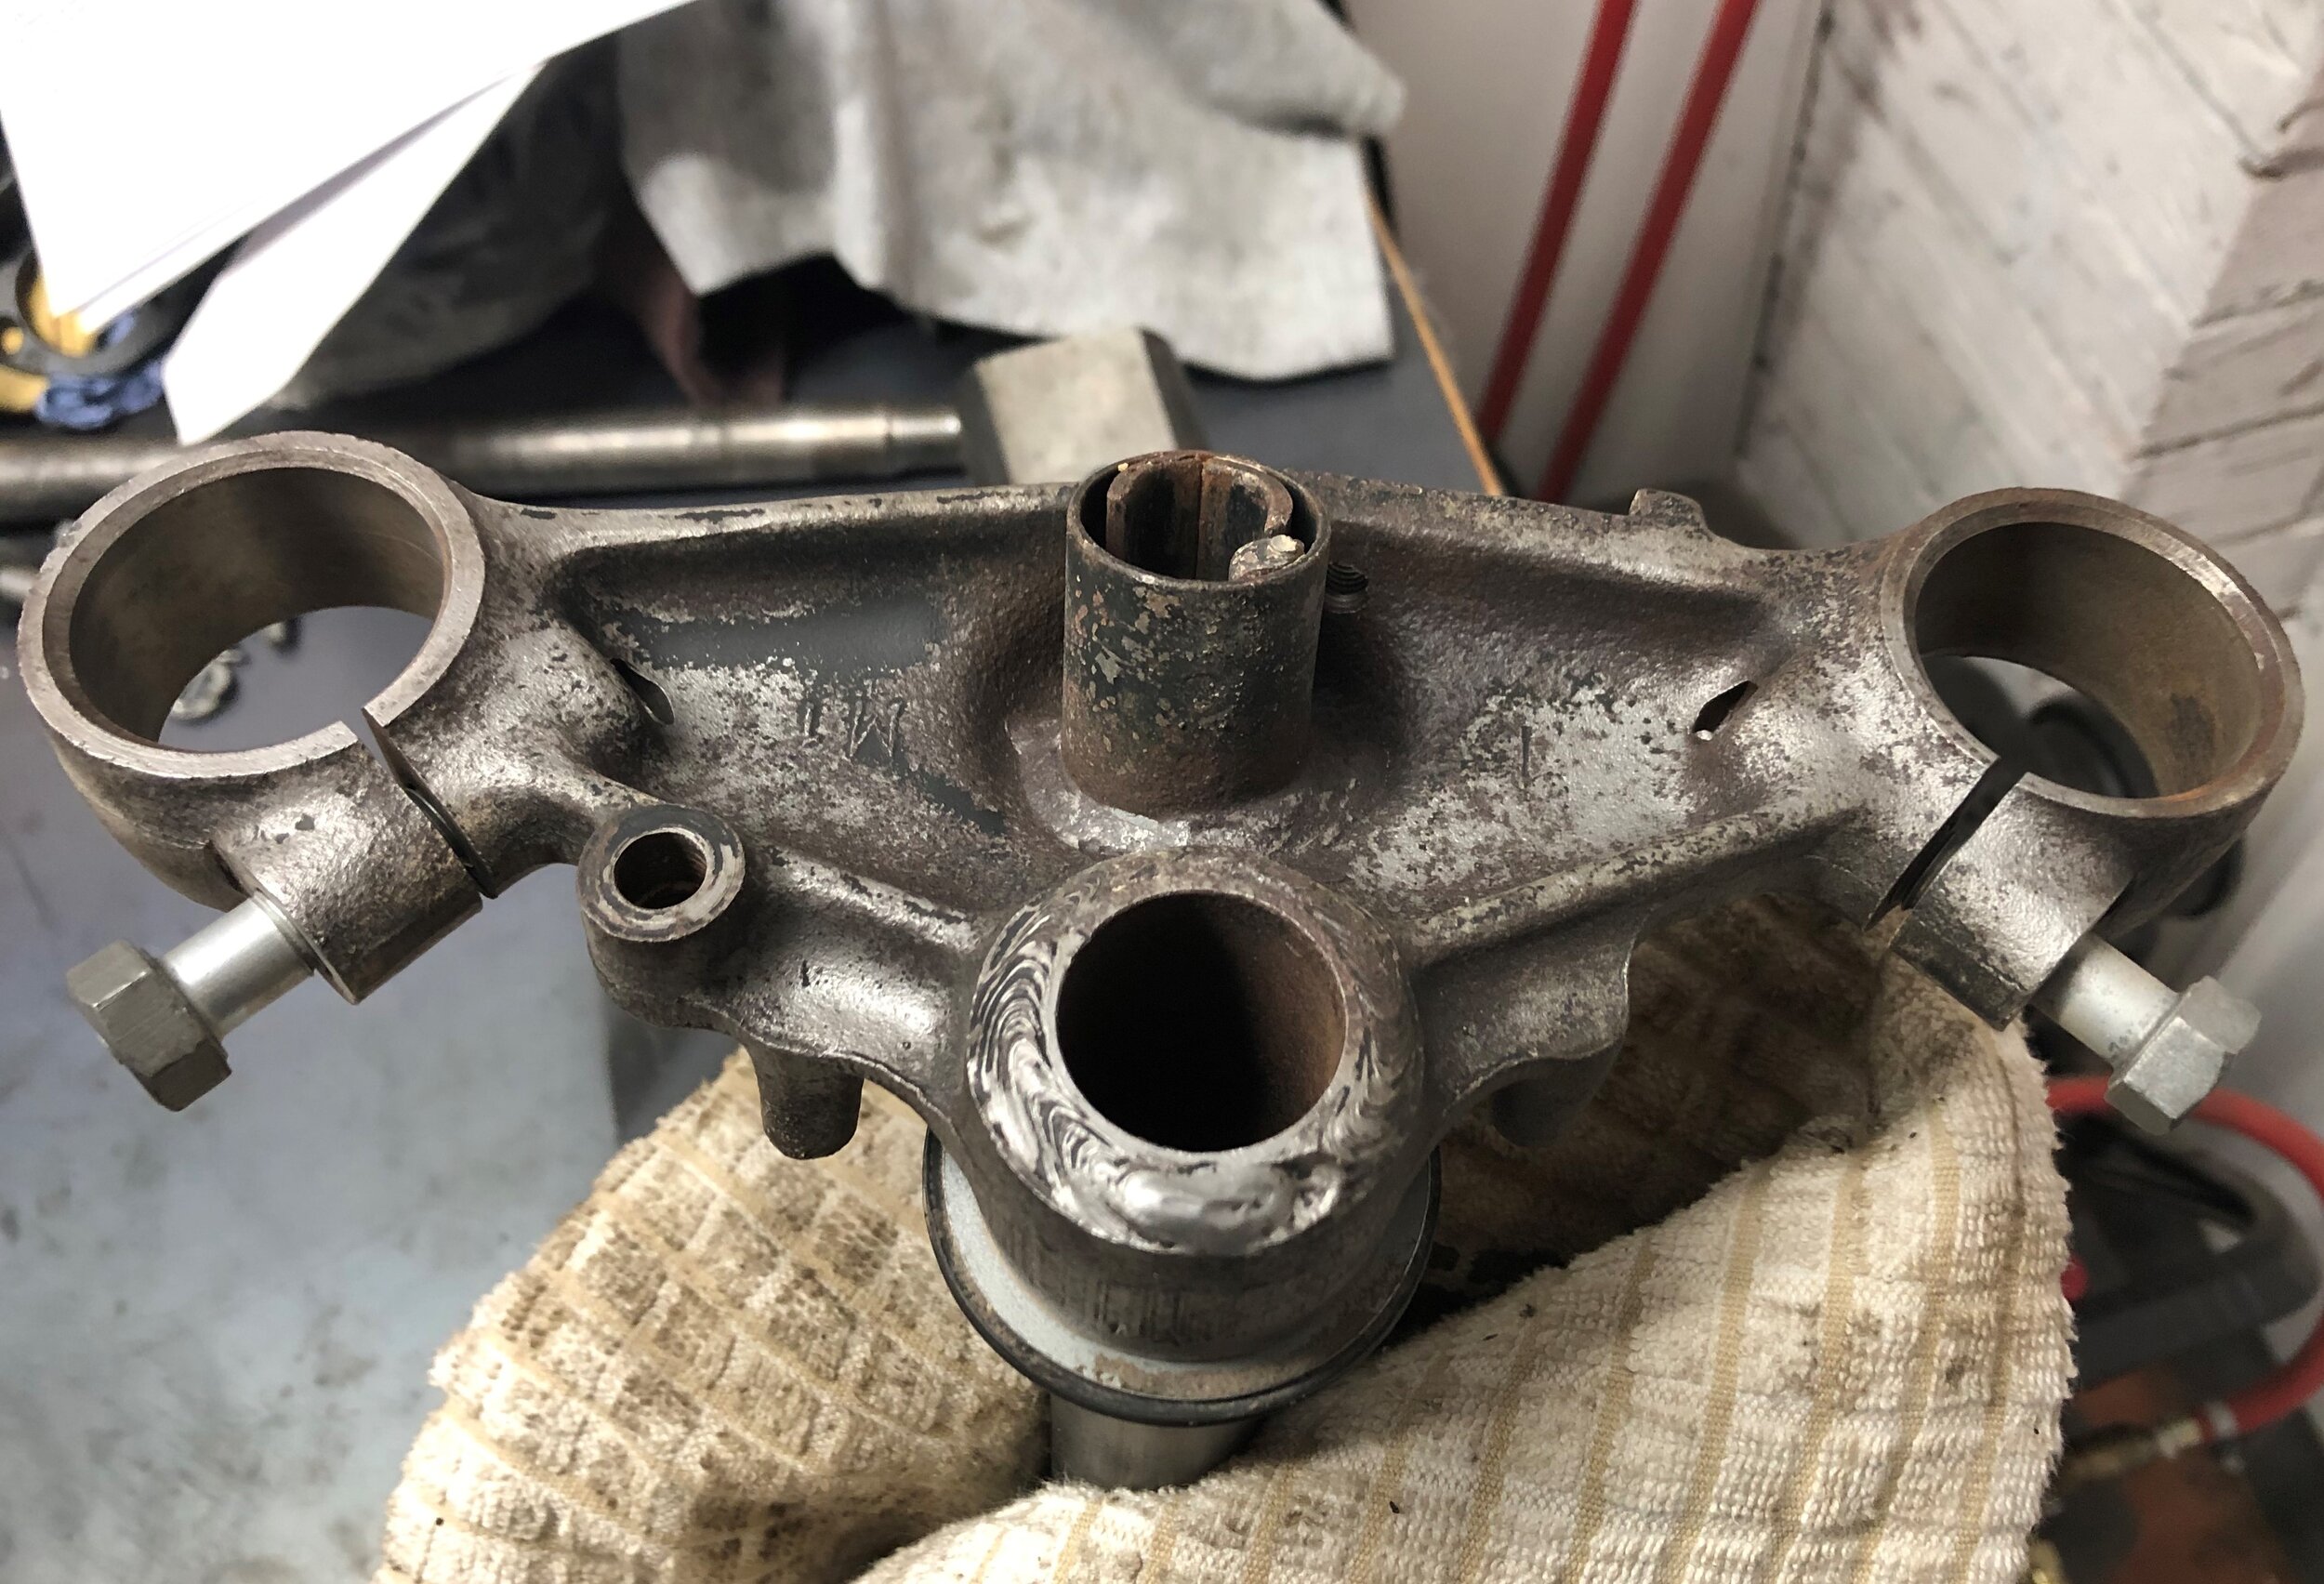
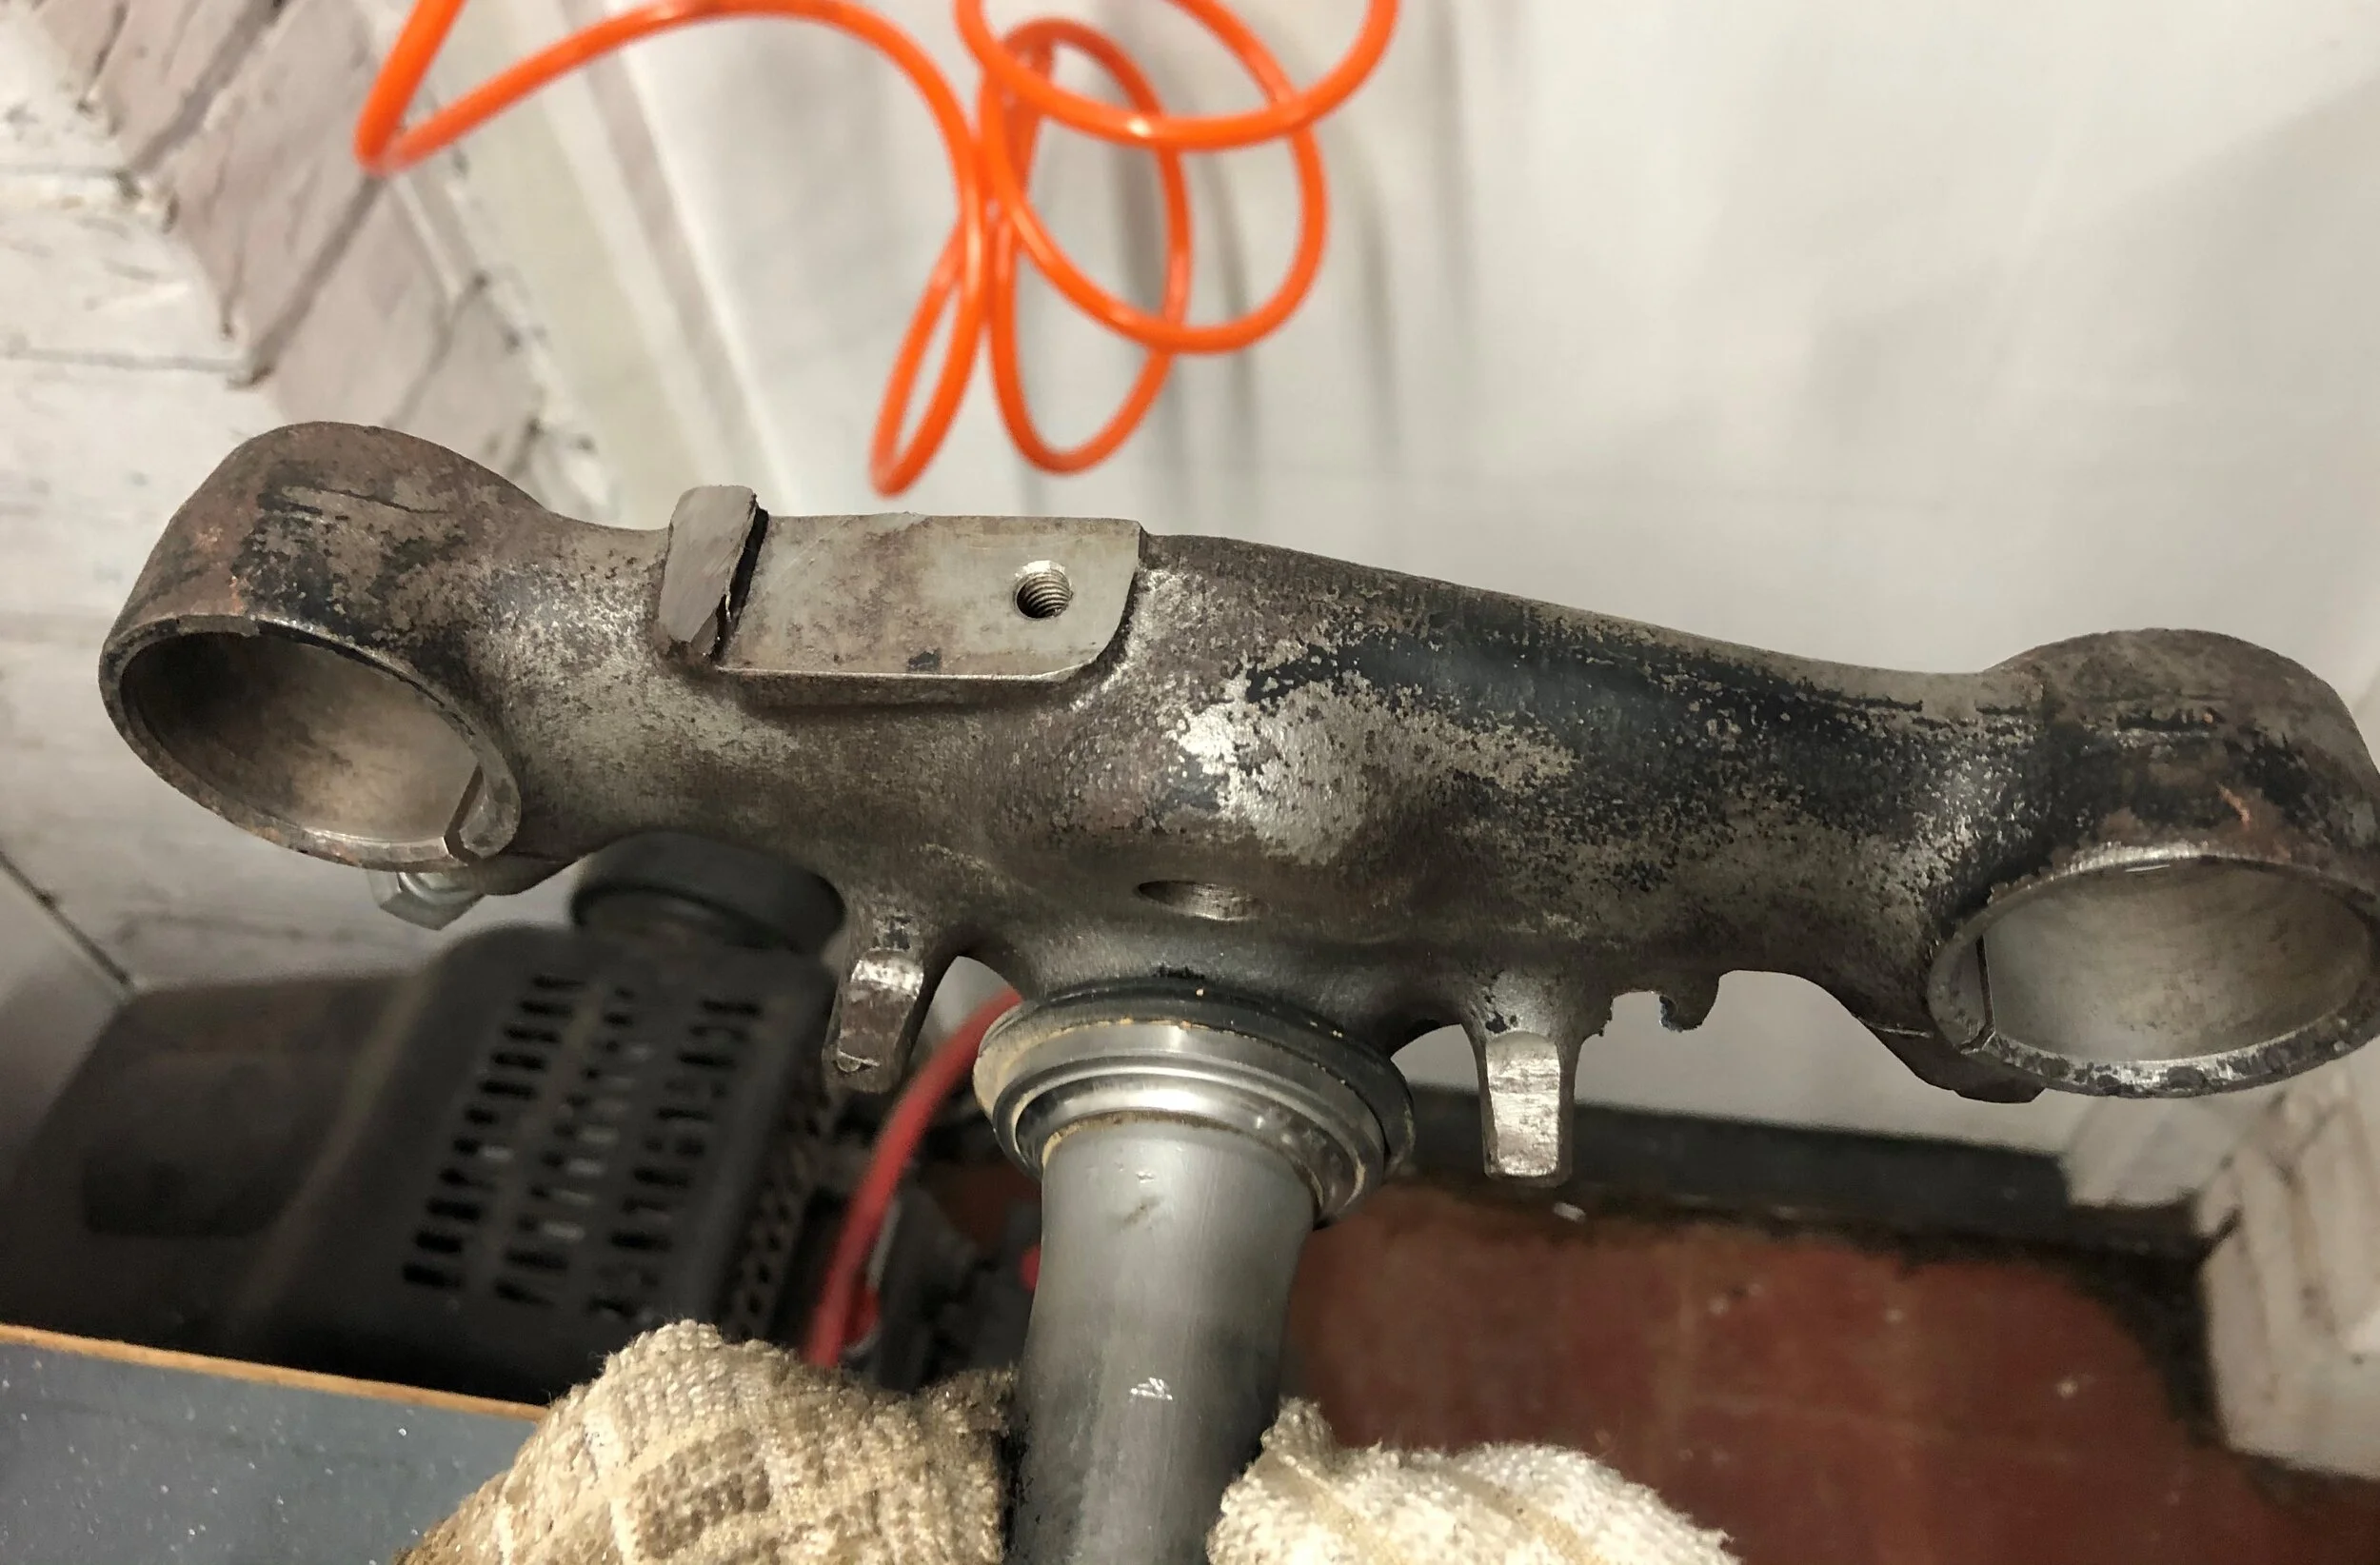
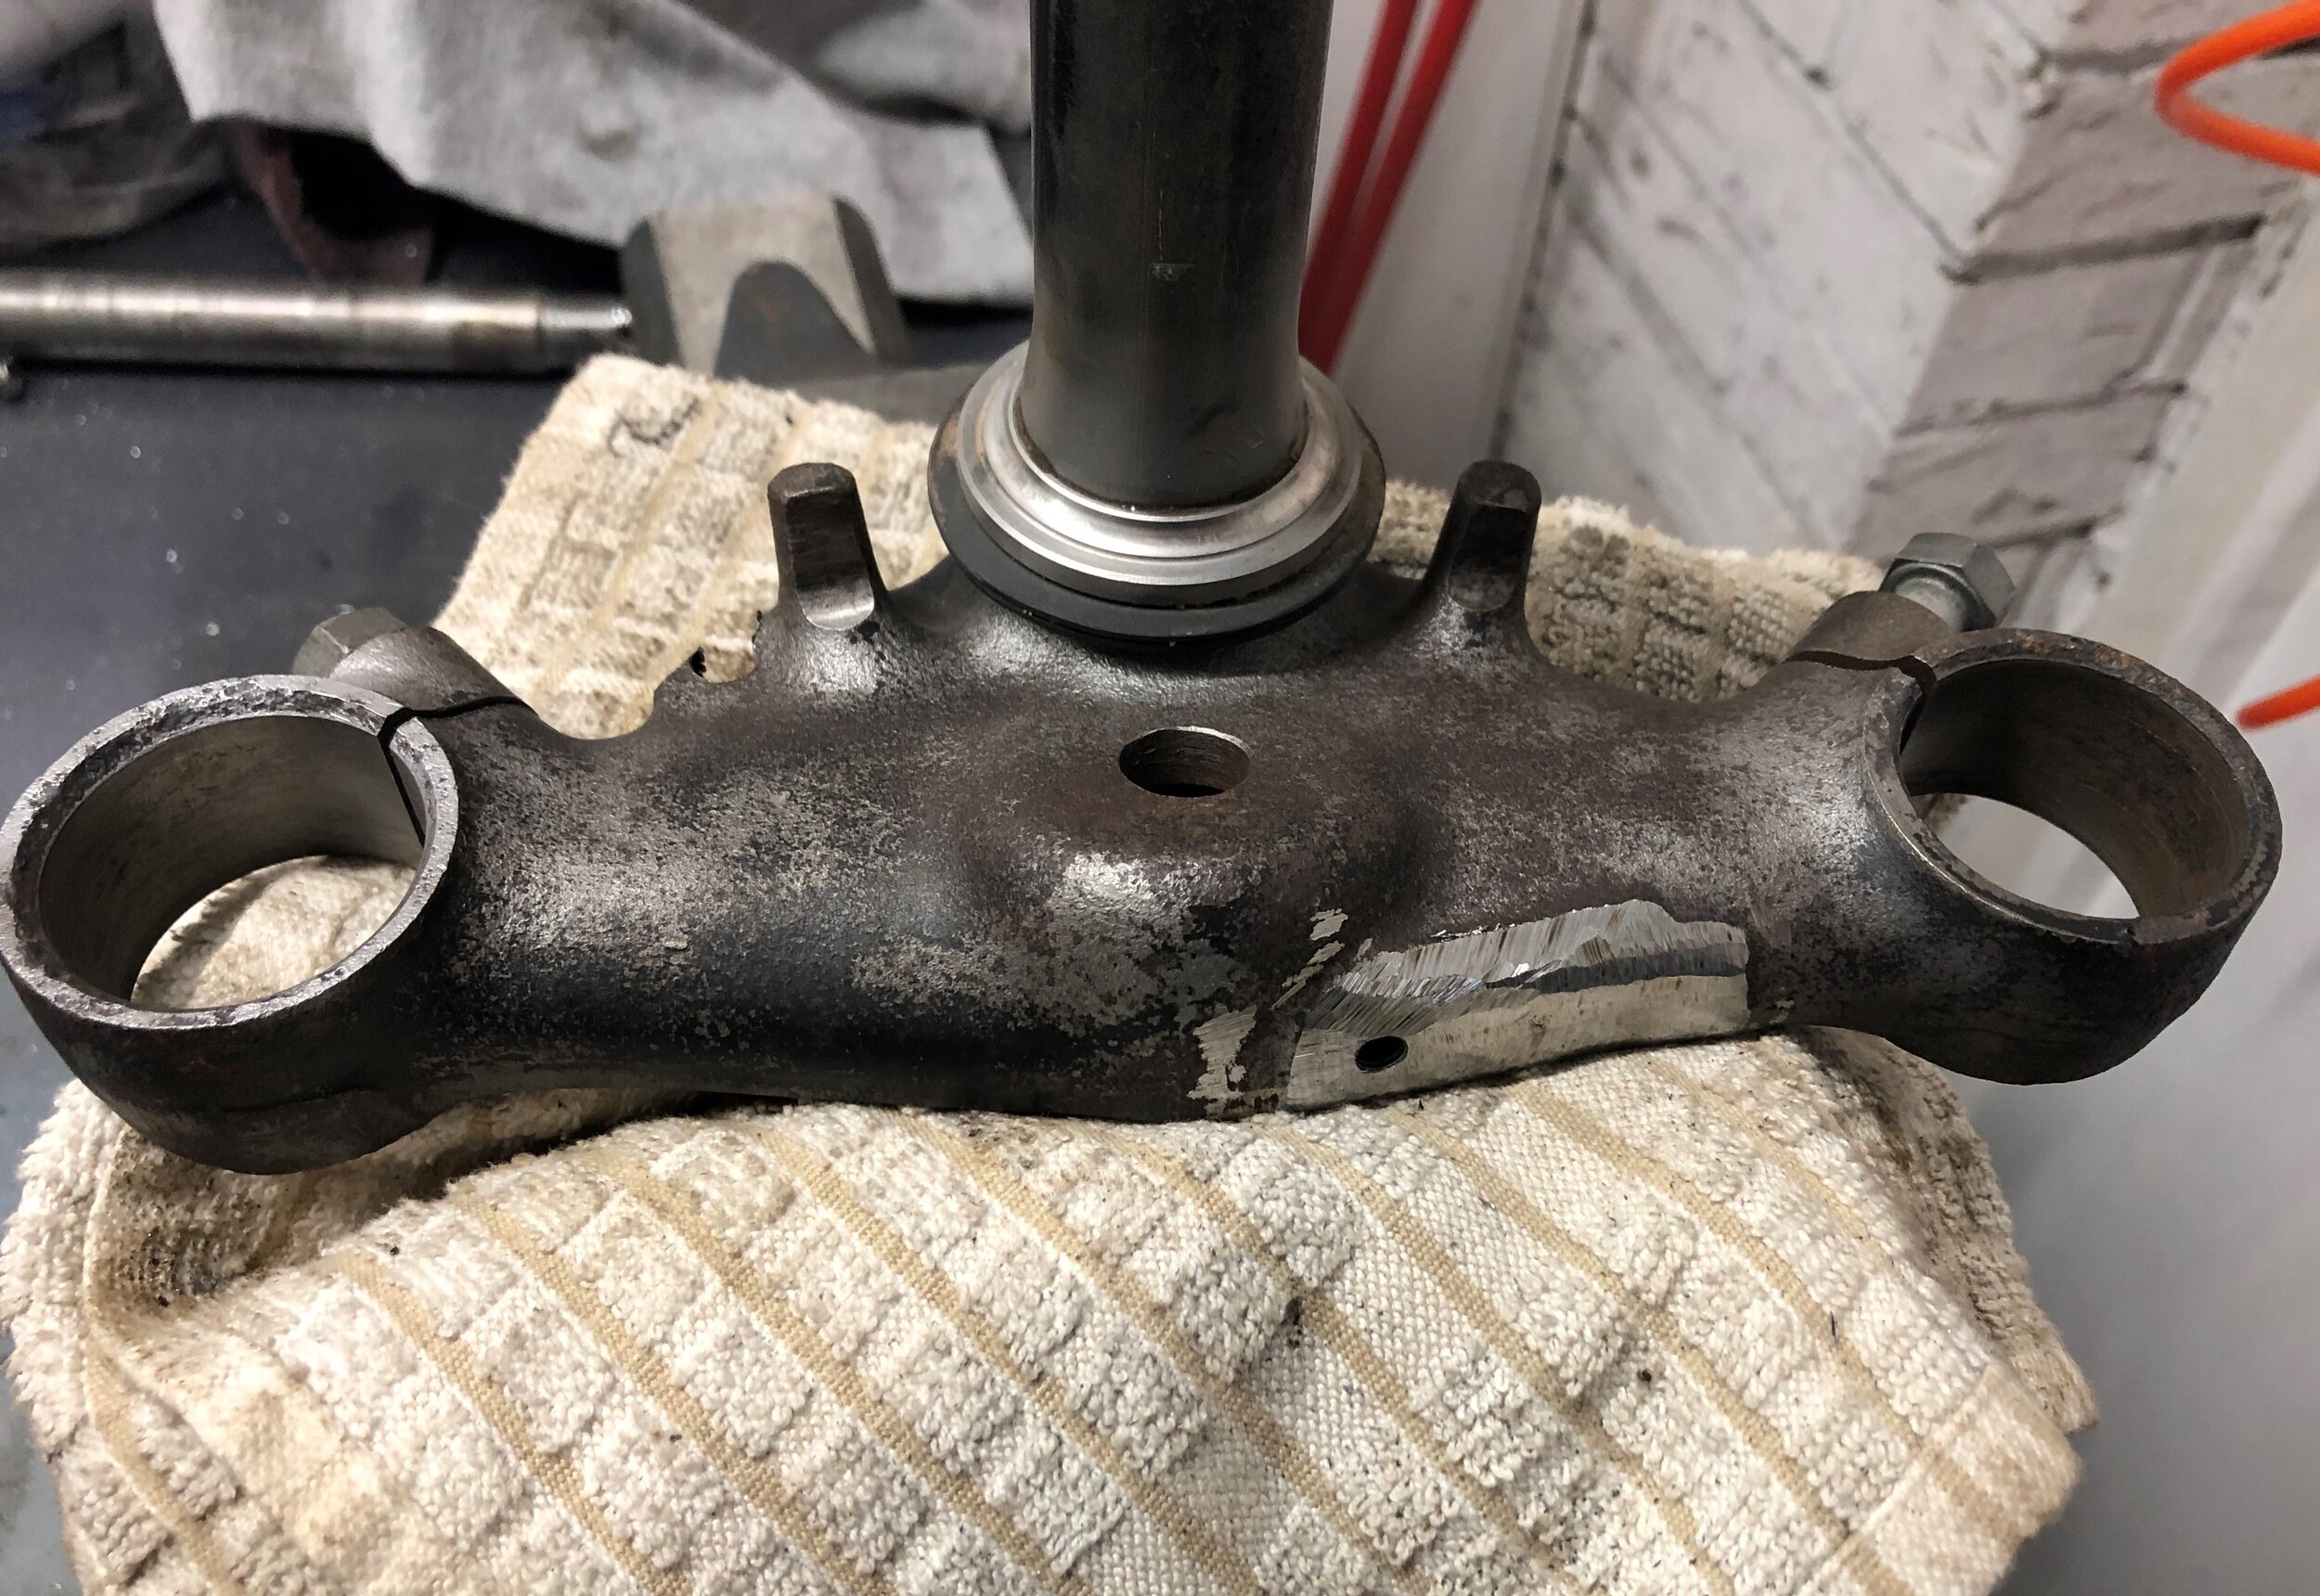
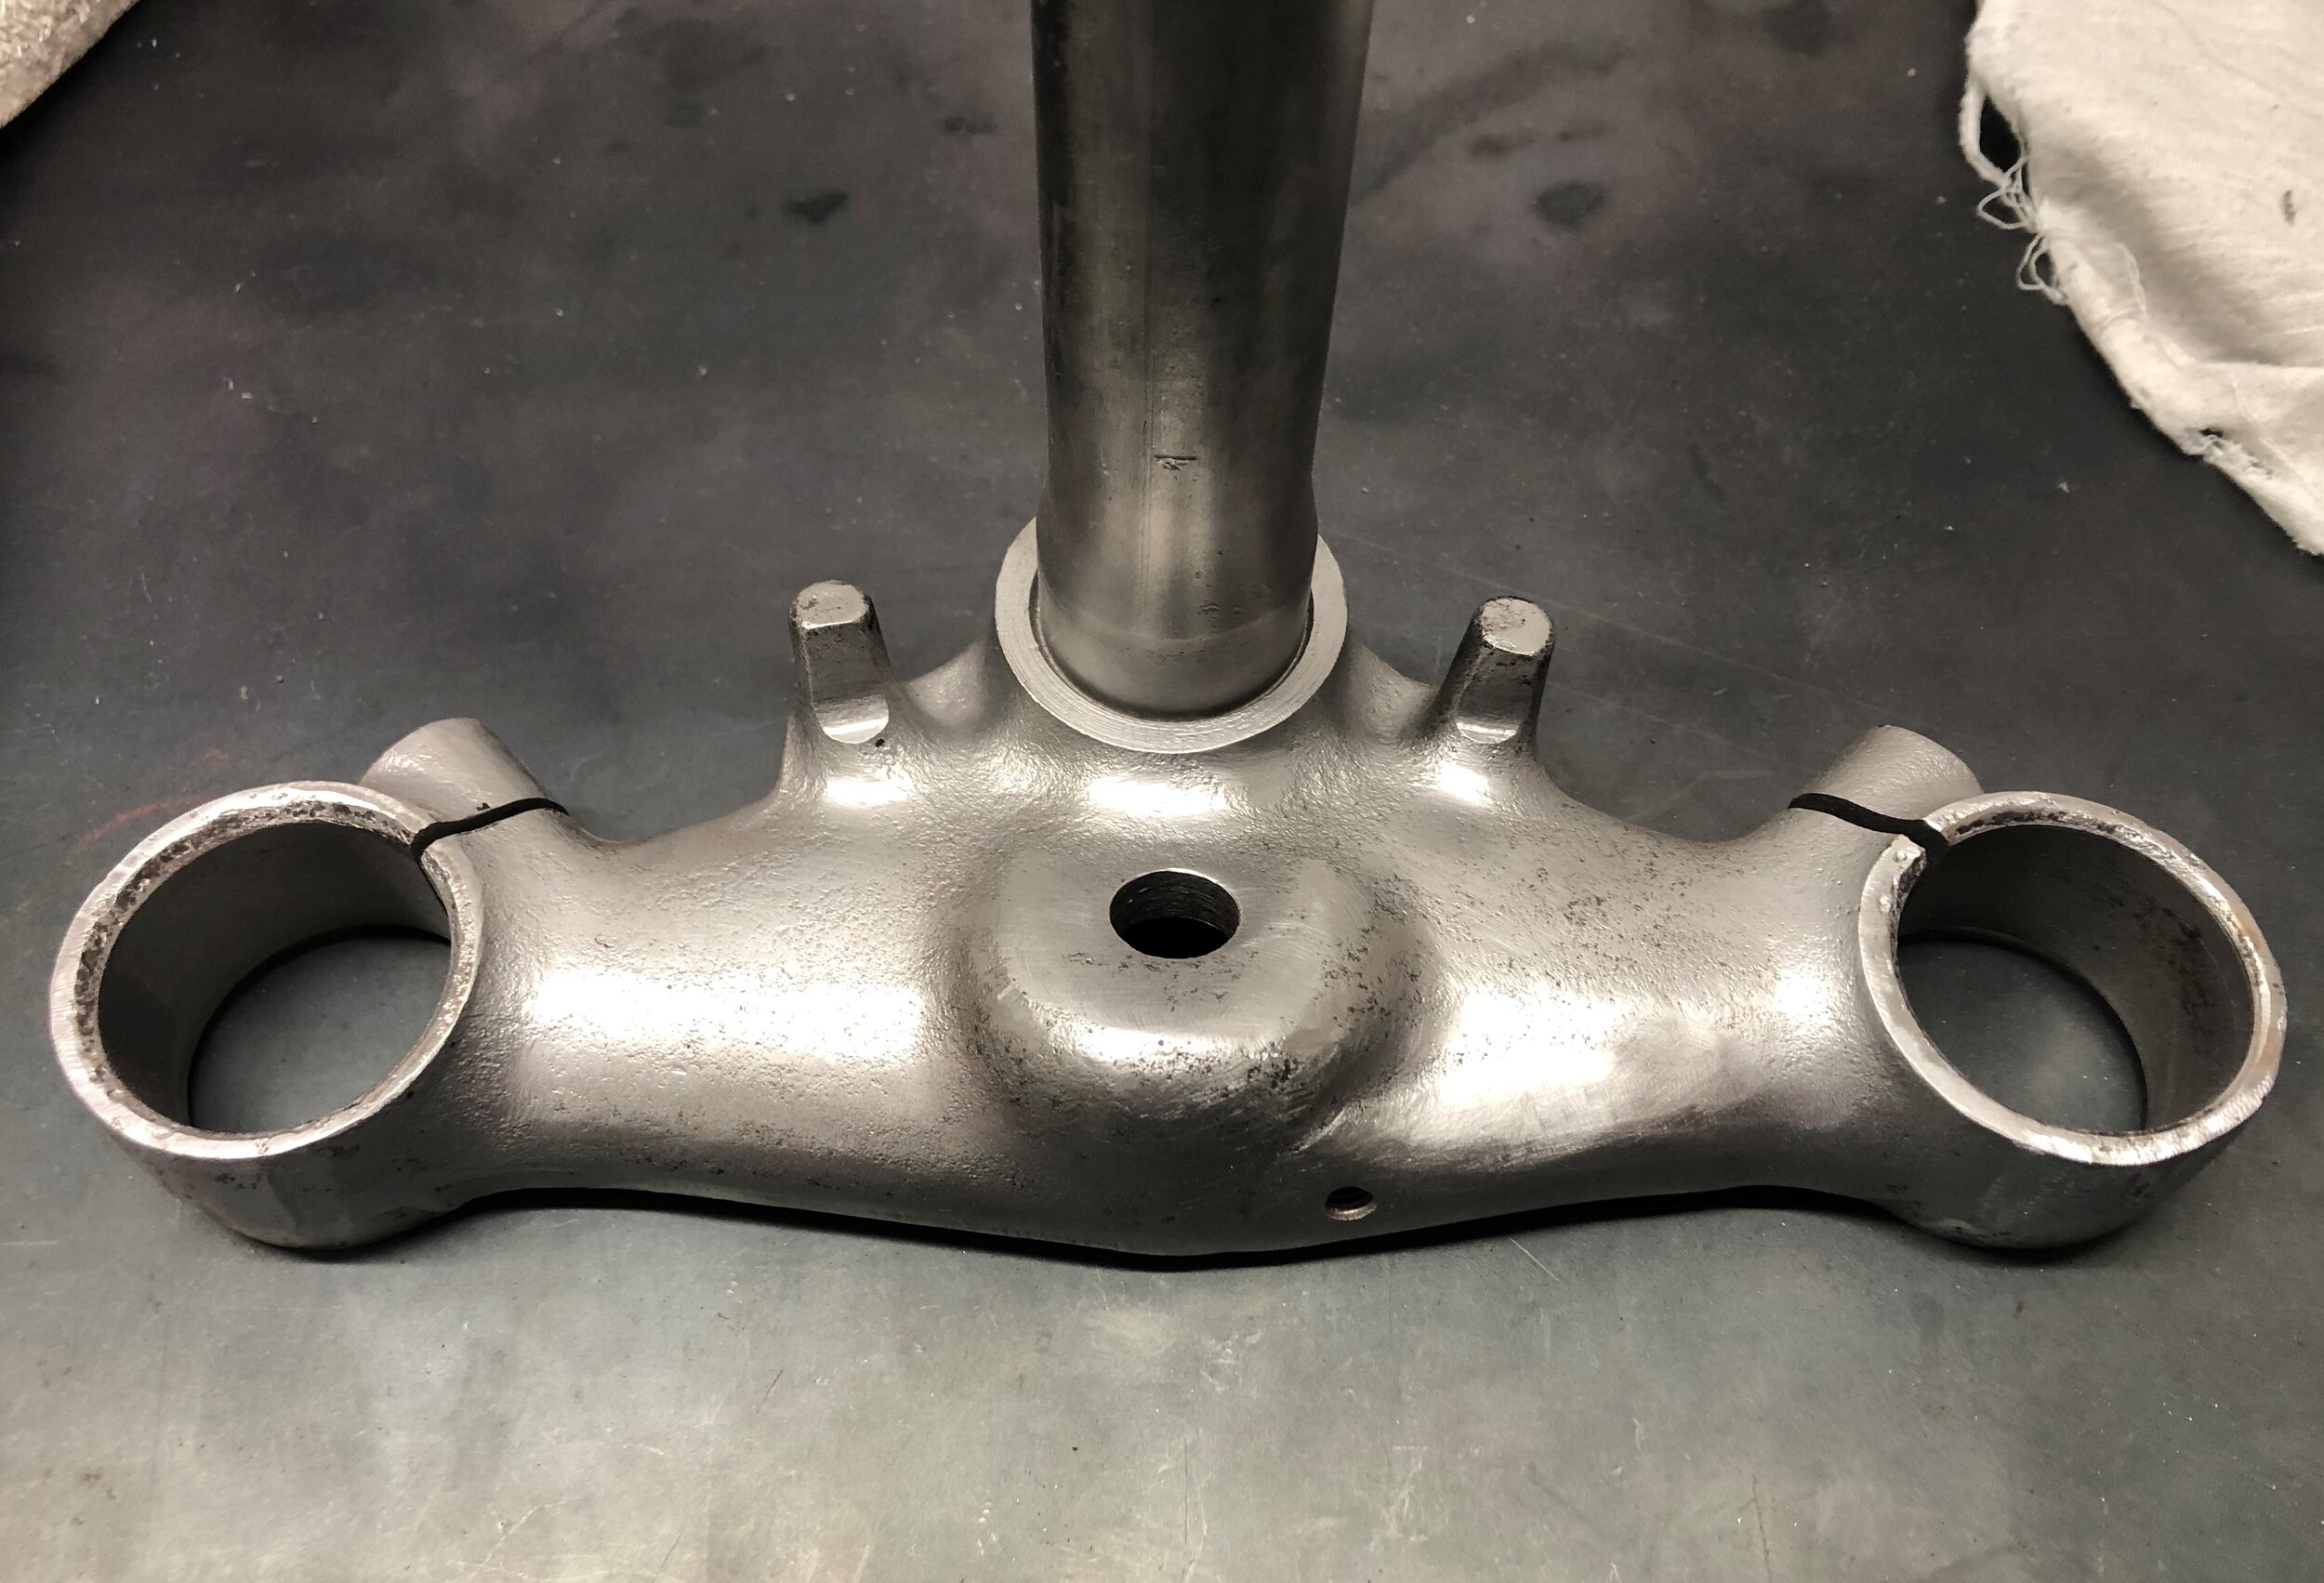
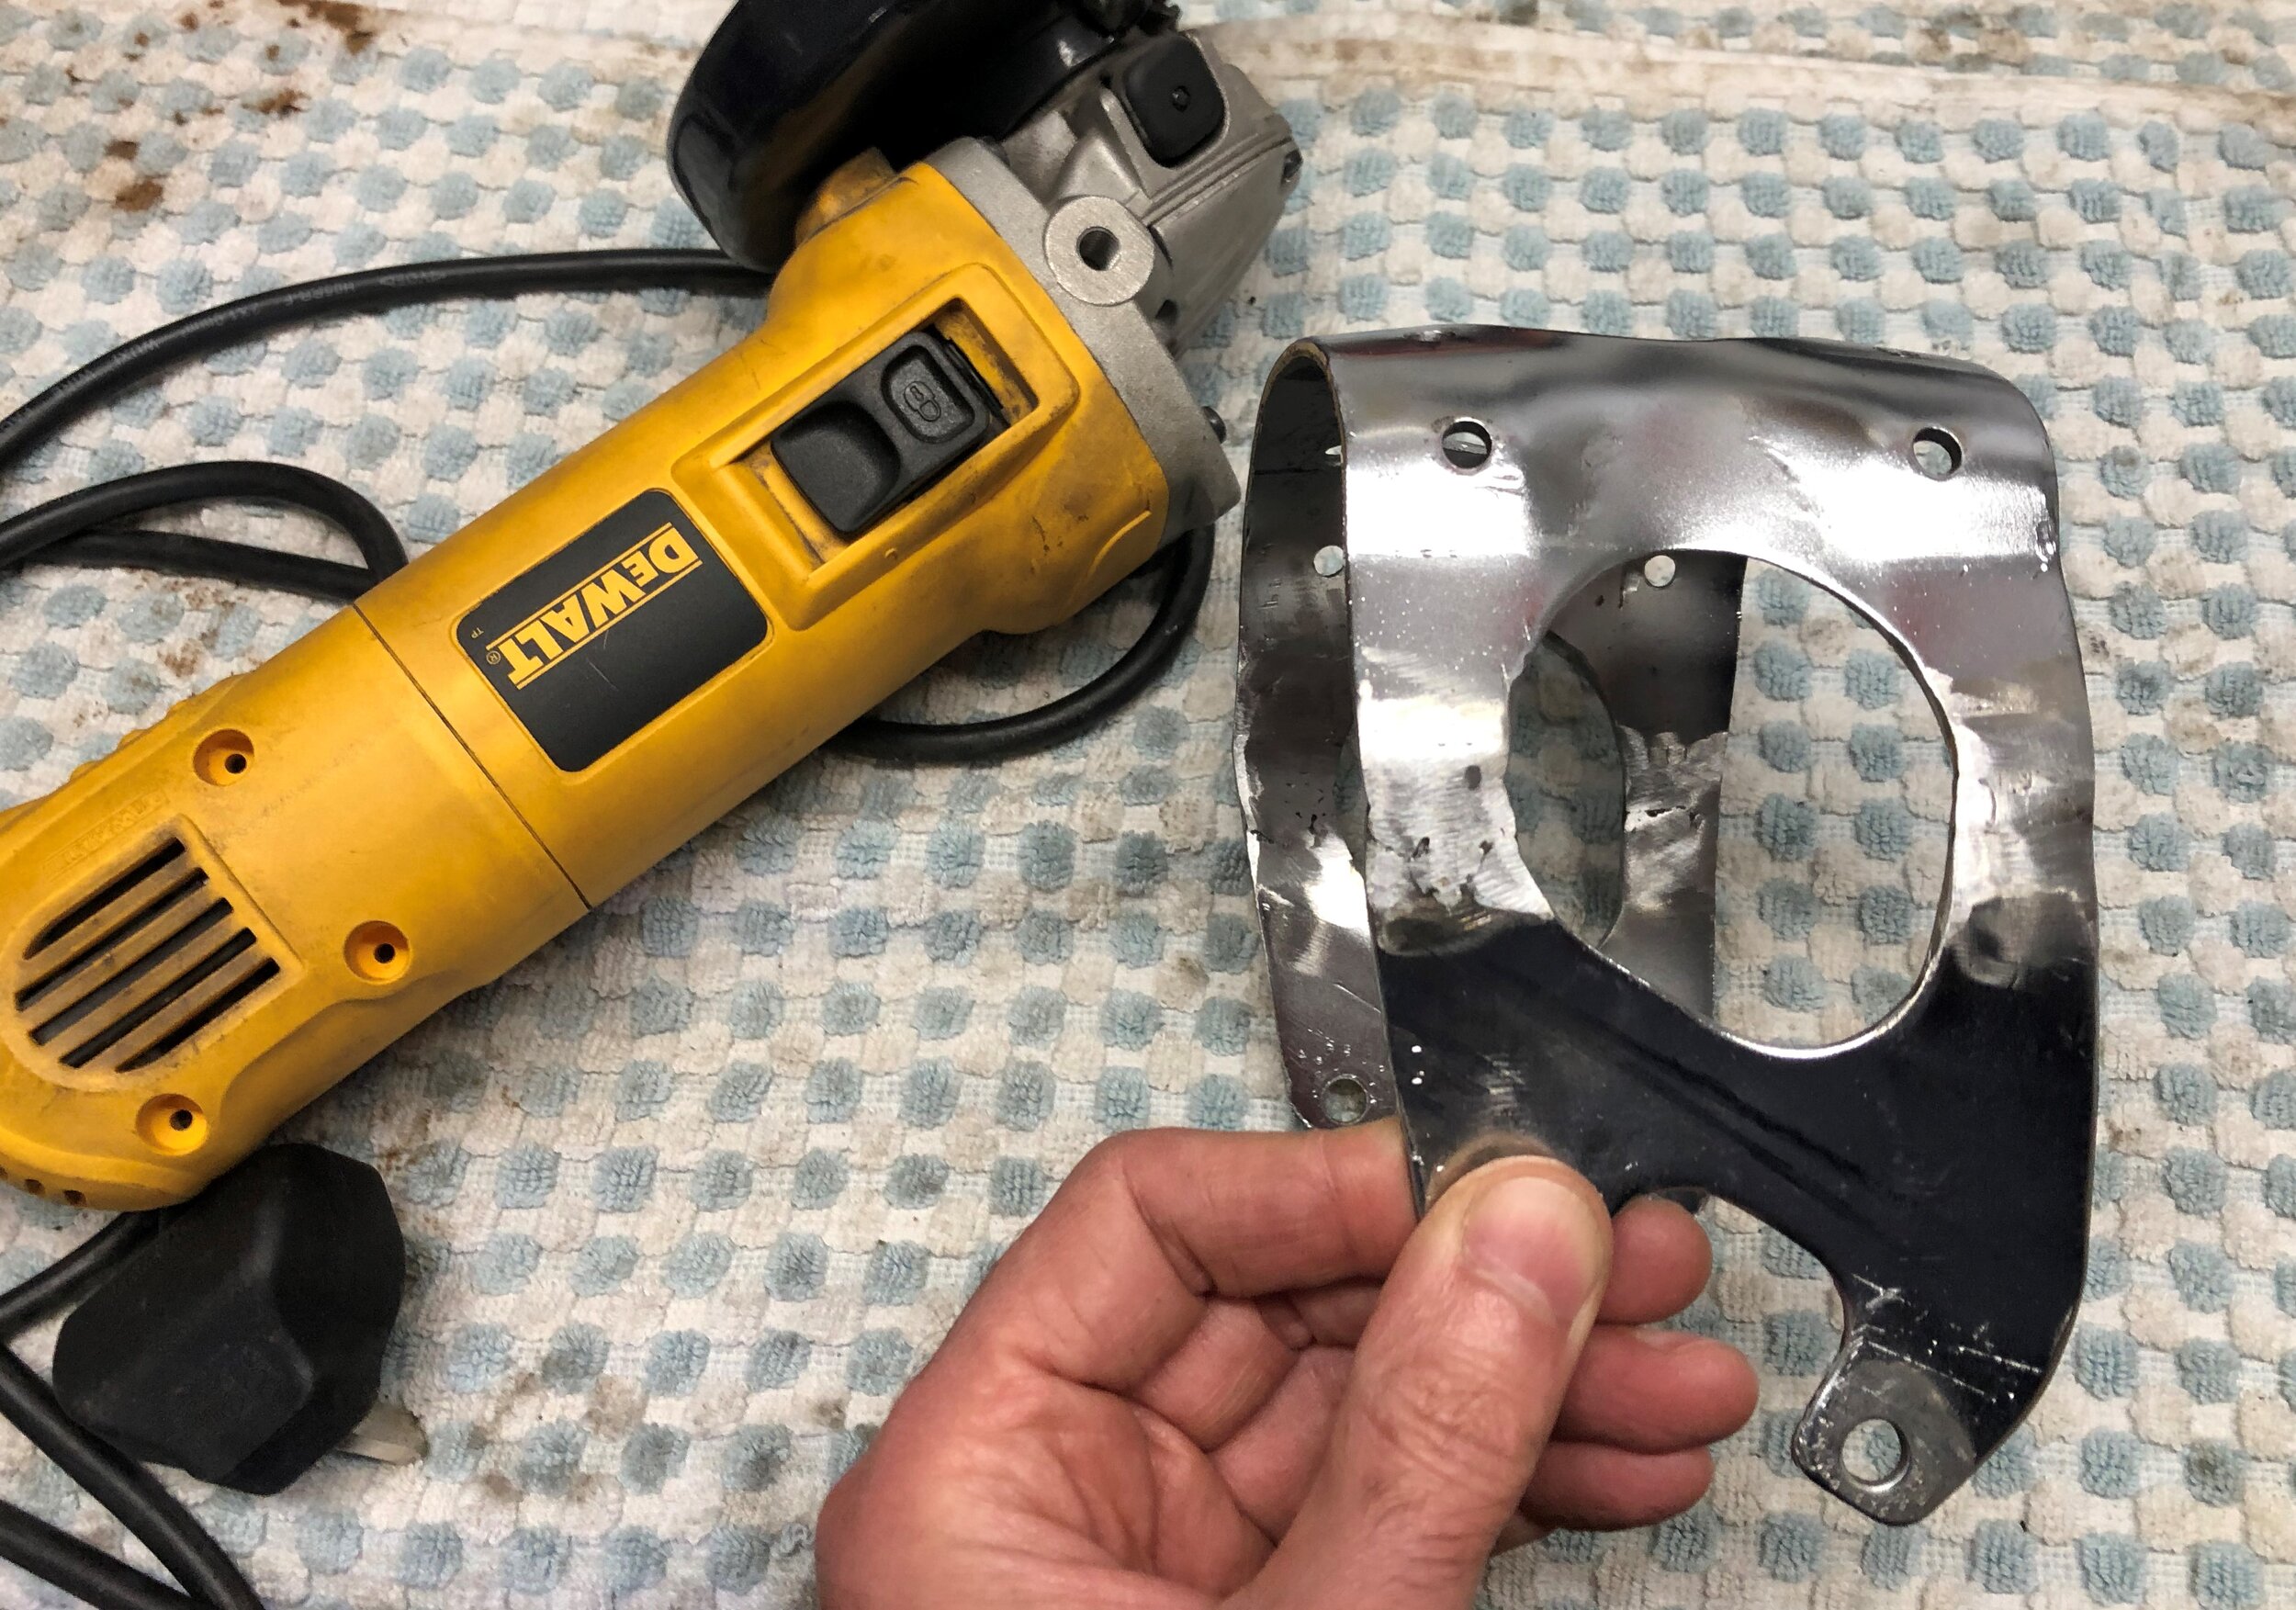
The cast bottom yoke / clamp is super heavy but I didn’t see the need to spend money on a part that’s hardy seen on the bike. I cut off and ground away some excess metal (steering lock and bracket for 3 way joint / brake light) and sprayed it black. I also used some JB Weld SteelStiK to fill in a bolt hole that I didn’t need anymore.


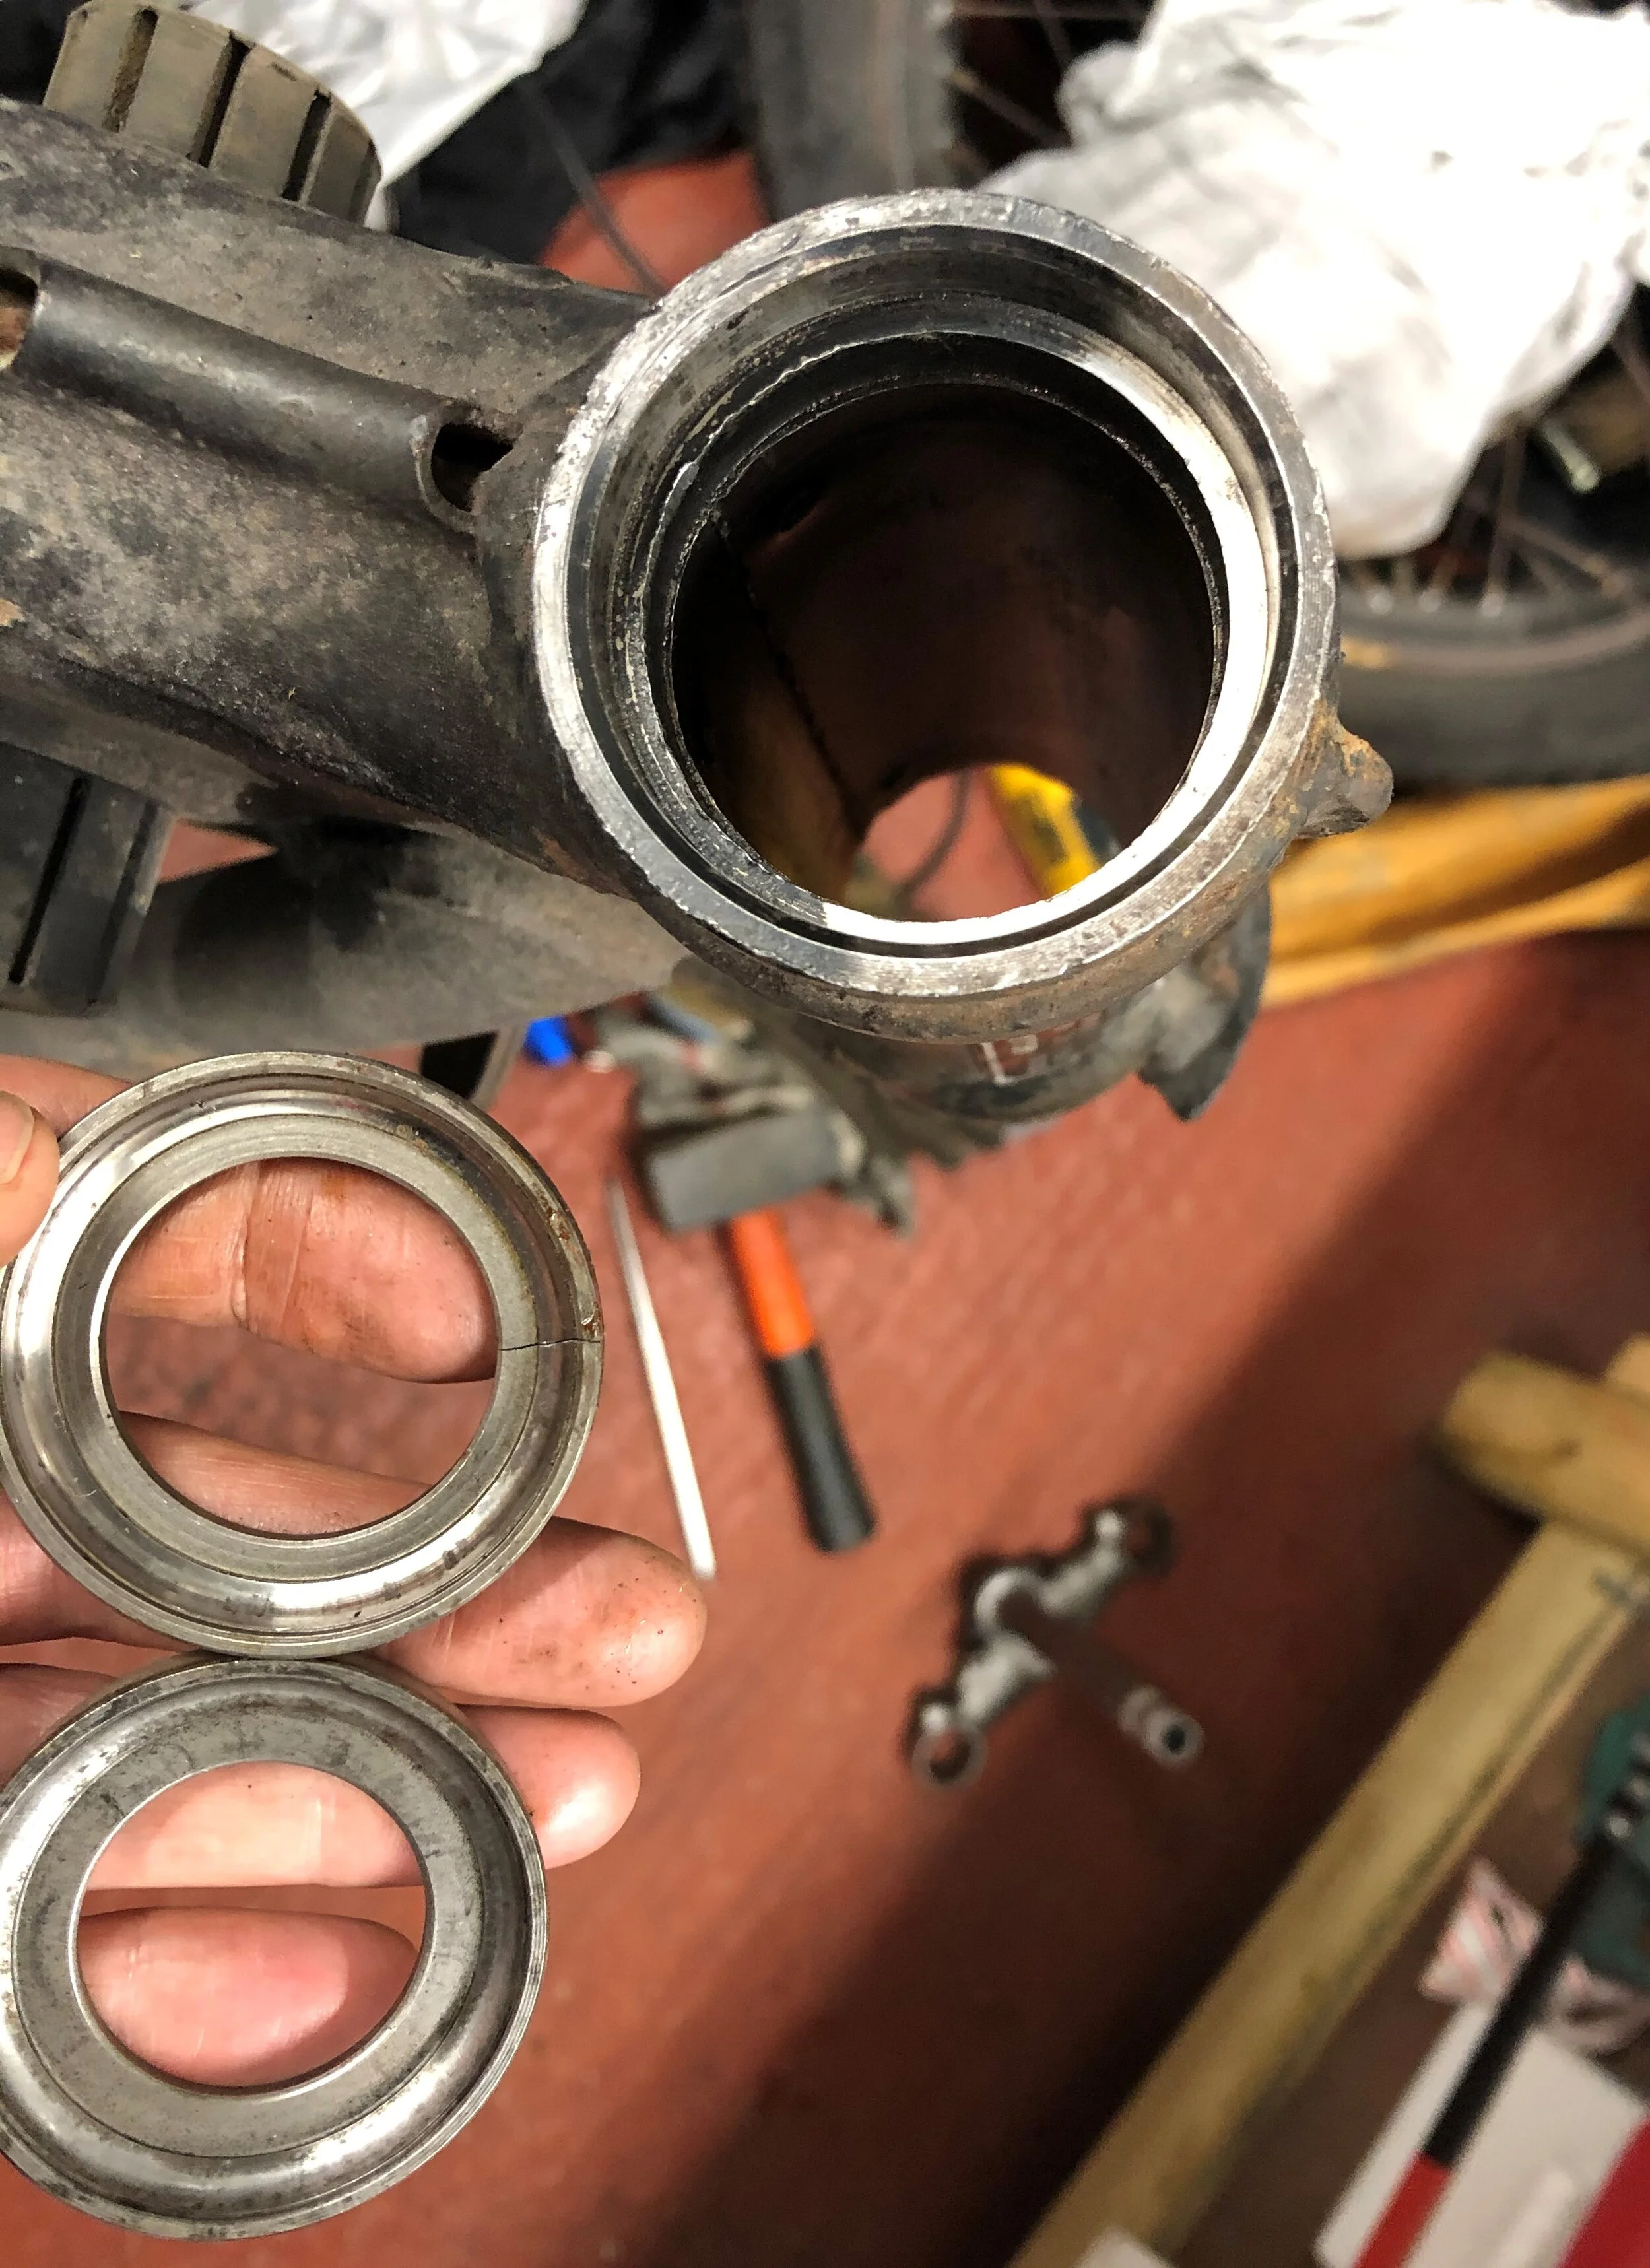
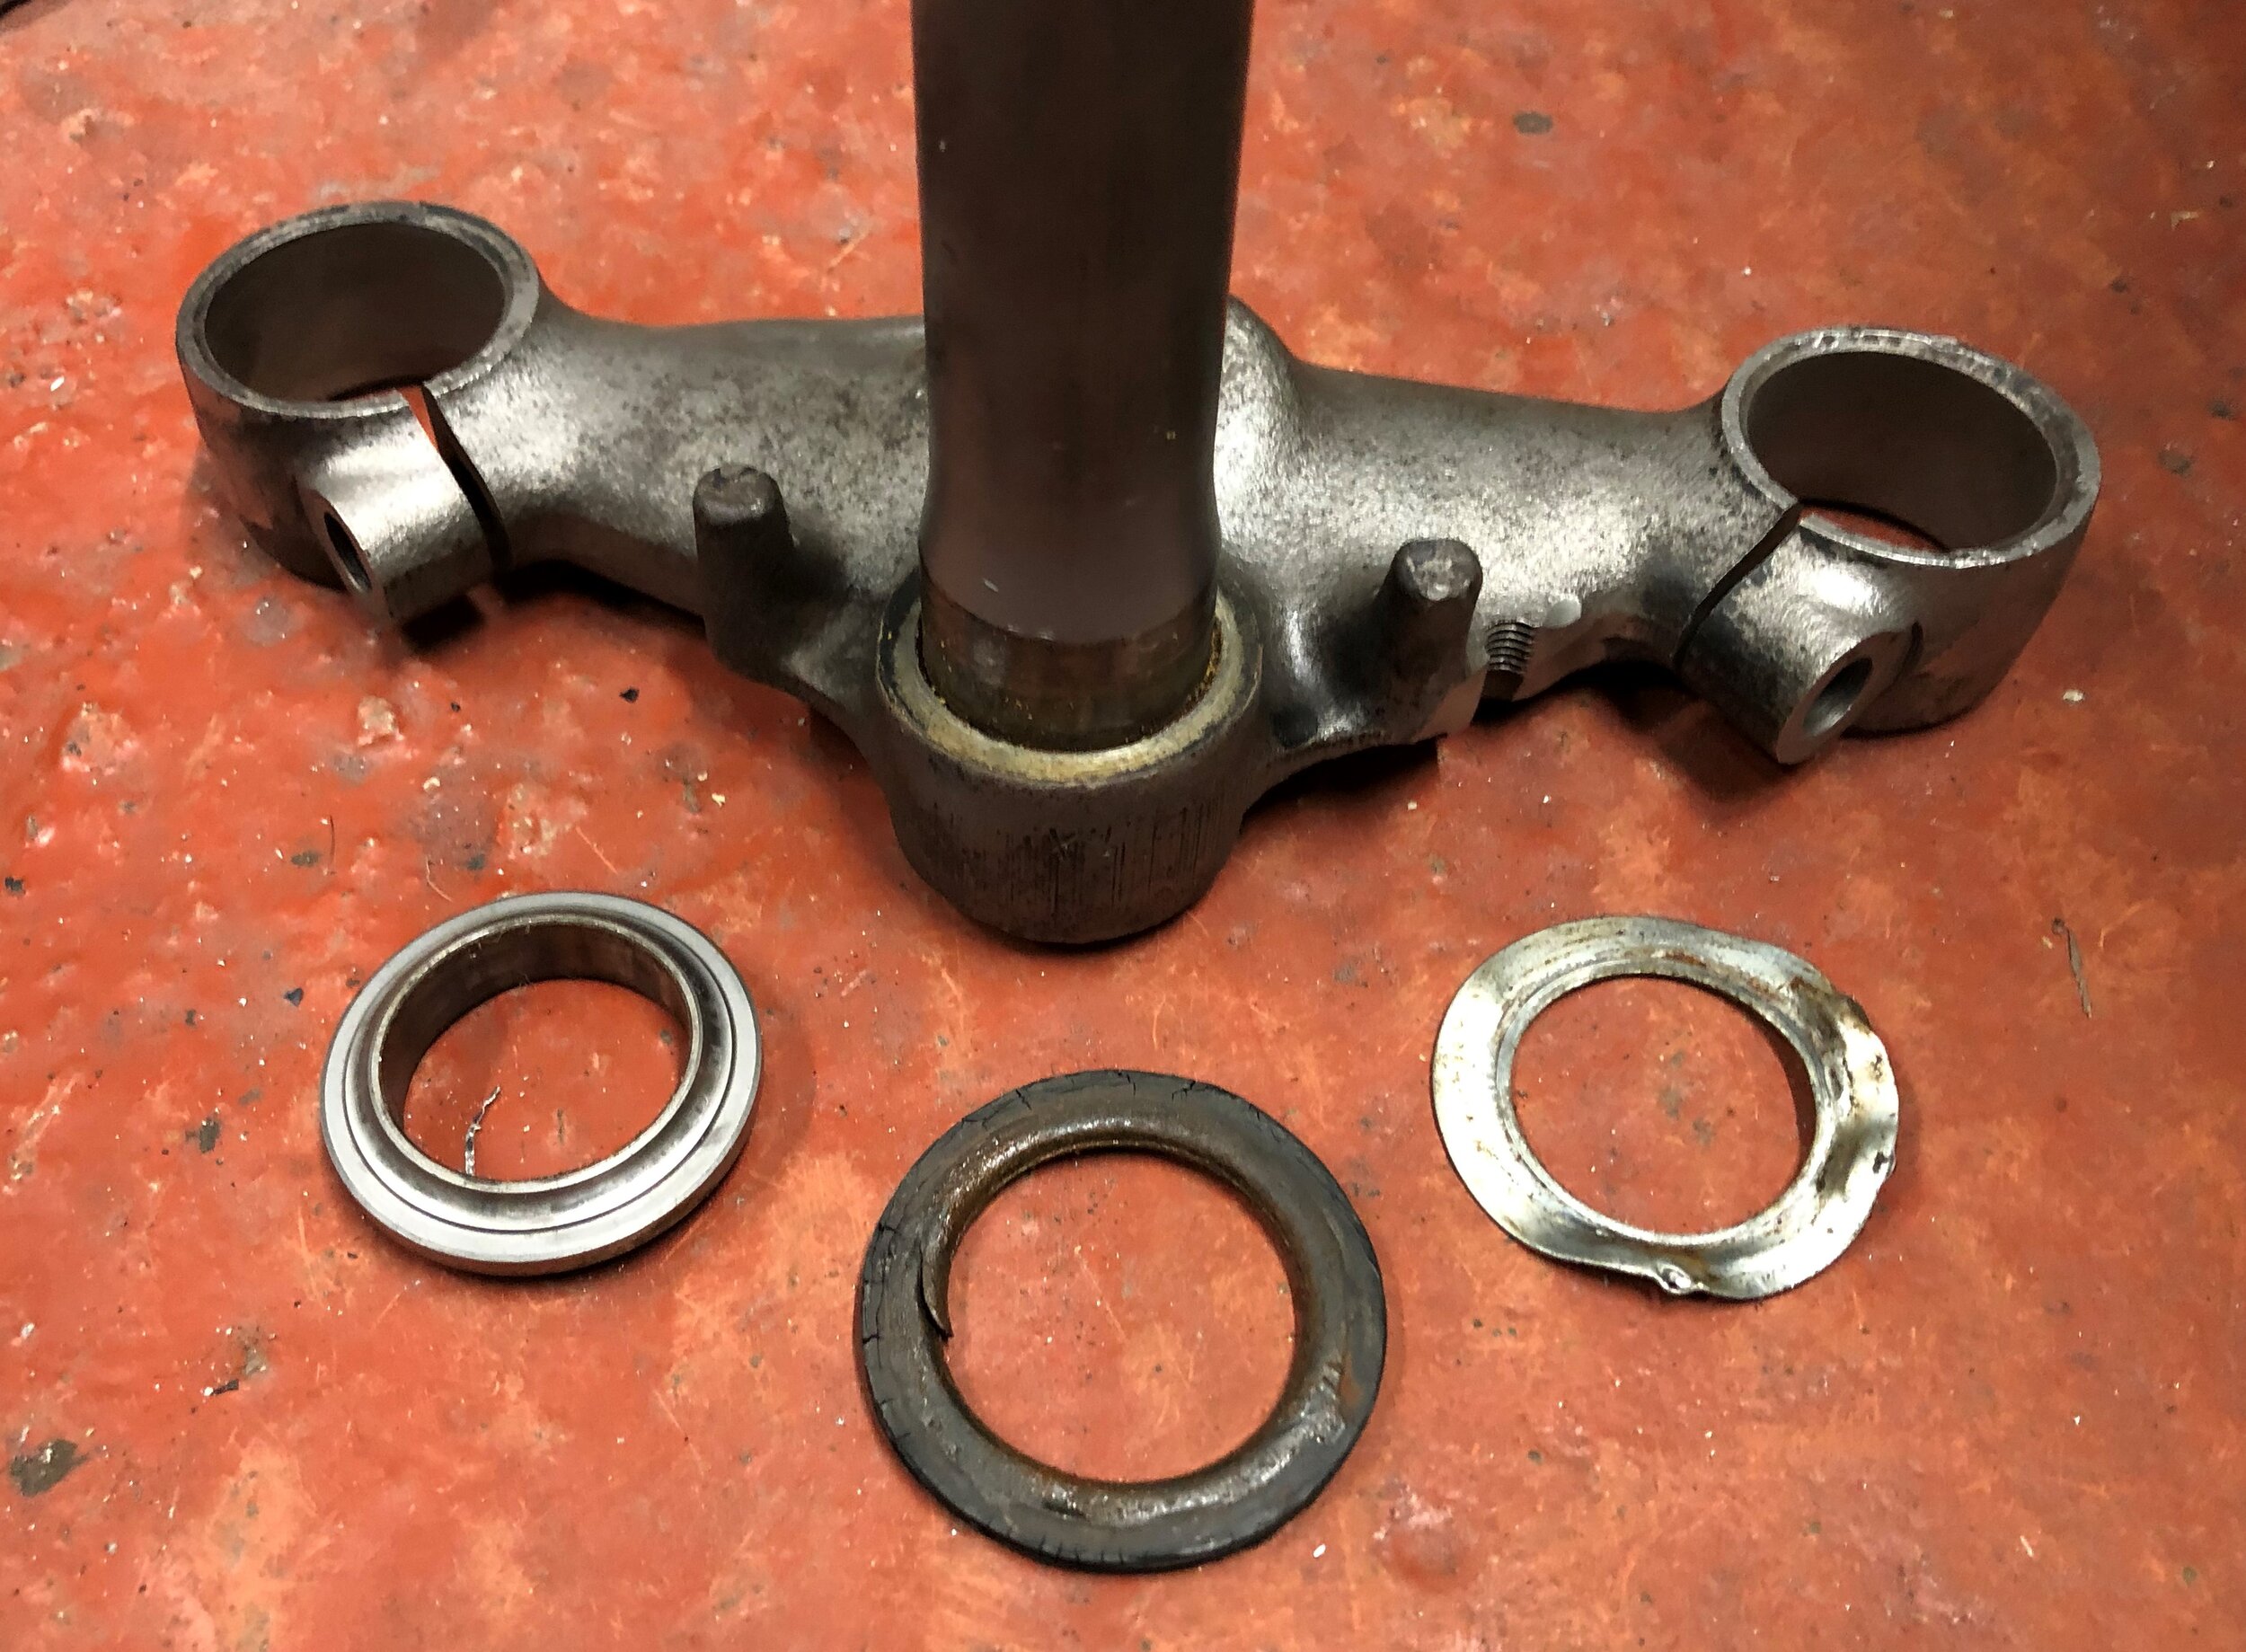
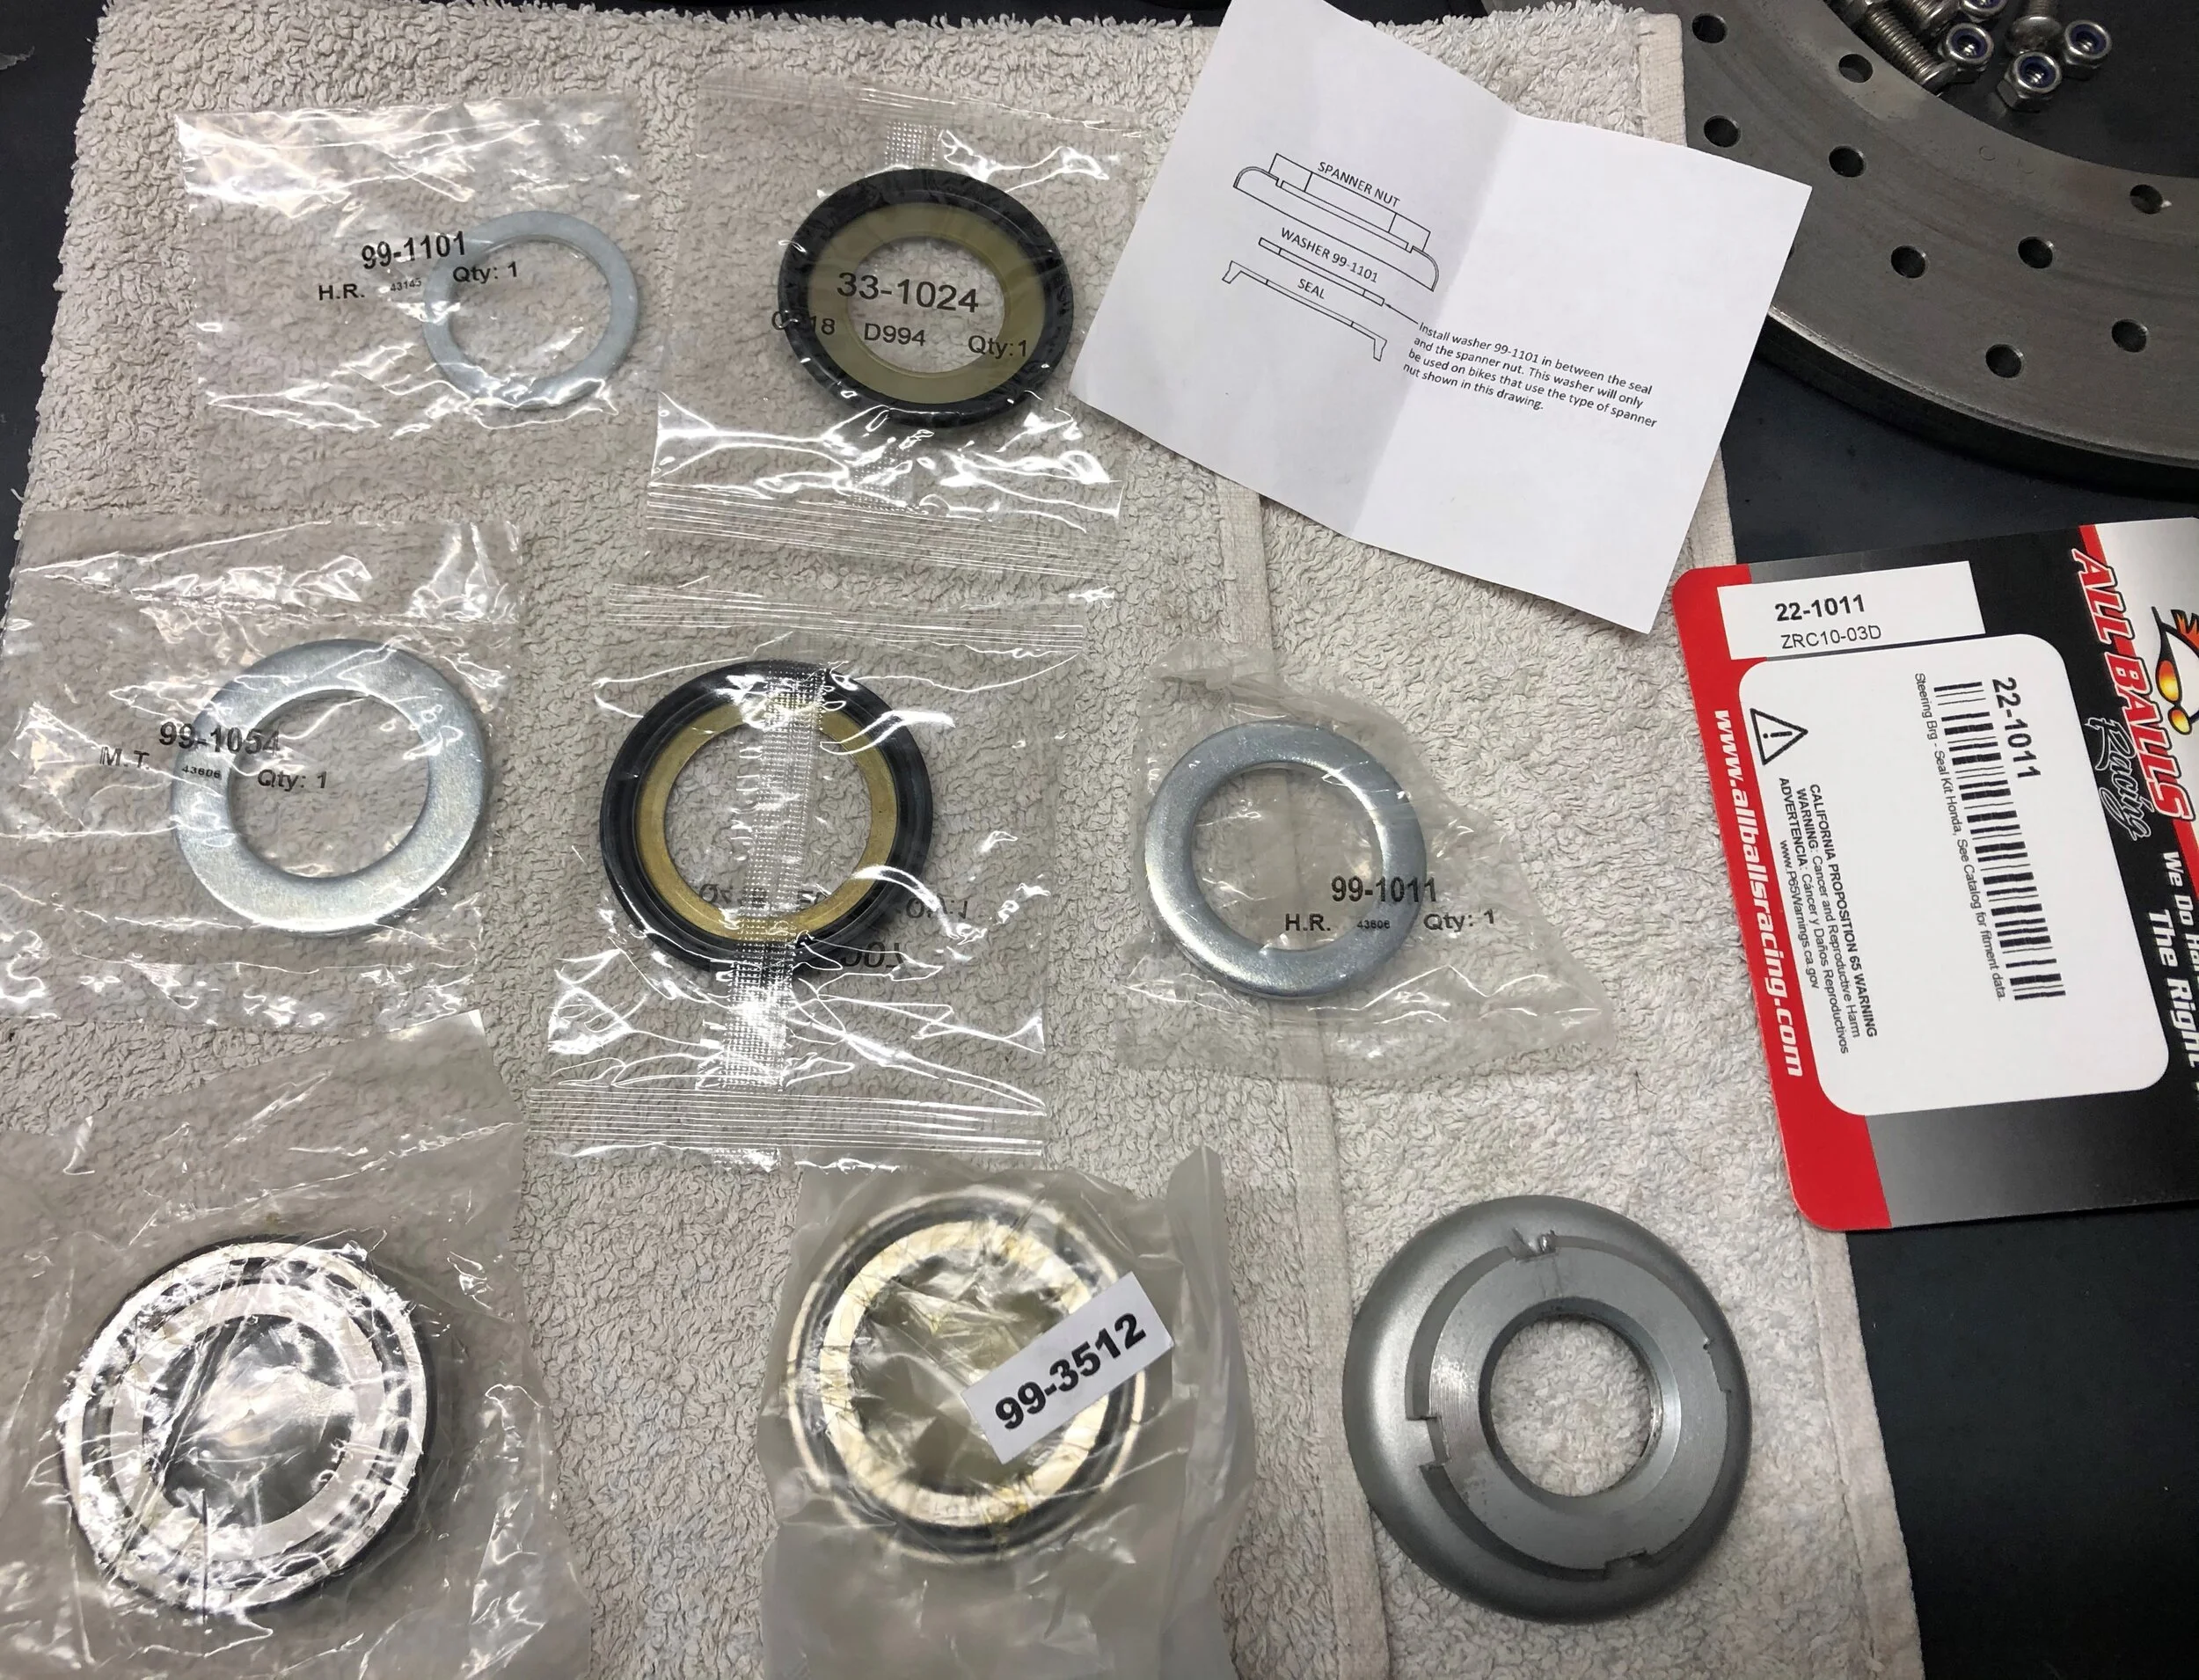
The kit comes with 2 washers for the lower bearing. This clip shows which washer to use for the CB550 - the thinner one.
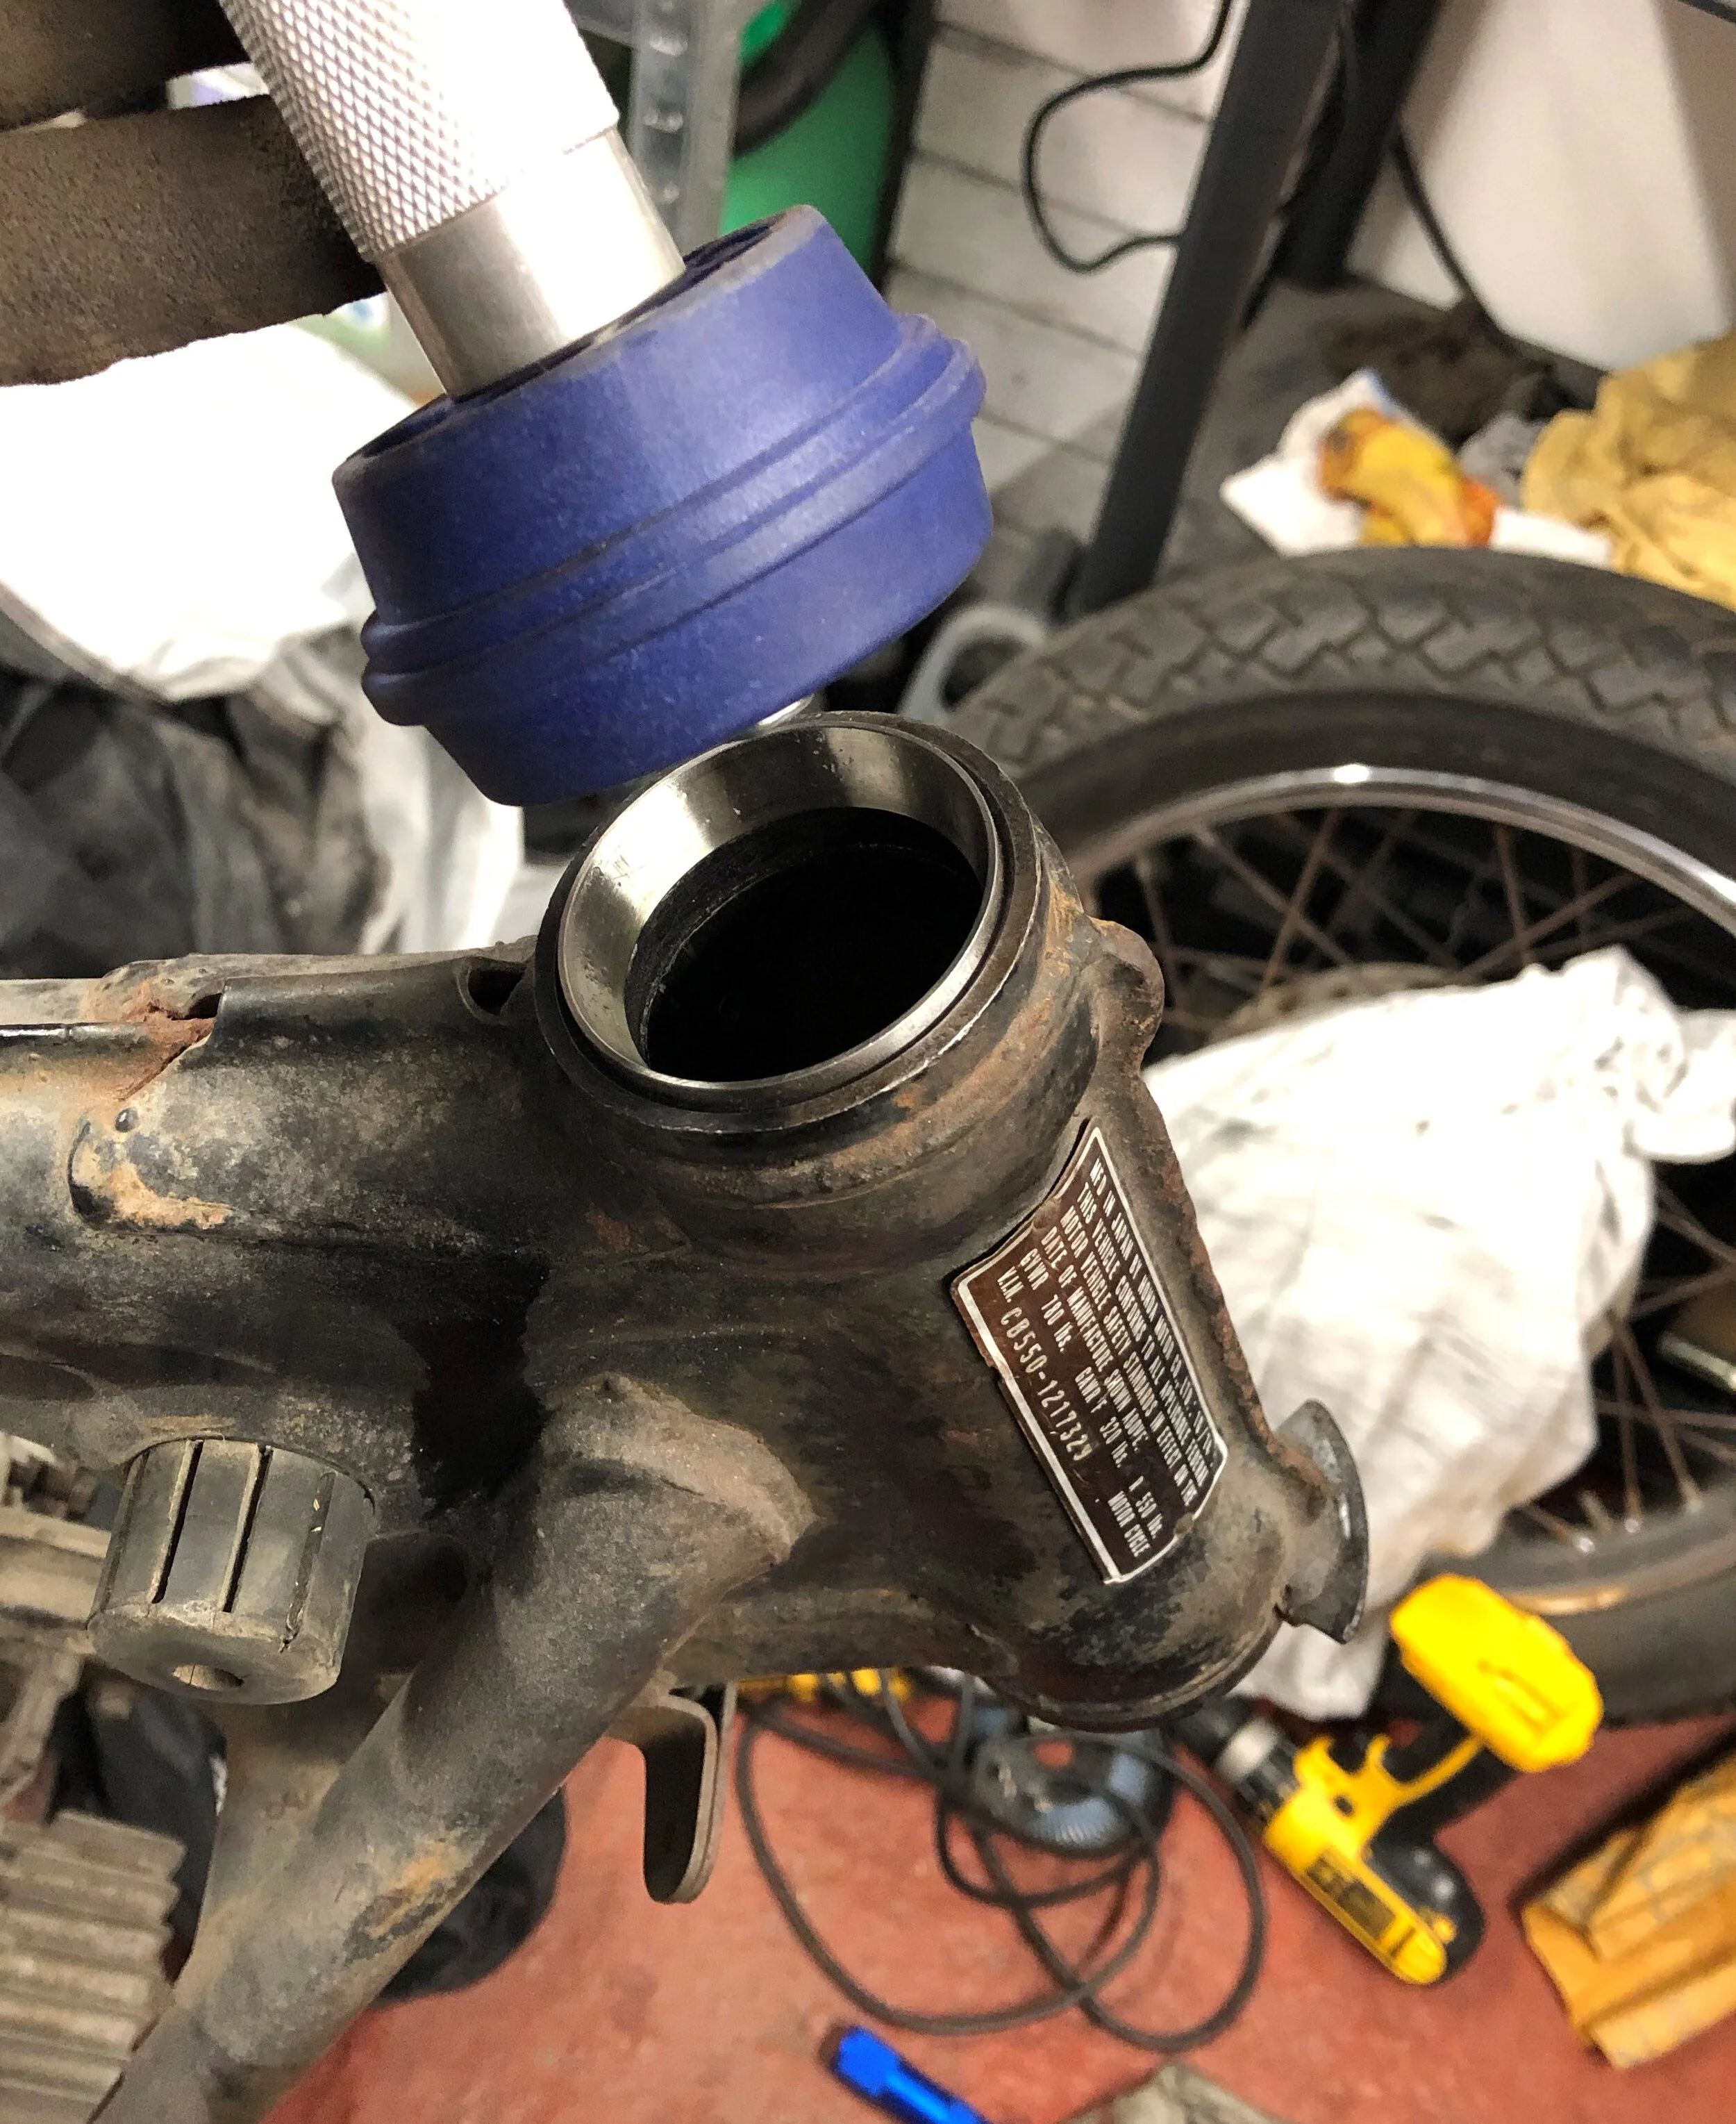
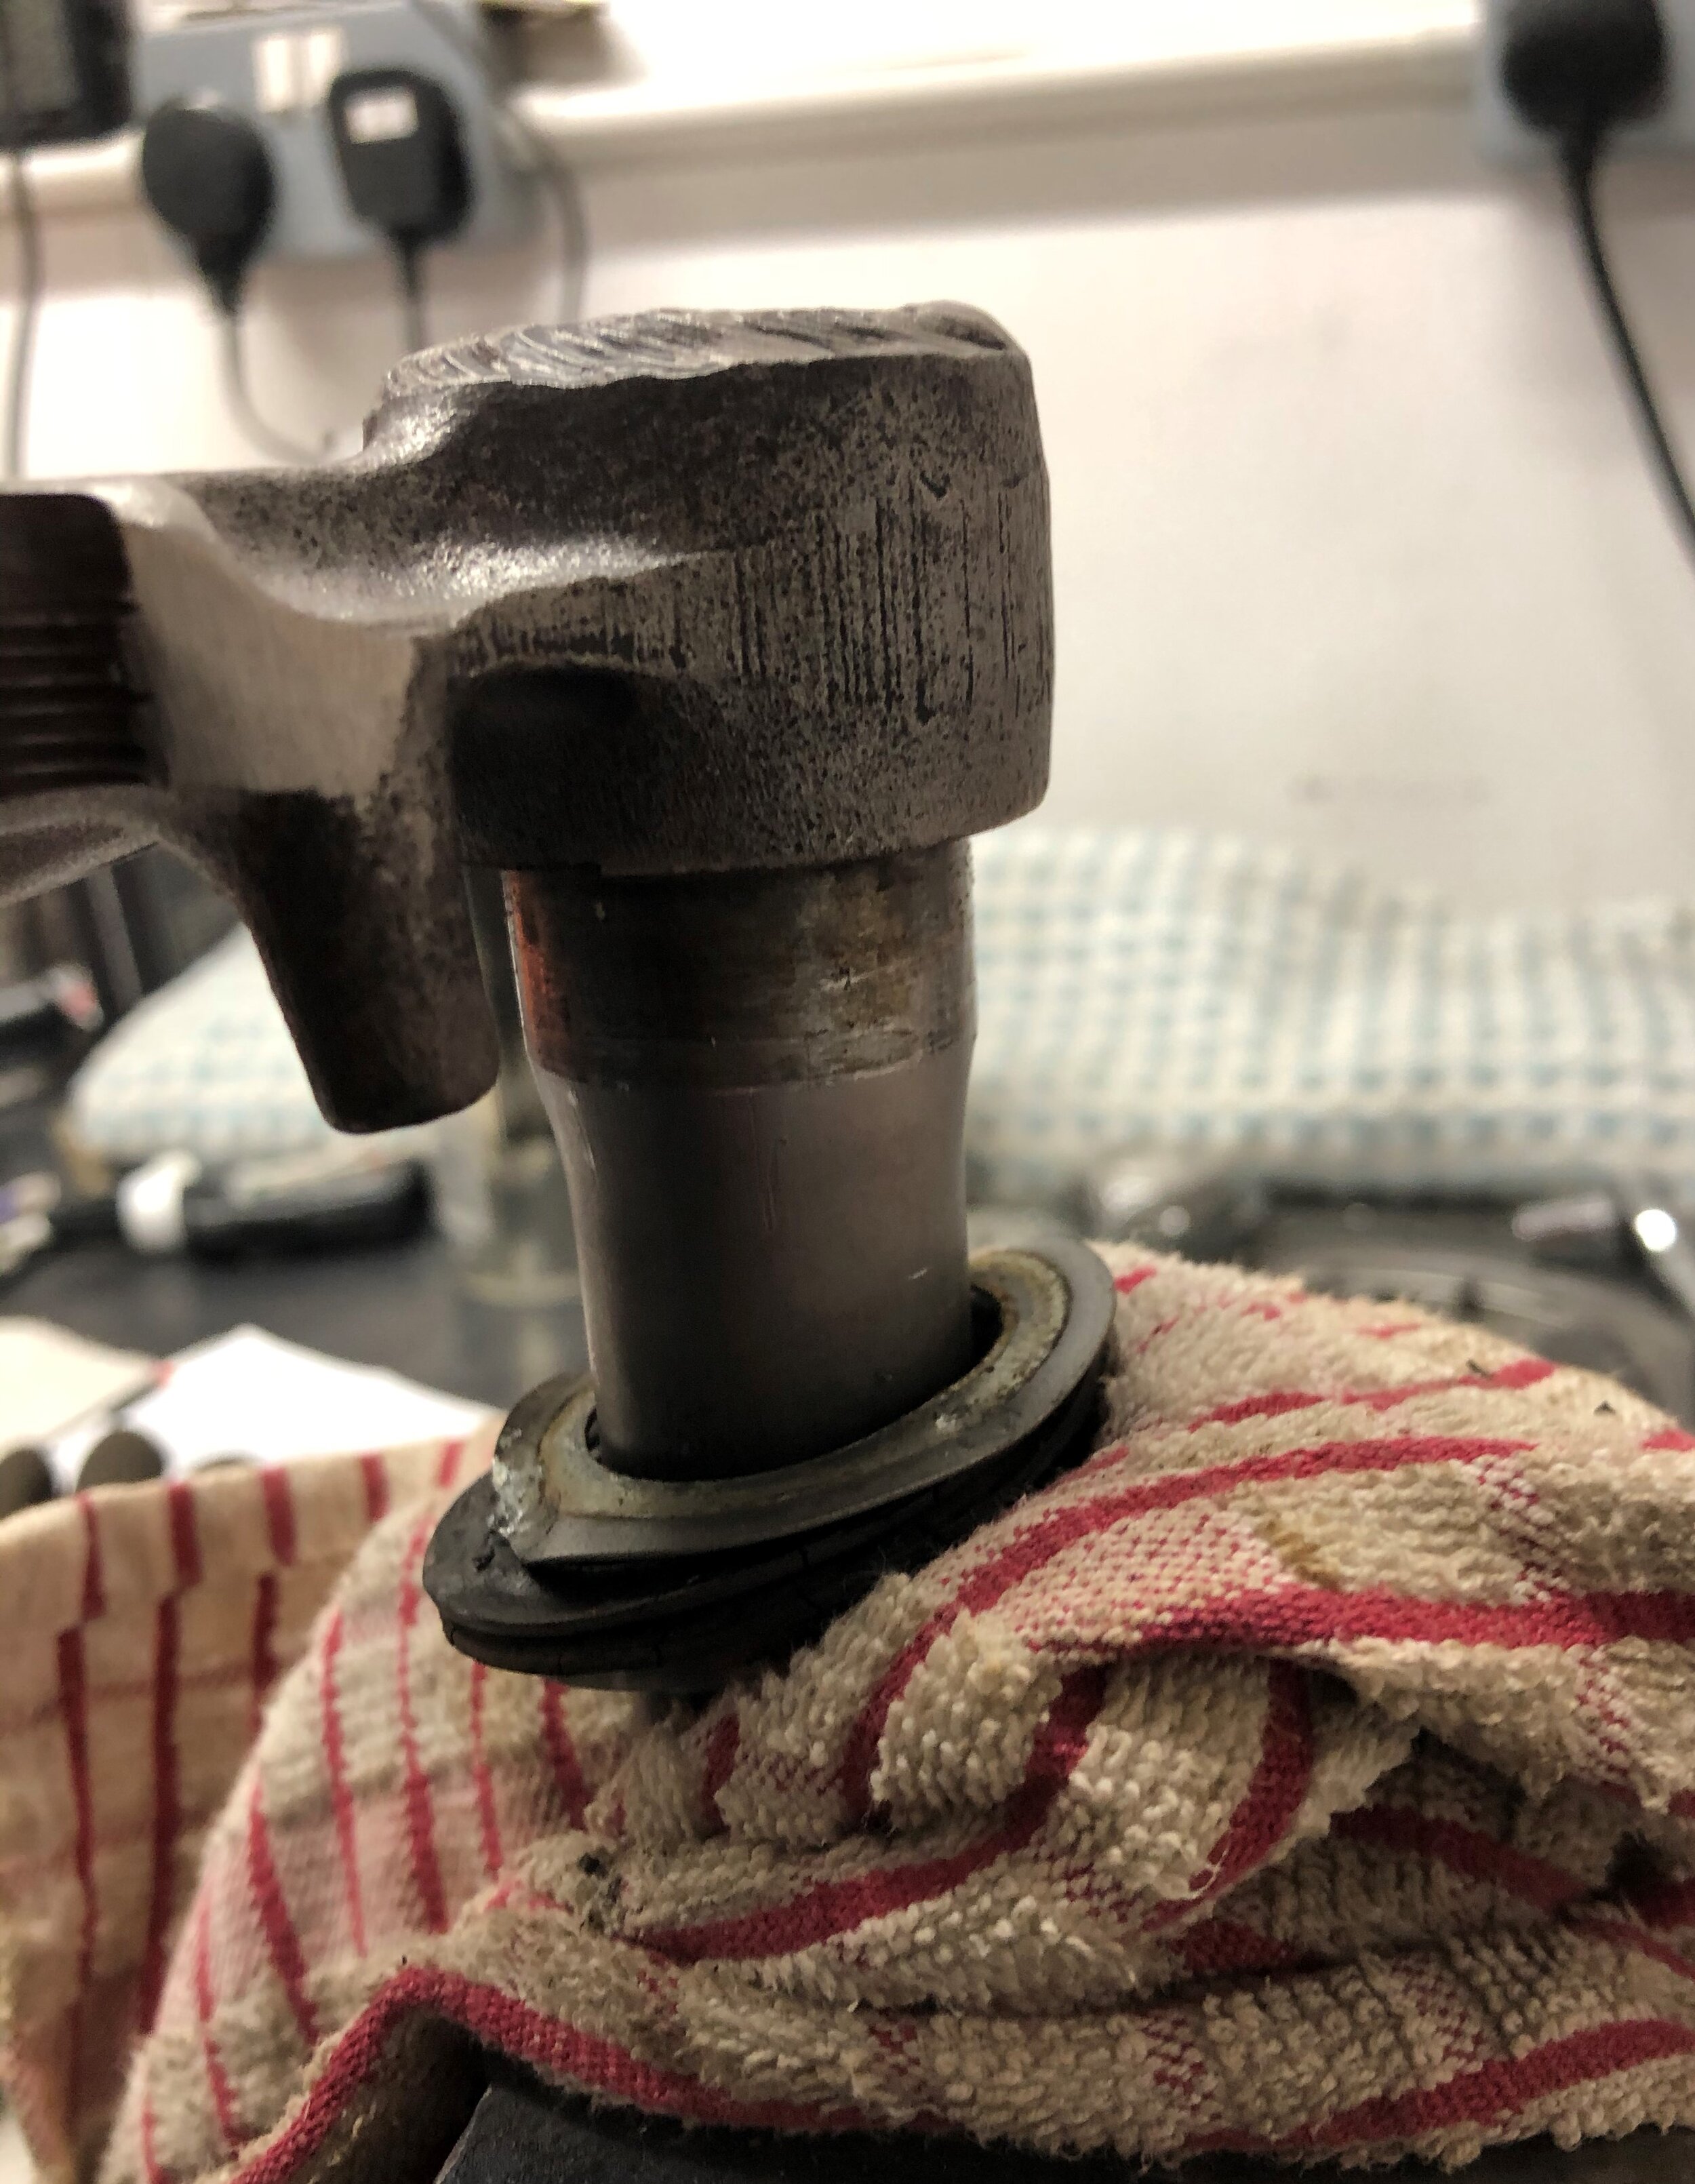
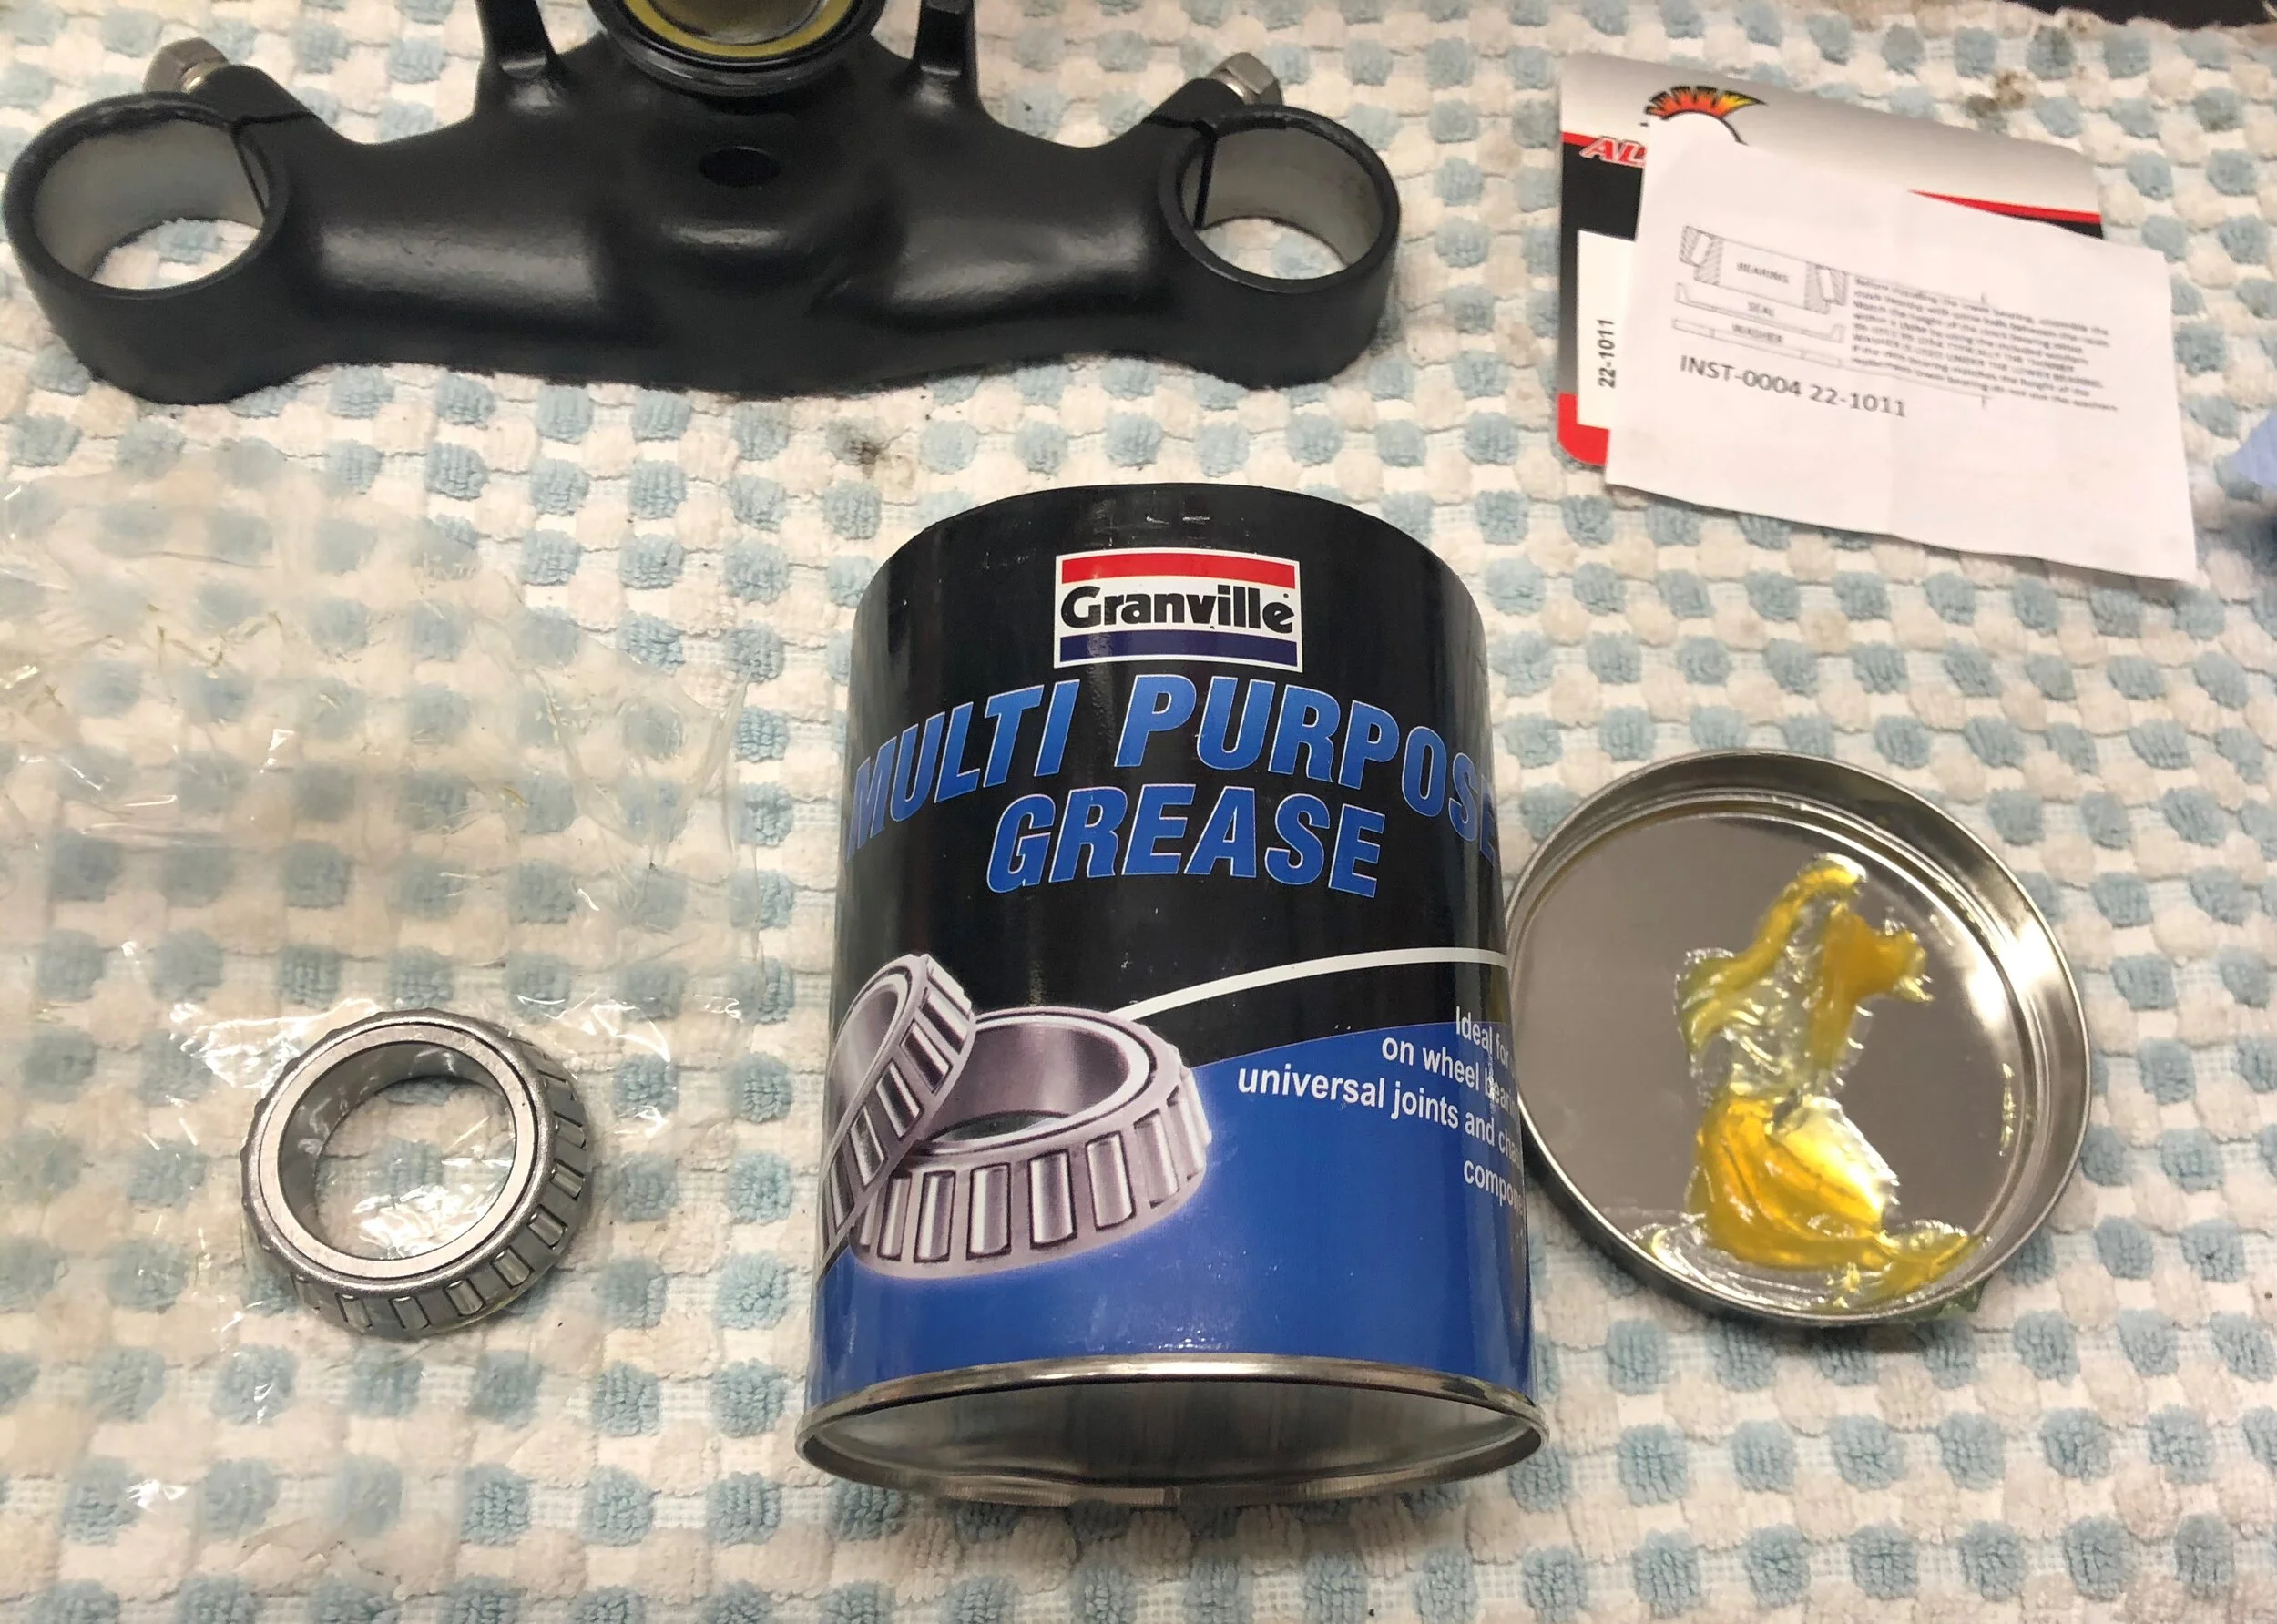
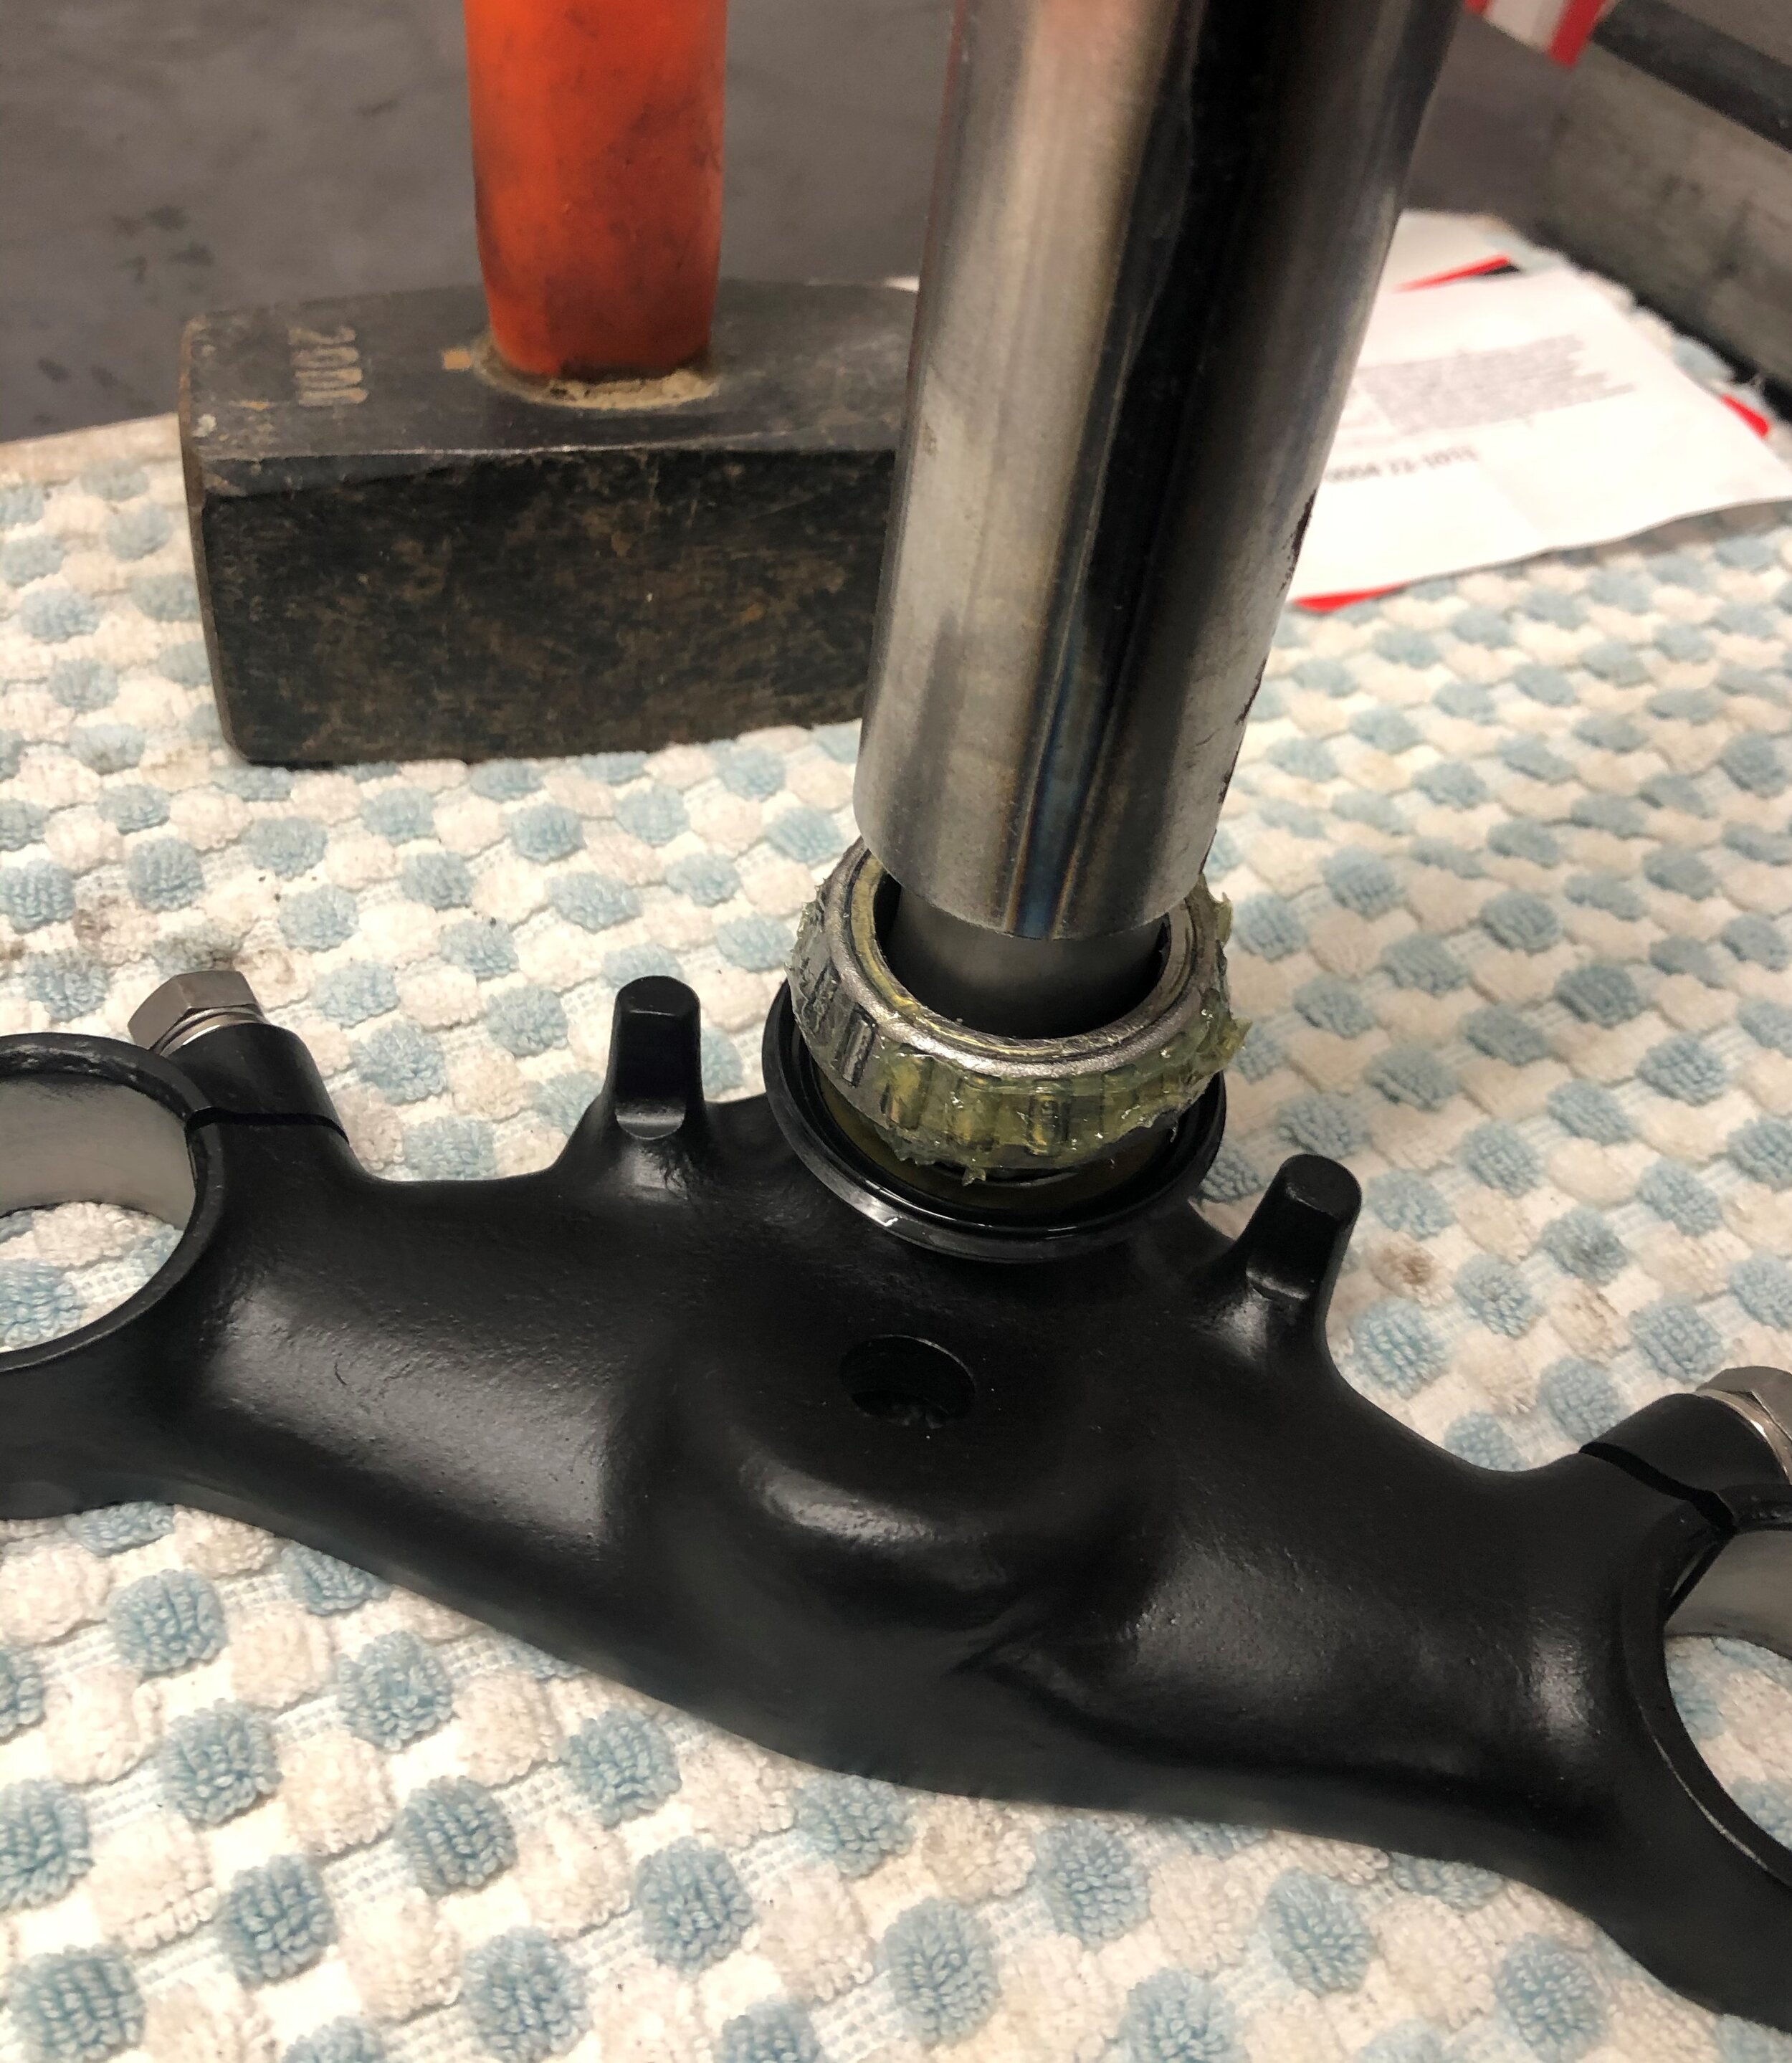
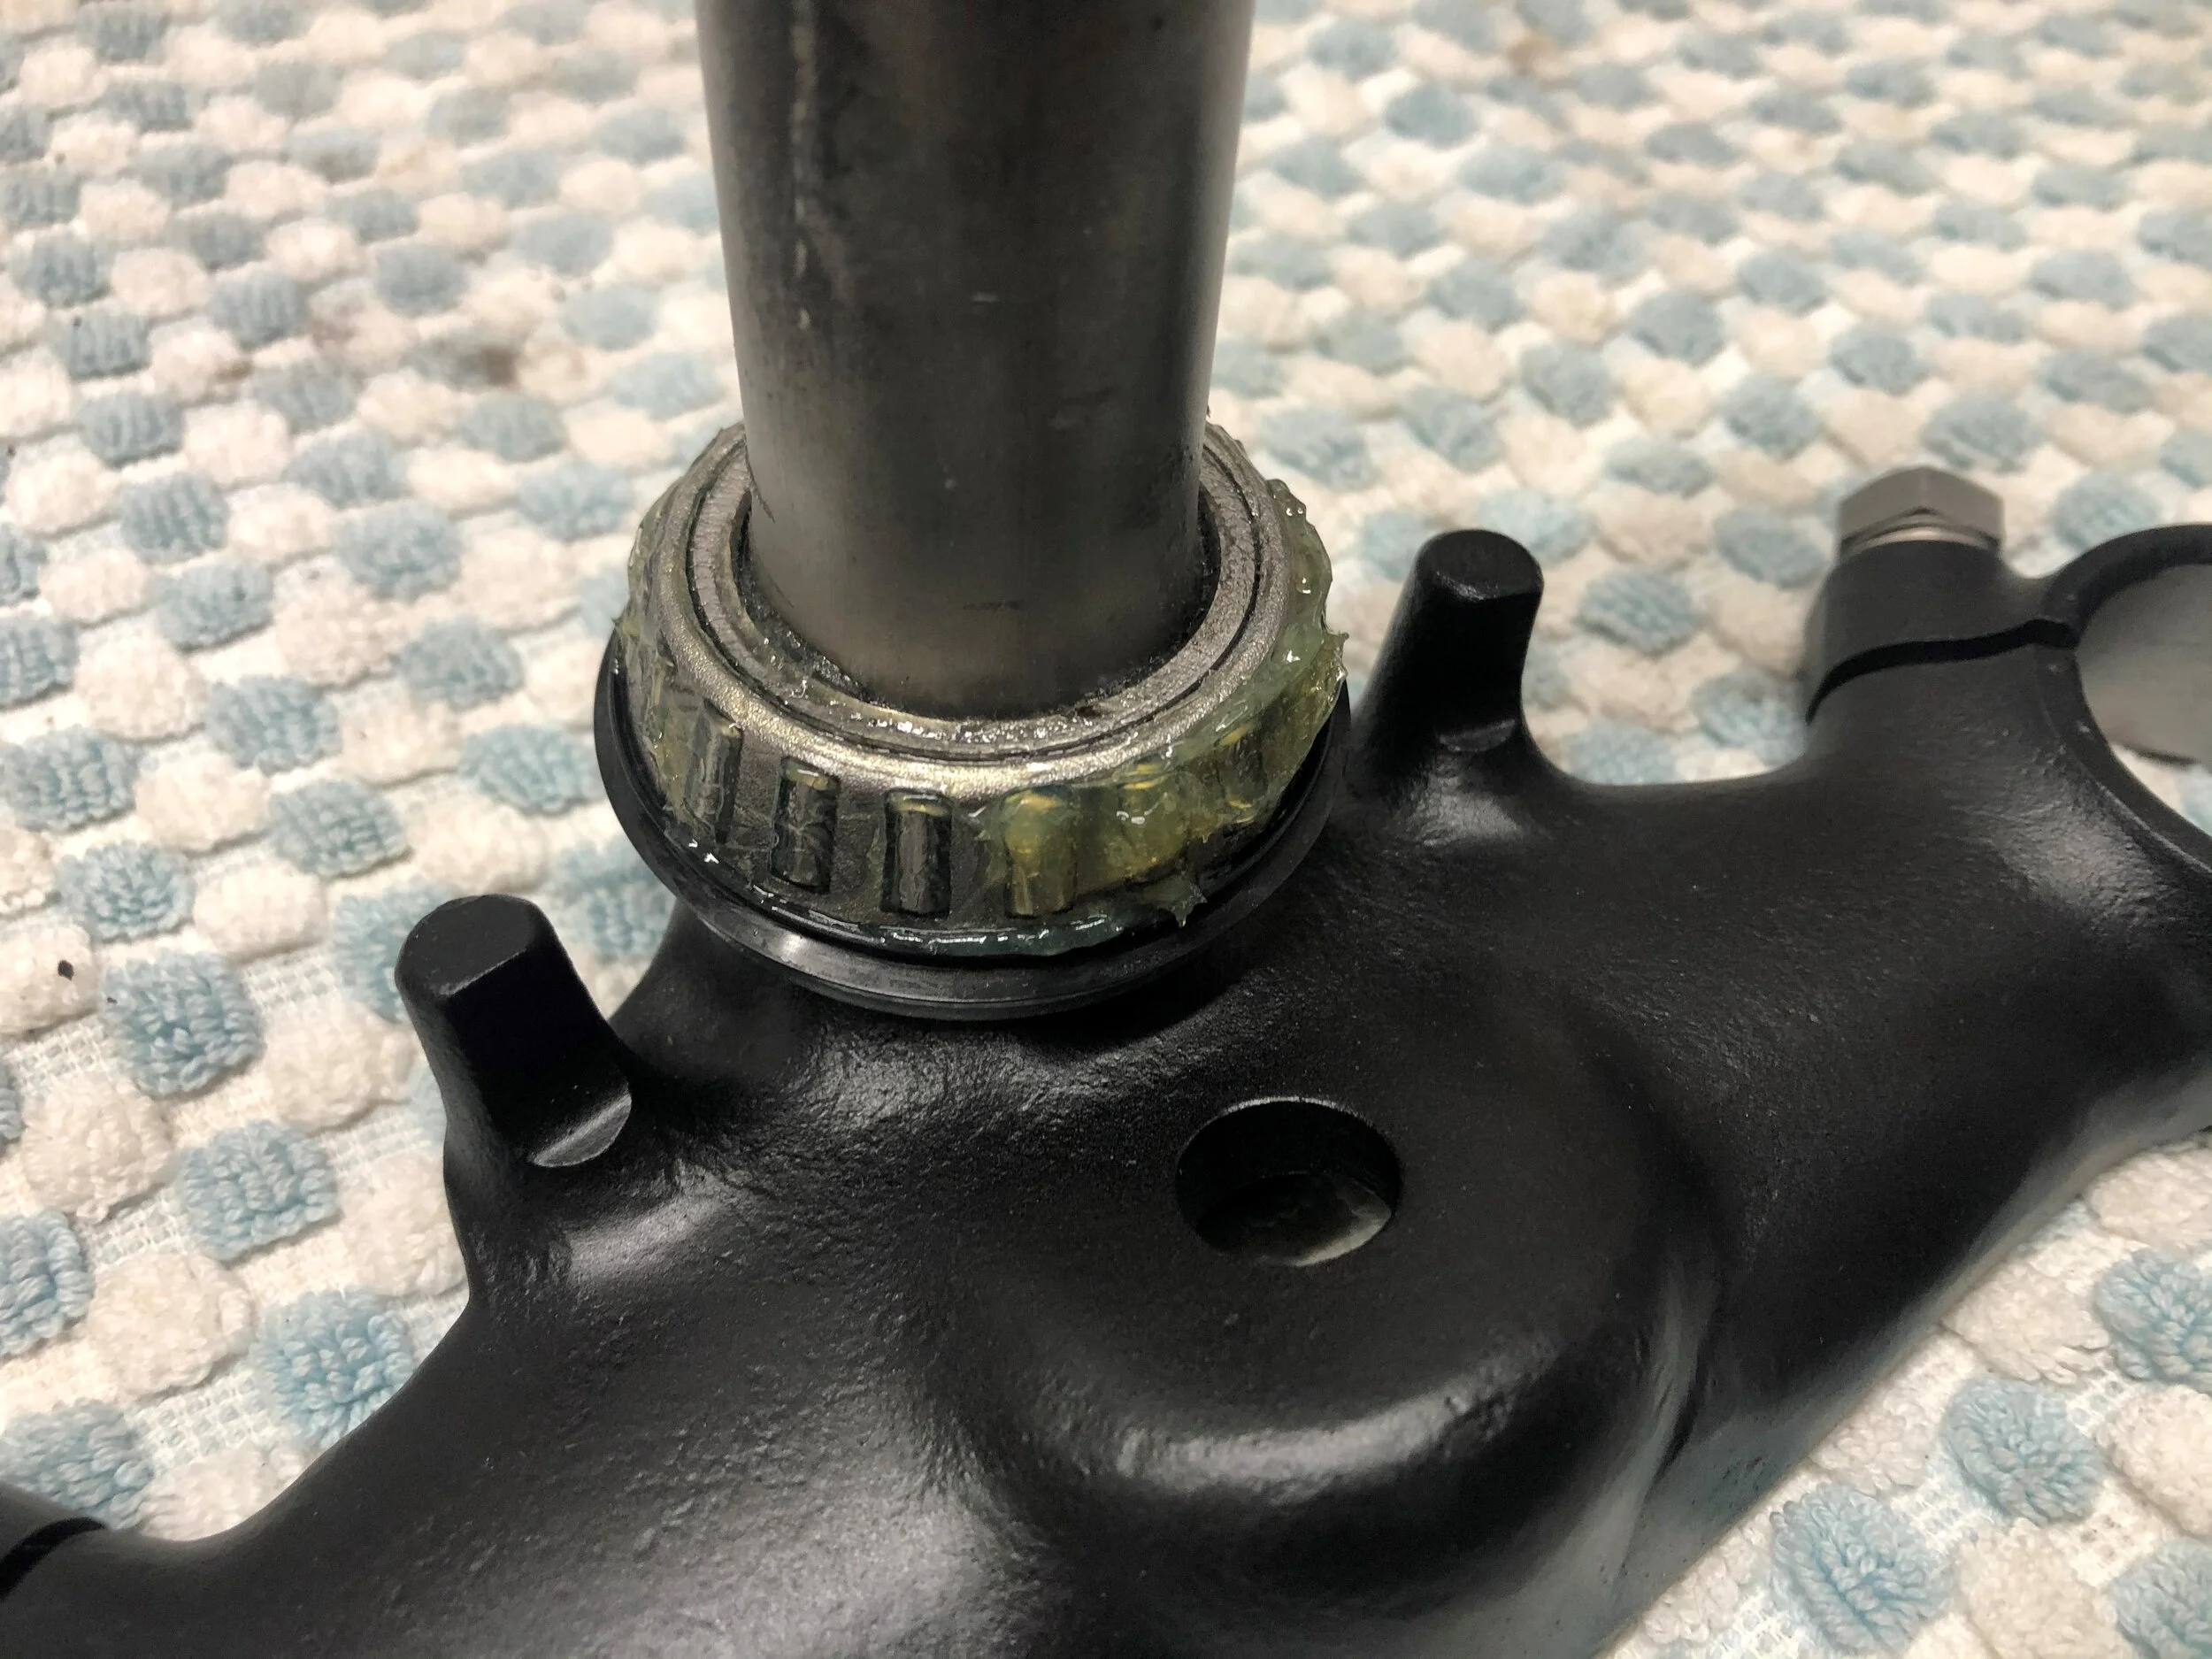
The video’s cover how to do the conversion so I won’t go into much detail here. I found a heat gun helped to get the races out and light taps while working around the circumference. Freezing the new races overnight helped to get them in. I bought a 35mm OD (32mm ID) x 250mm mild steel tube to tap the bearing down and it worked great.
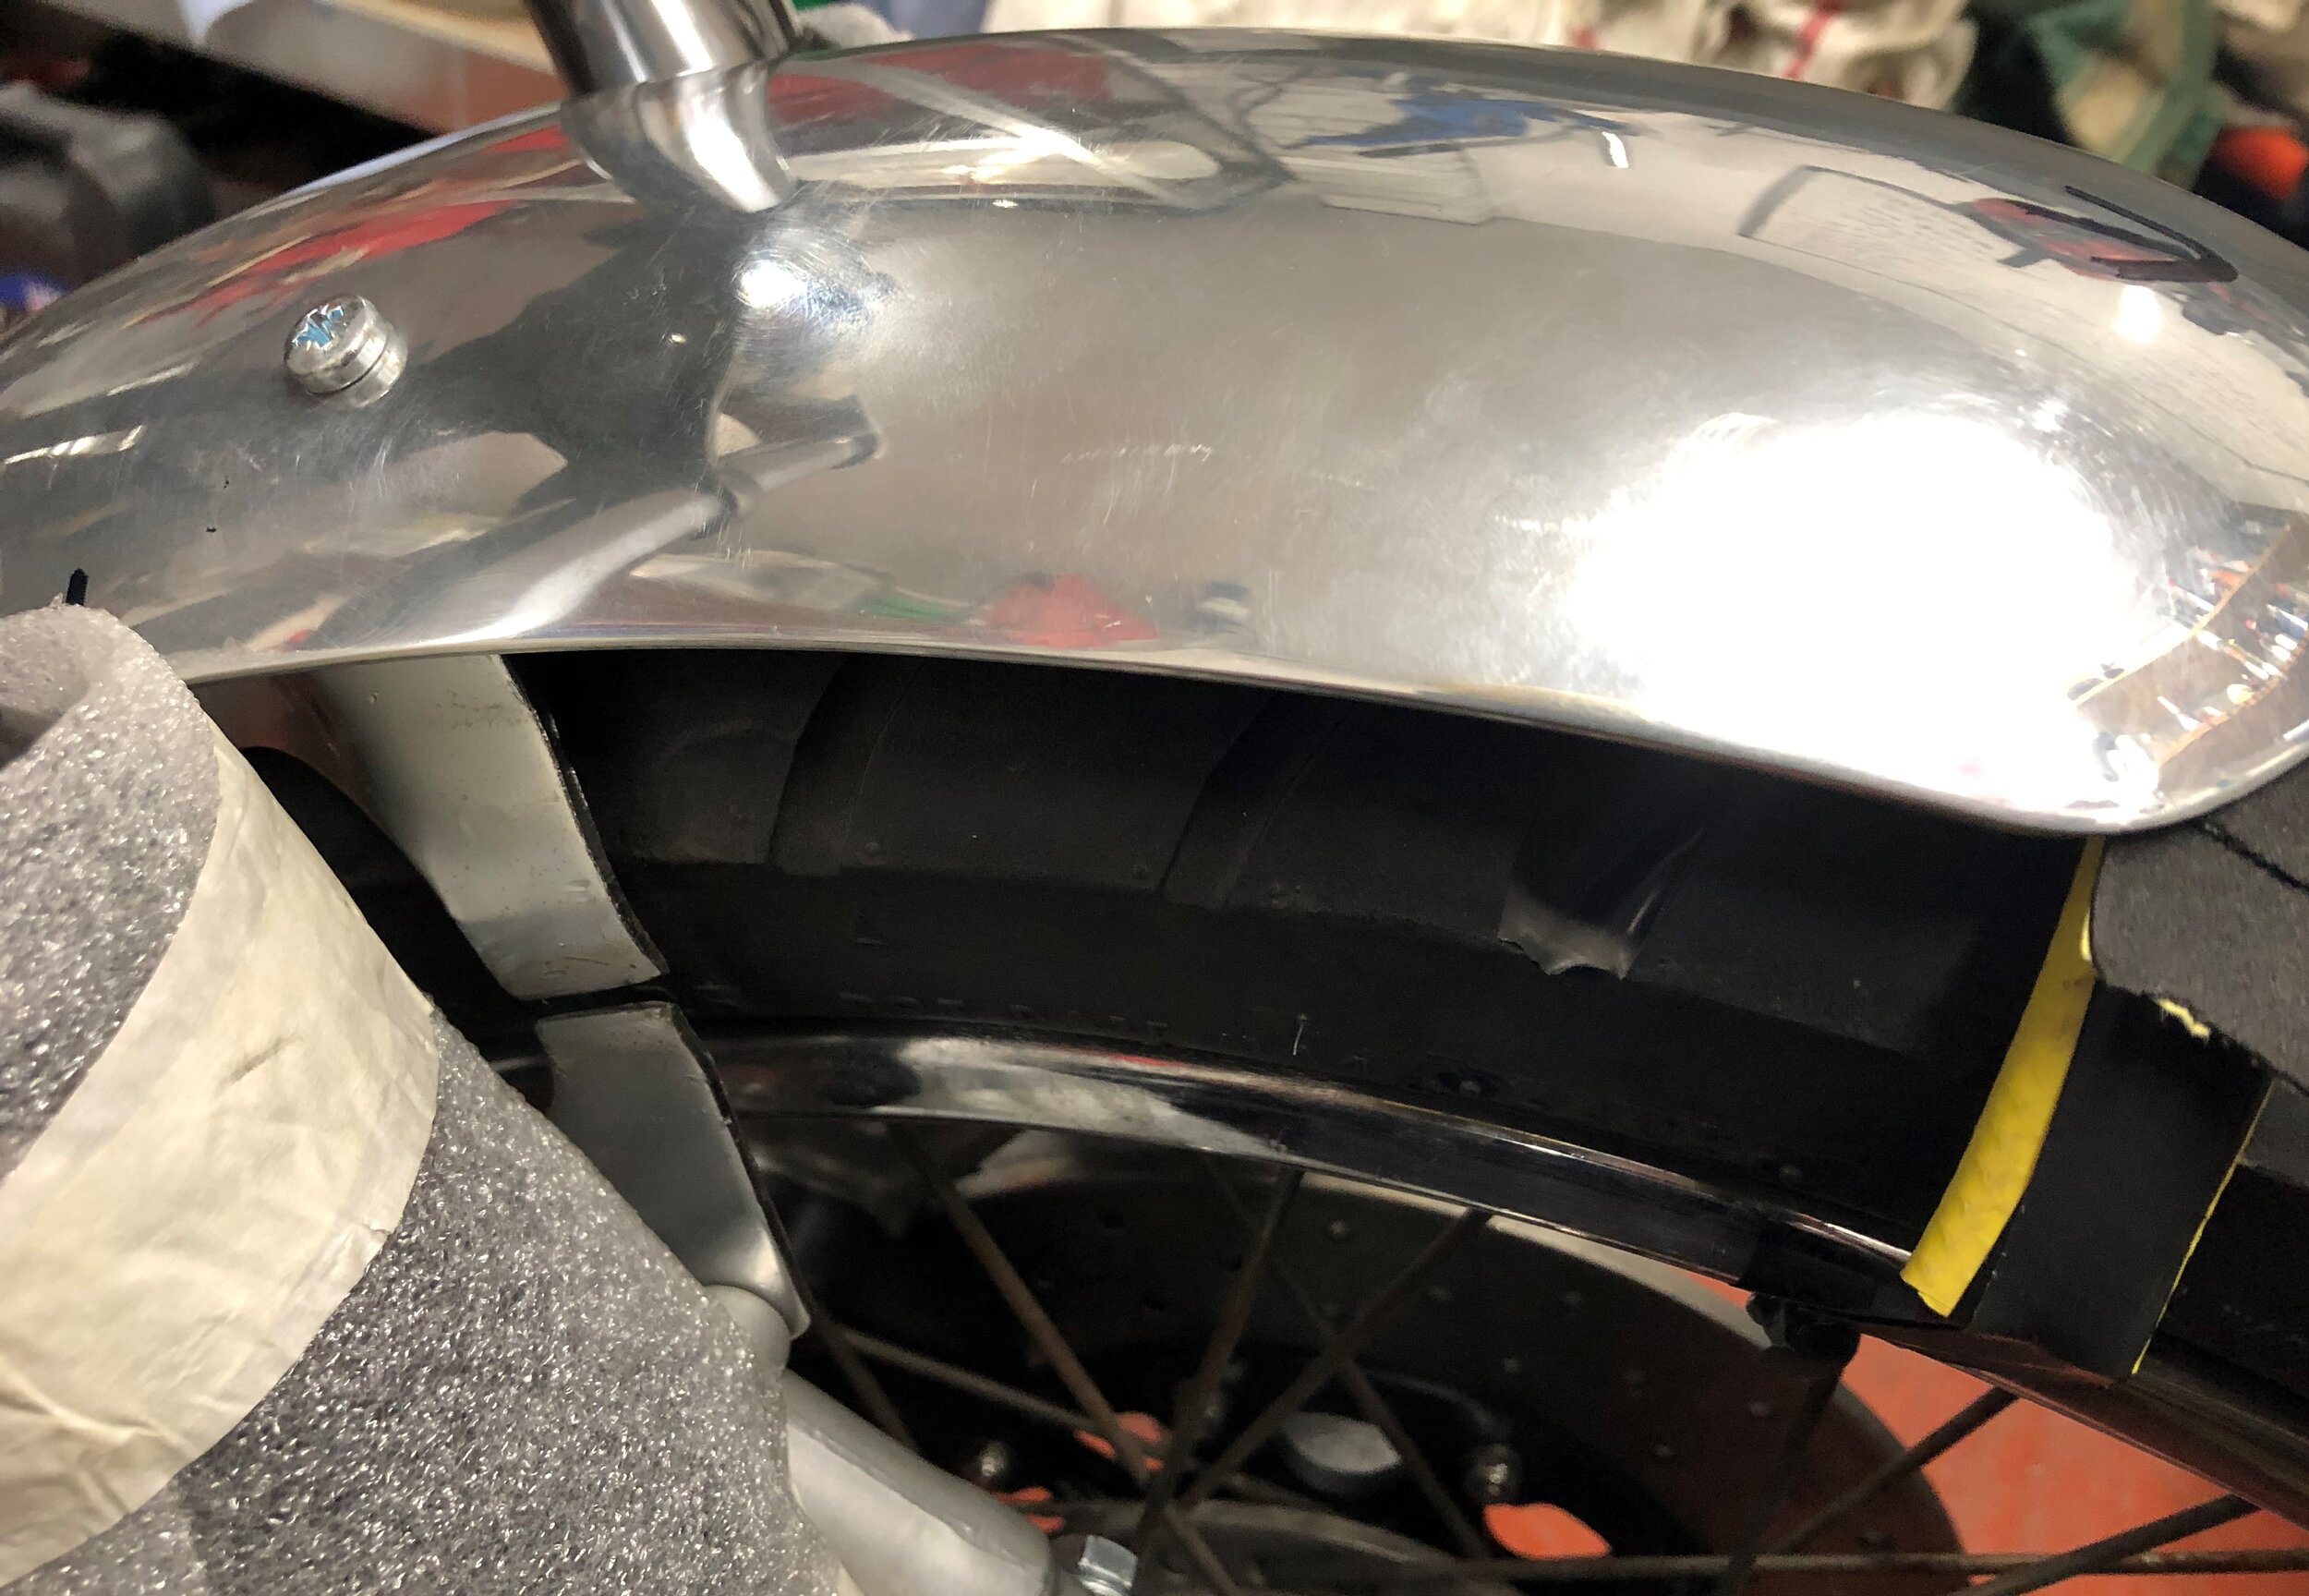
I mocked up the front end so I could check various clearances etc with the dual disc conversion and front mudguard / fender.


Cafe racer front mudguard / fender
I sold the mudguard from my donor bike as I didn’t think I needed it, especially as the original plan was a GSX-R front end. After the u-turn I read an article saying that the fender bracket was integral to strengthening the front end of the CB bikes and not having one adversely affected handling. Lots of bikes on “the gram“ have no fender but they obviously don’t live in Scotland! I saw aftermarket mudguards with integrated brackets that that looked pretty flimsy so I decided to buy a used fender just for the bracket. It’s made with 2.5mm steel and formed with kinks to give it strength. I’d have struggled to replicate that with my tools (and skill). I didn’t want to just chop the OEM guard as it’s deep profile and rolled edge looks old skool. Even mangled second hand ones aren’t cheap at £42 + £7.95 postage on eBay. I did claw back £15 by selling the stay bars.
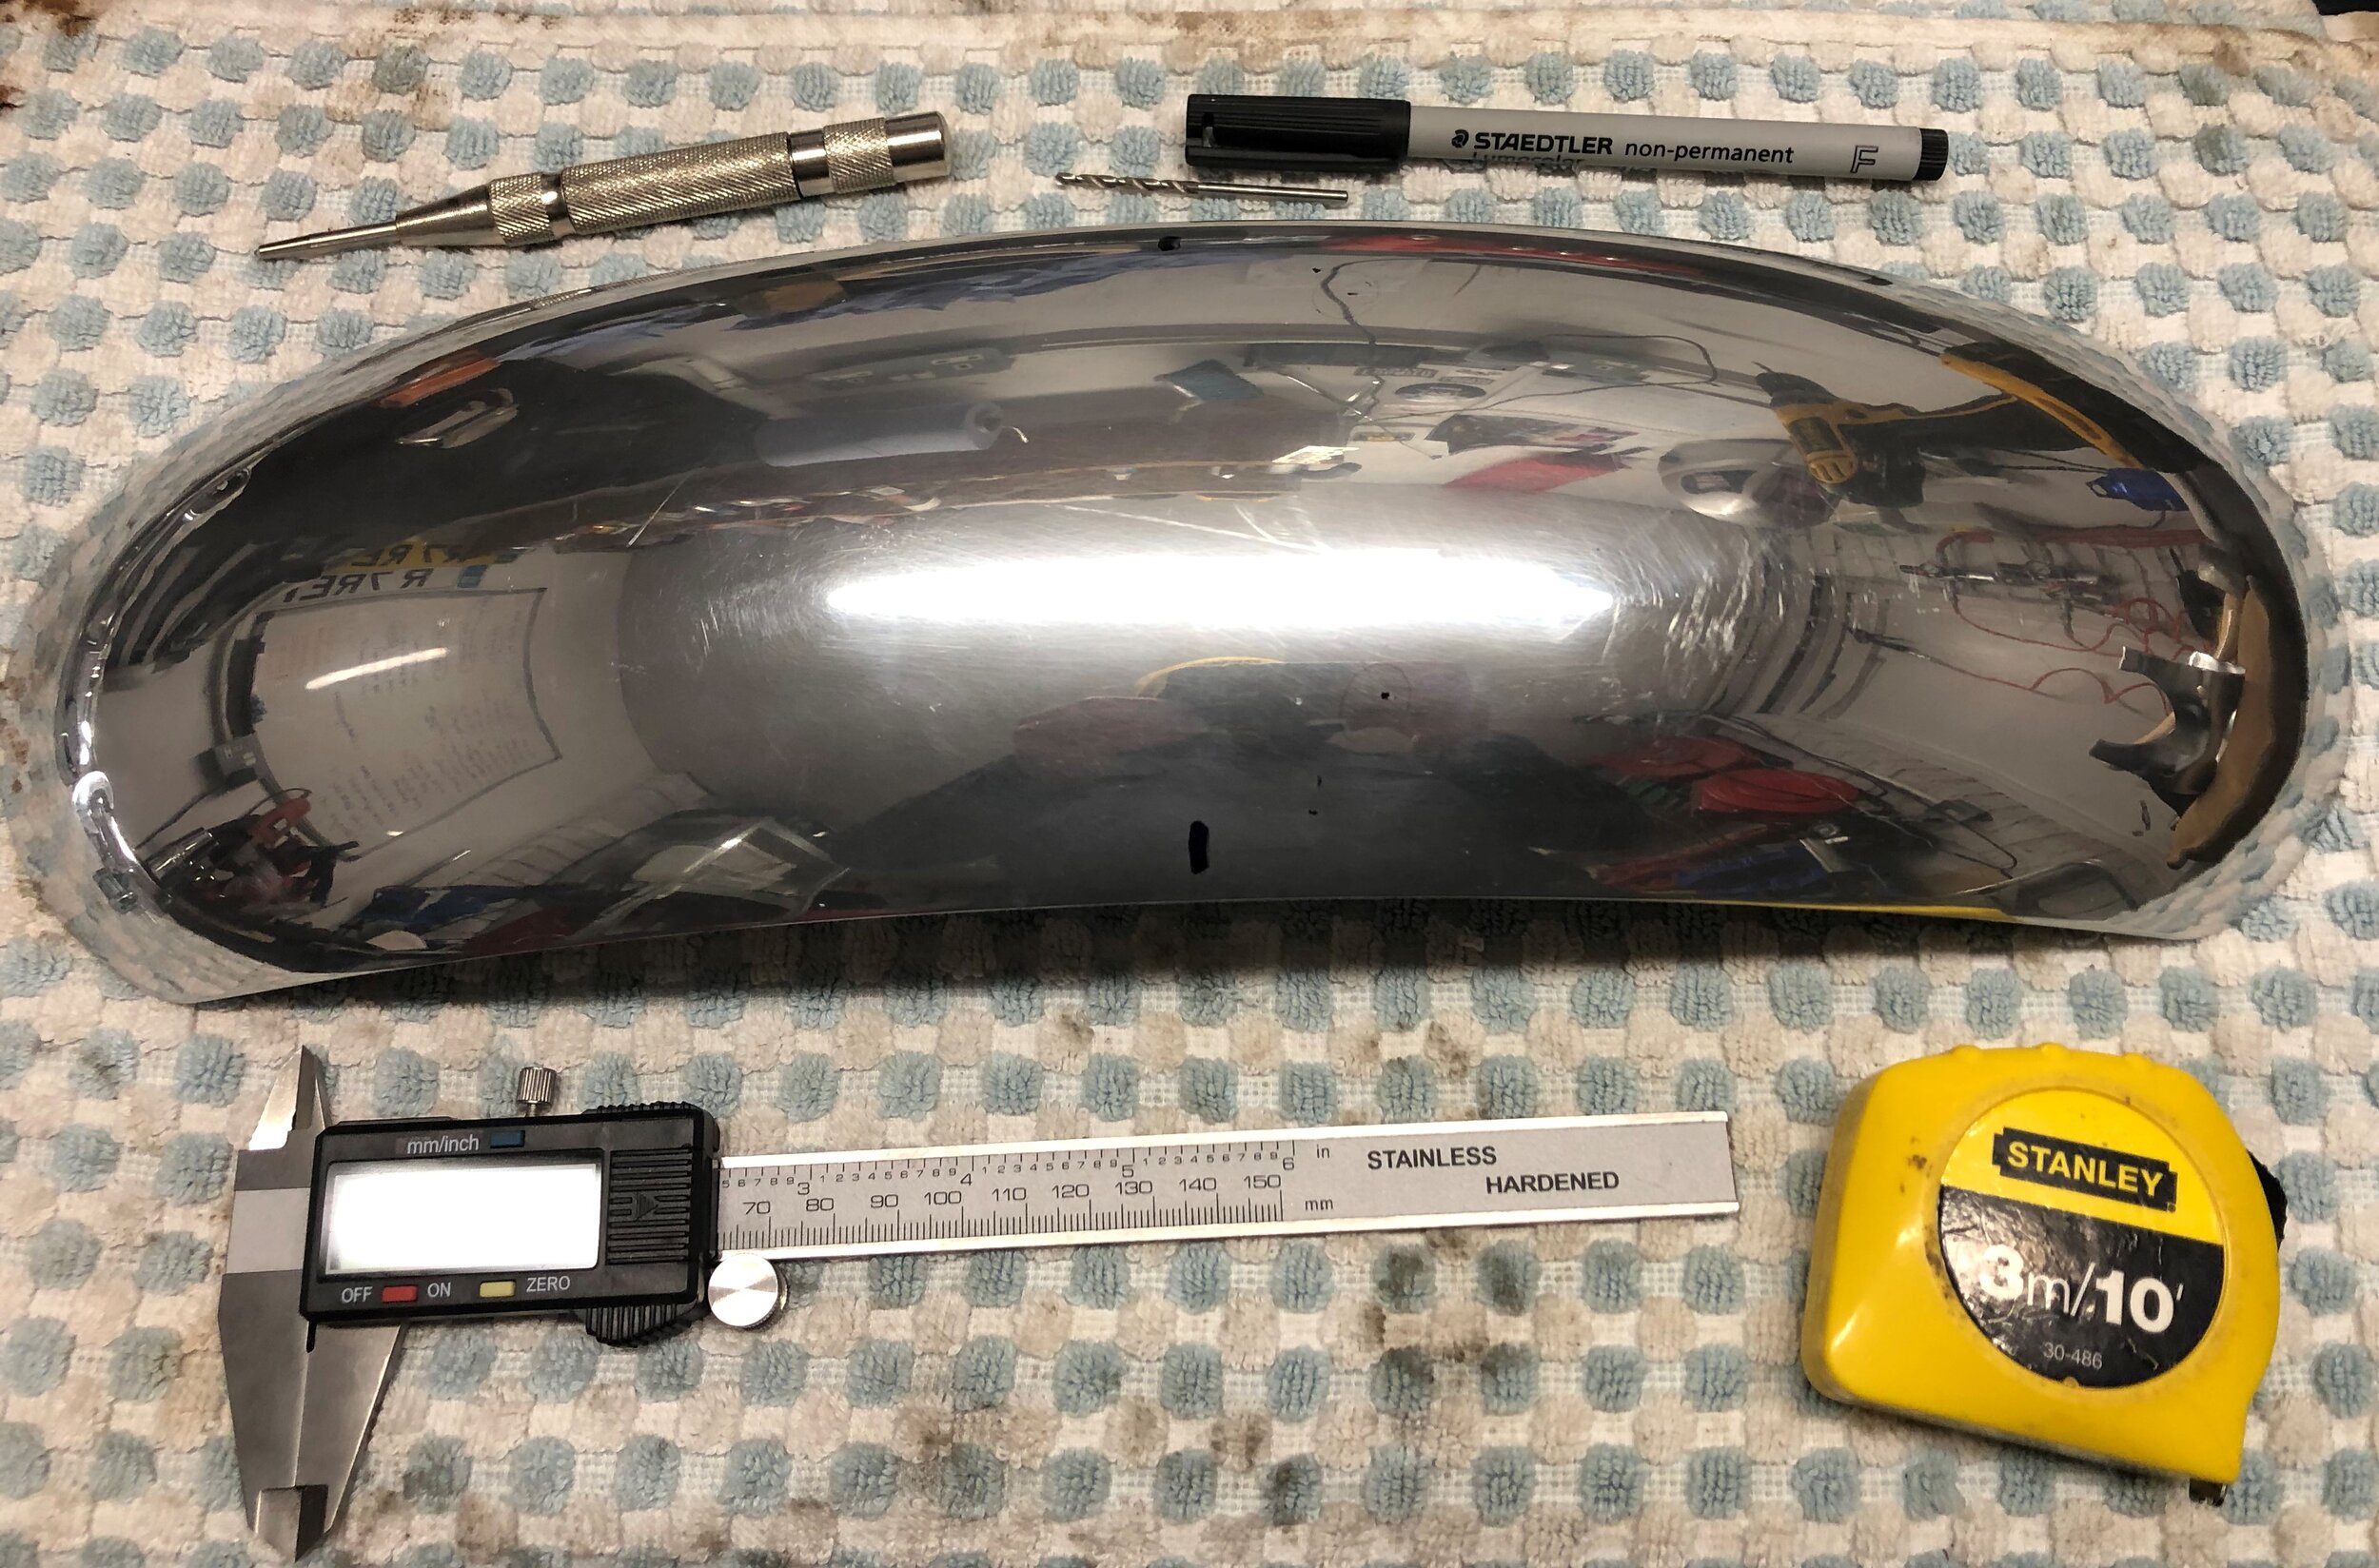
I also bought a short aluminium front mud guard on eBay for £32 + postage. It was from a small custom fab shop called Causeway Motorcycle Fabrications - the quality is fantastic. Better than any cheap “cafe racer” guards I’ve seen. And it’s nearly a kilogram lighter than the stock one. That’ll offset the extra caliper and disc weight a little.


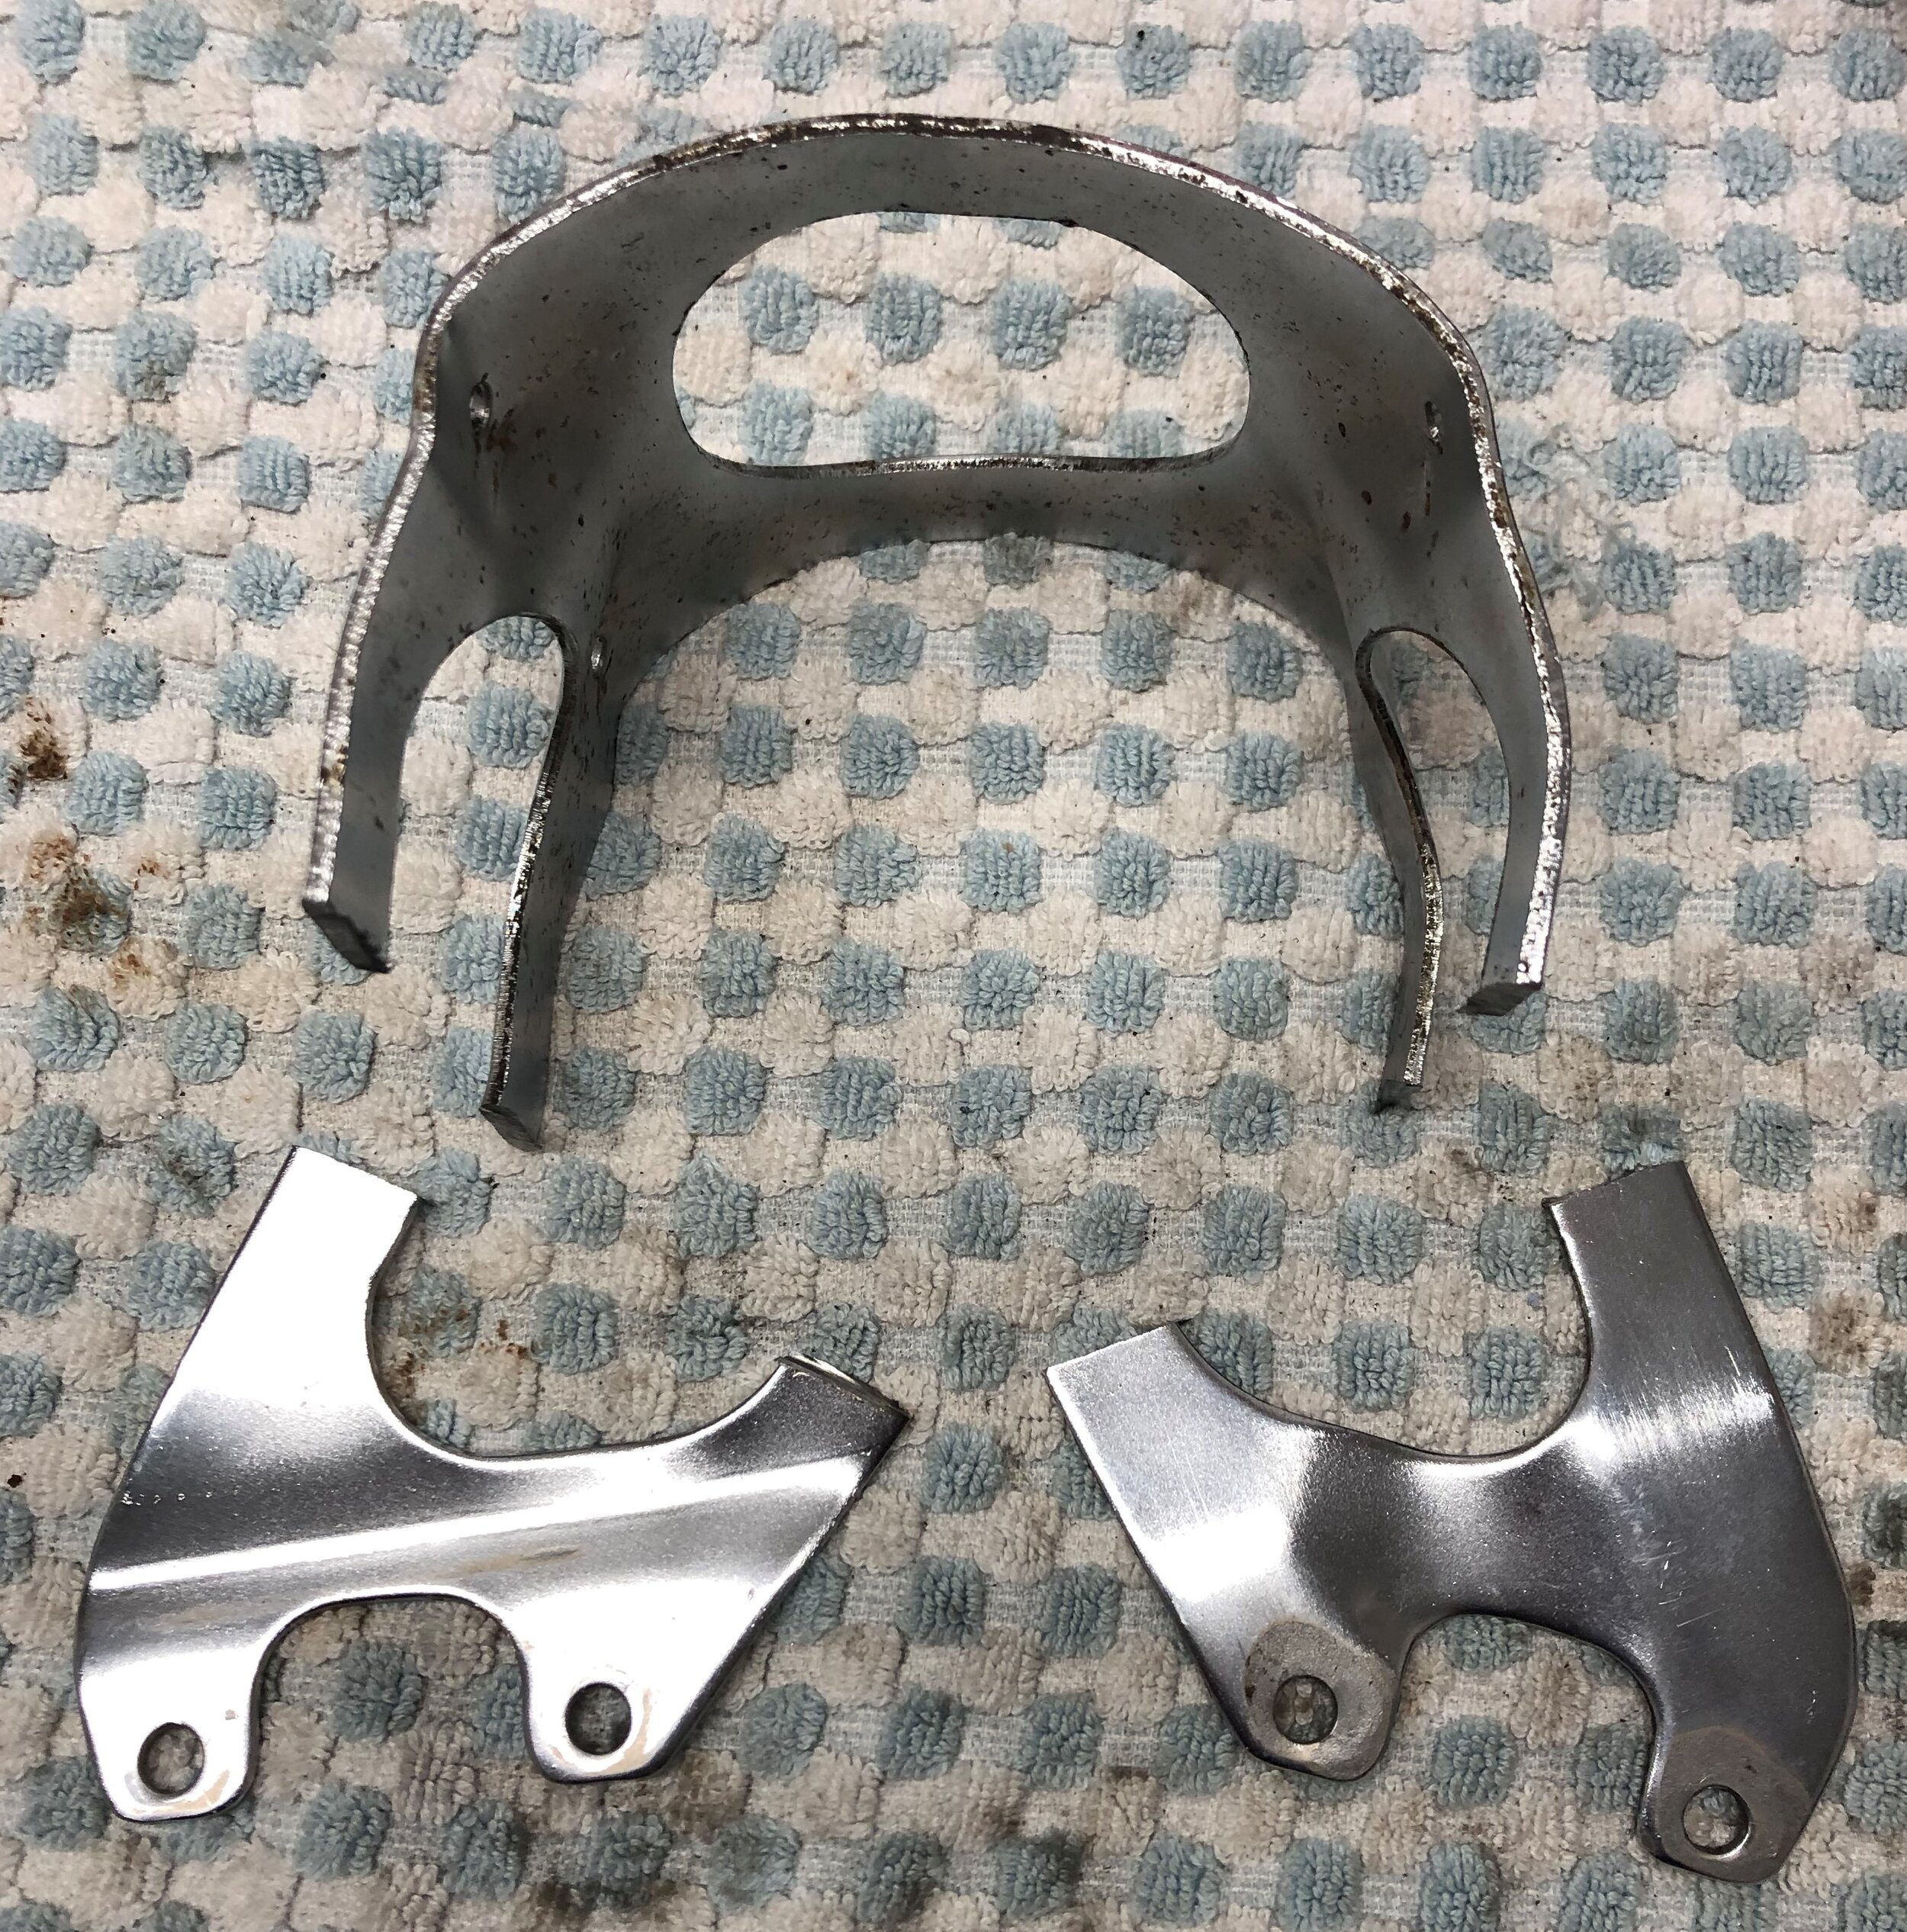
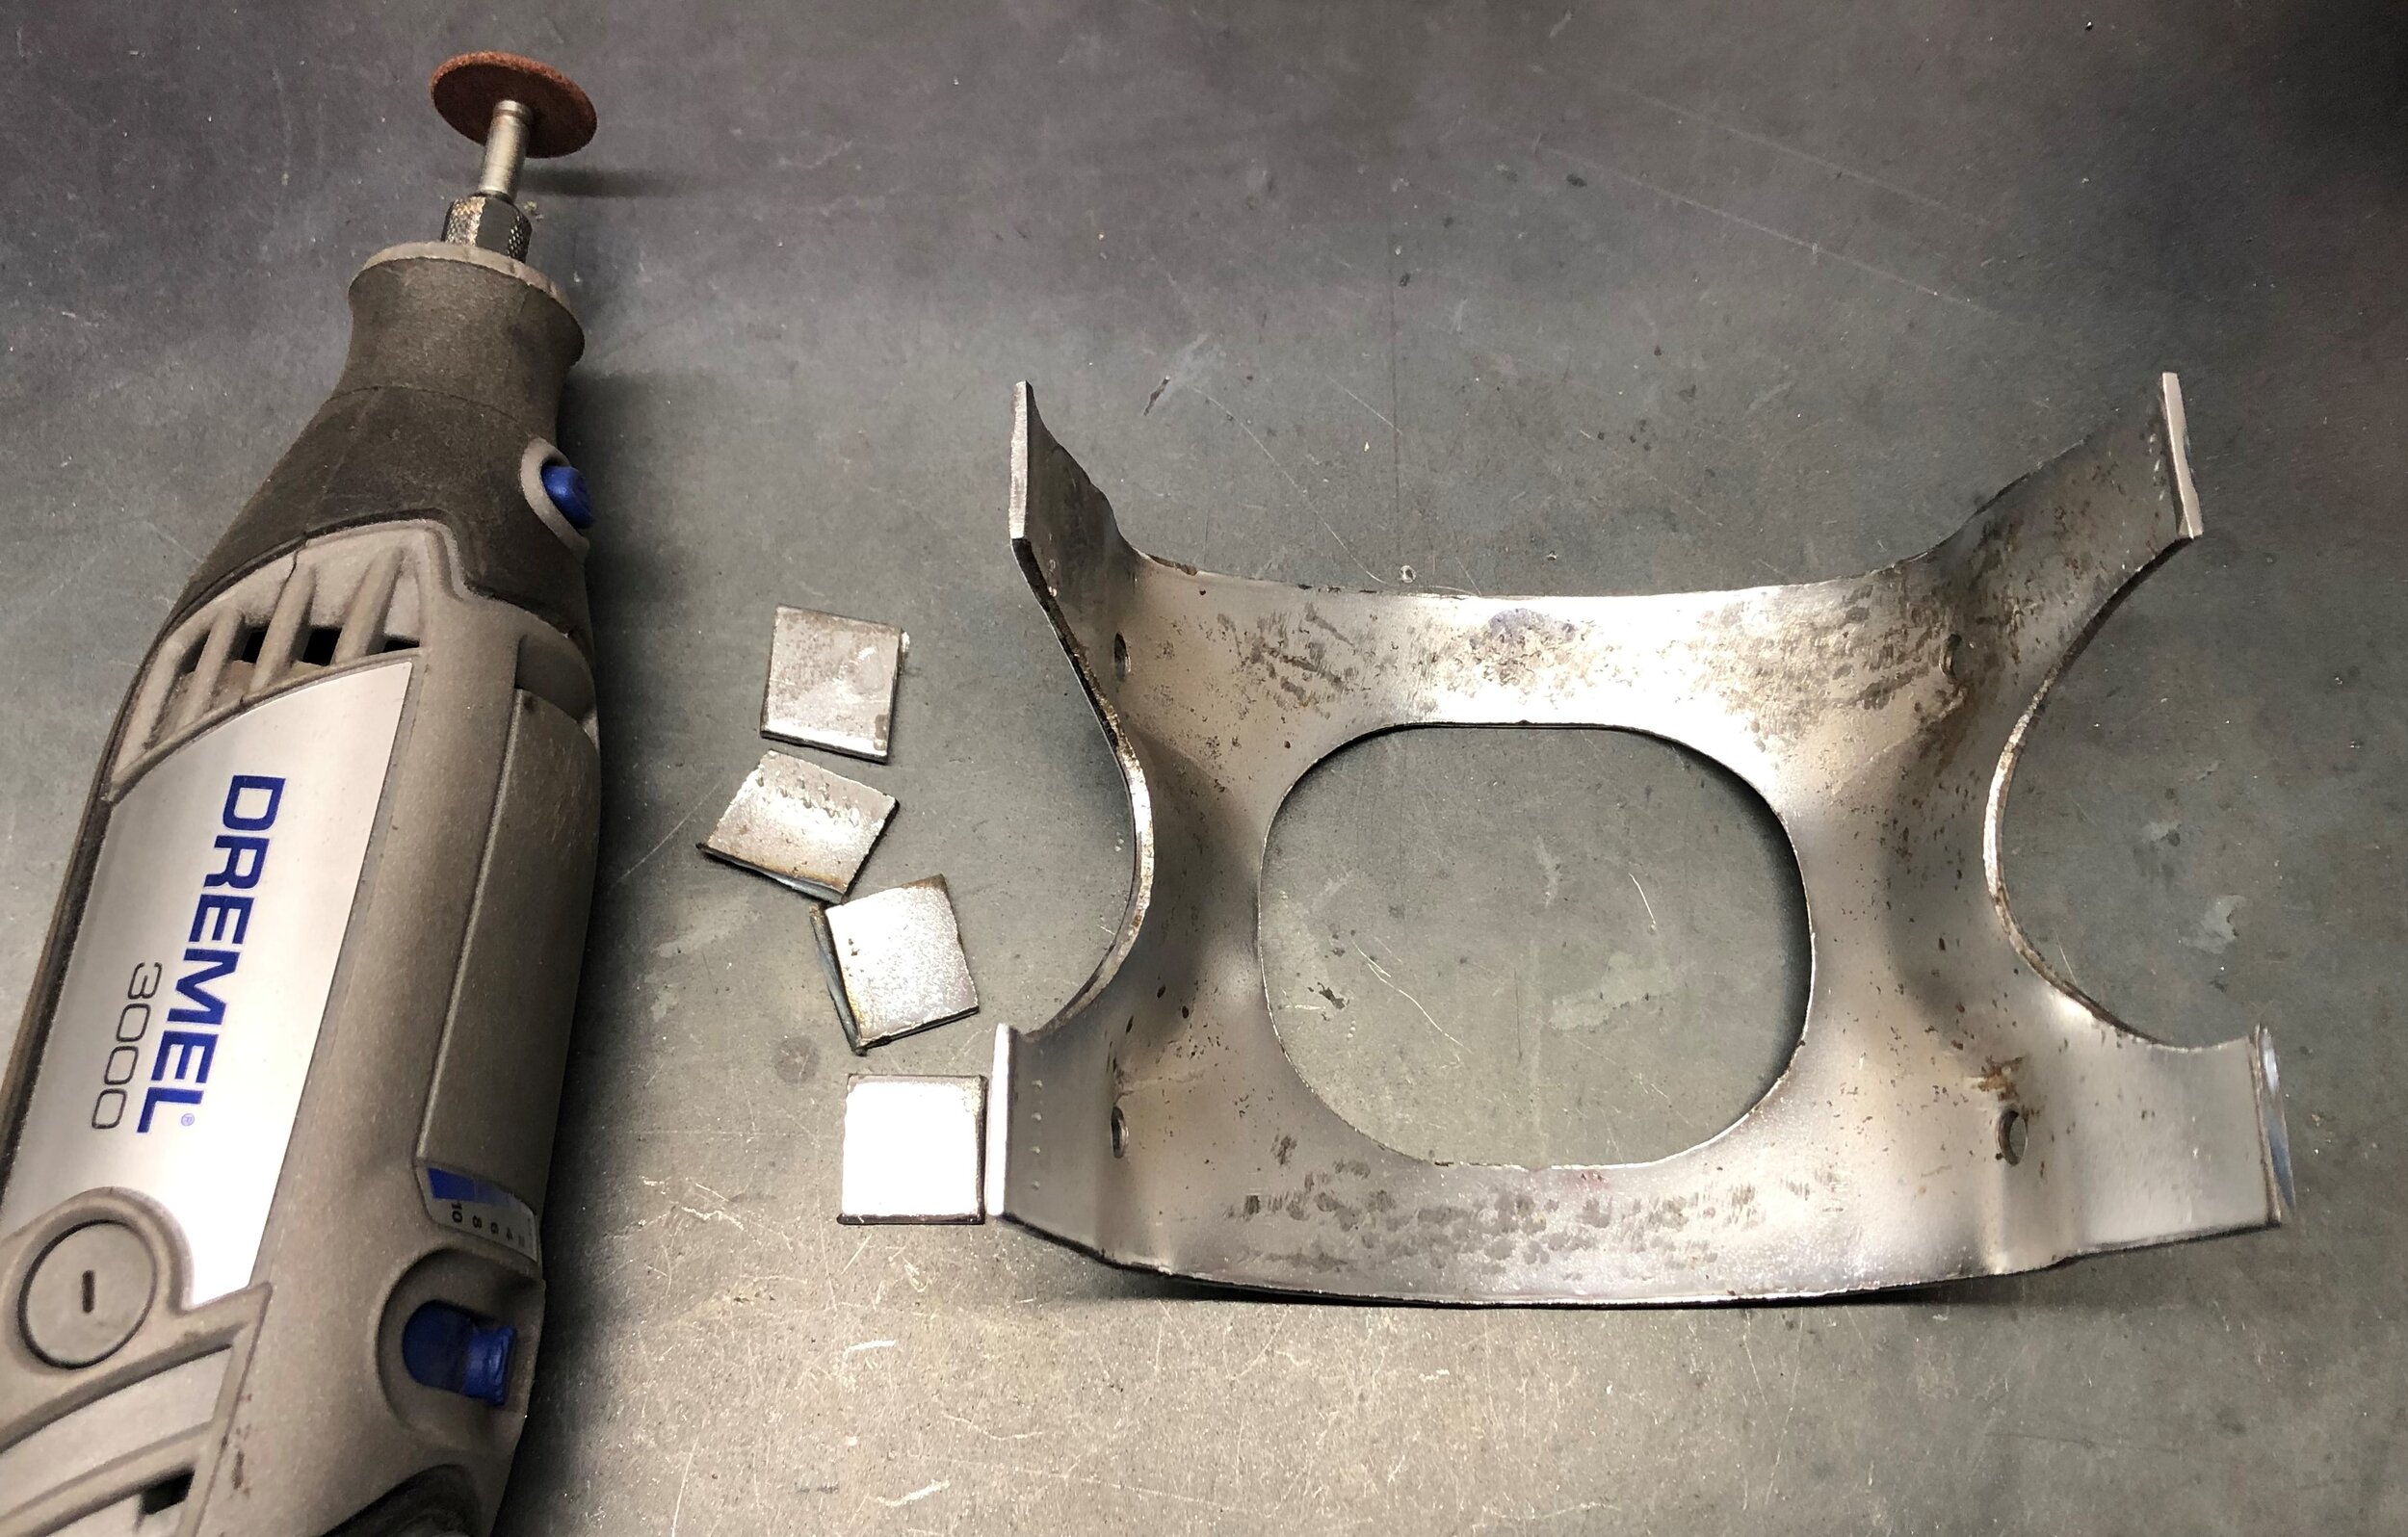
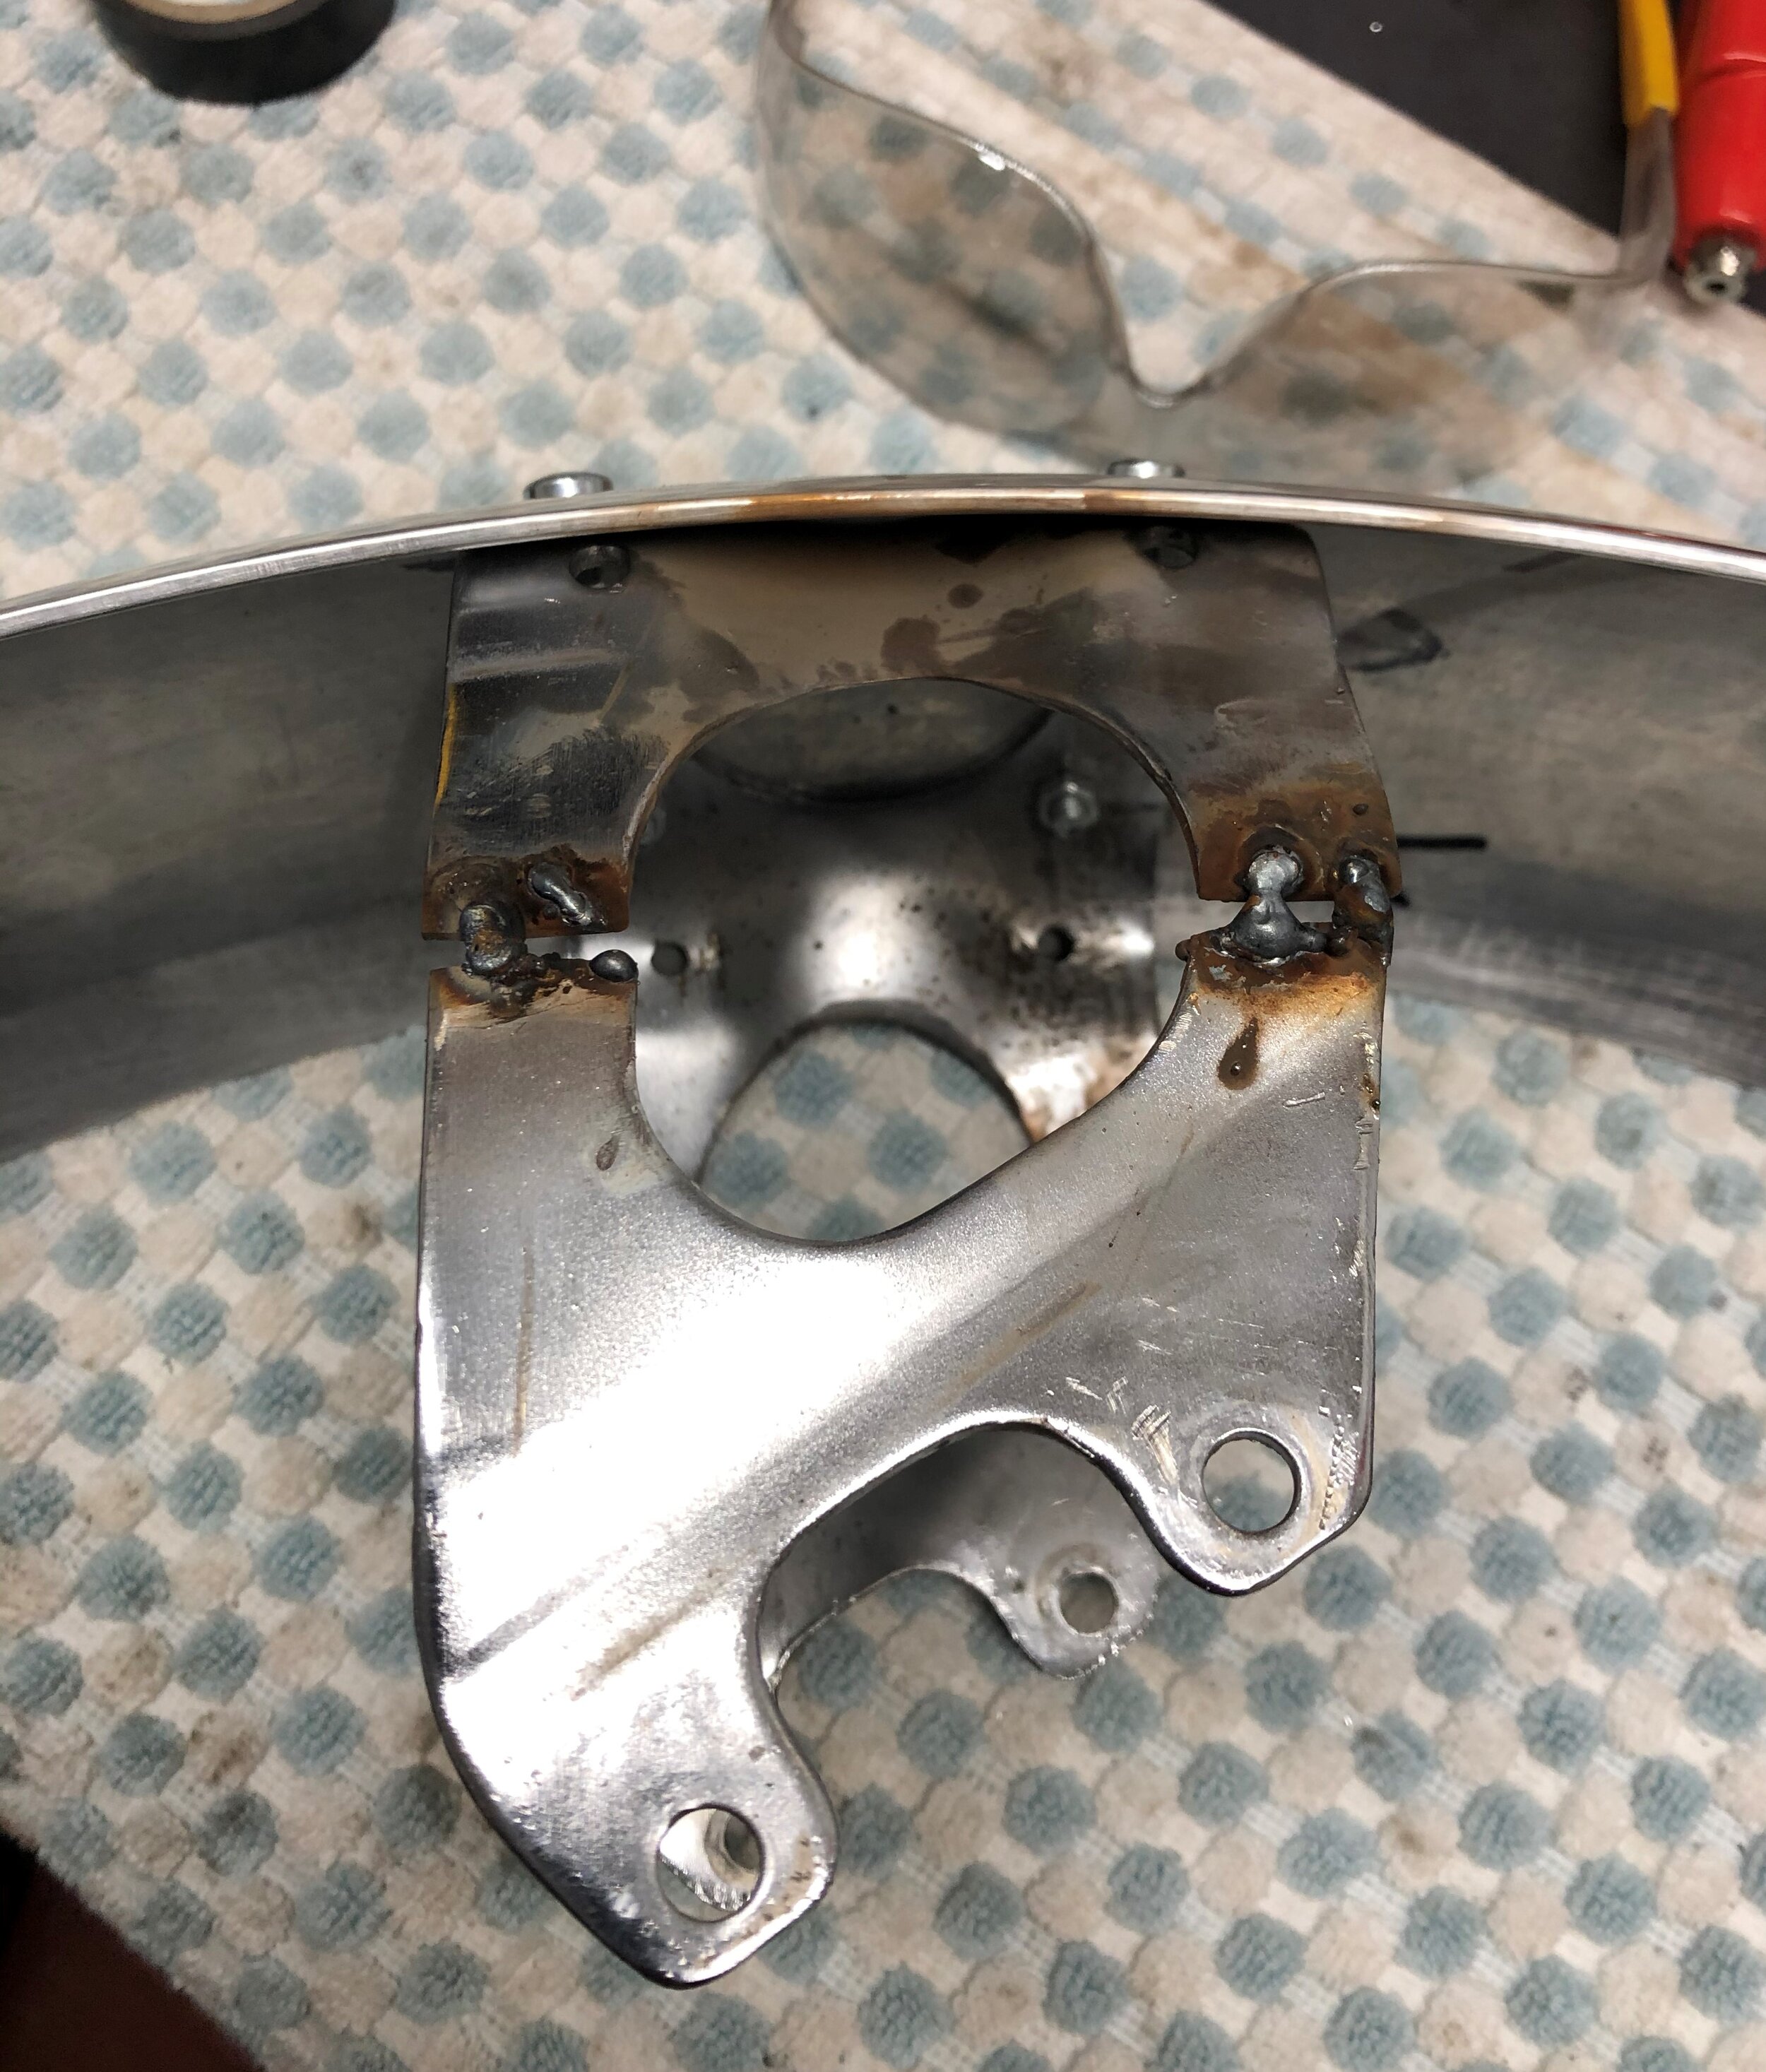
When the stock fender arrived, it was more mangled than the pictures led on. Even the bracket was warped so I cut it into 3 pieces to make it easier to re-shape. The stock CB550 has one caliper on the left hand side (LHS) with a mounting T bracket so the mudguard bracket is asymmetrical and kinked in on the left. Because I went with a dual disc conversion, my set-up is symmetrical.
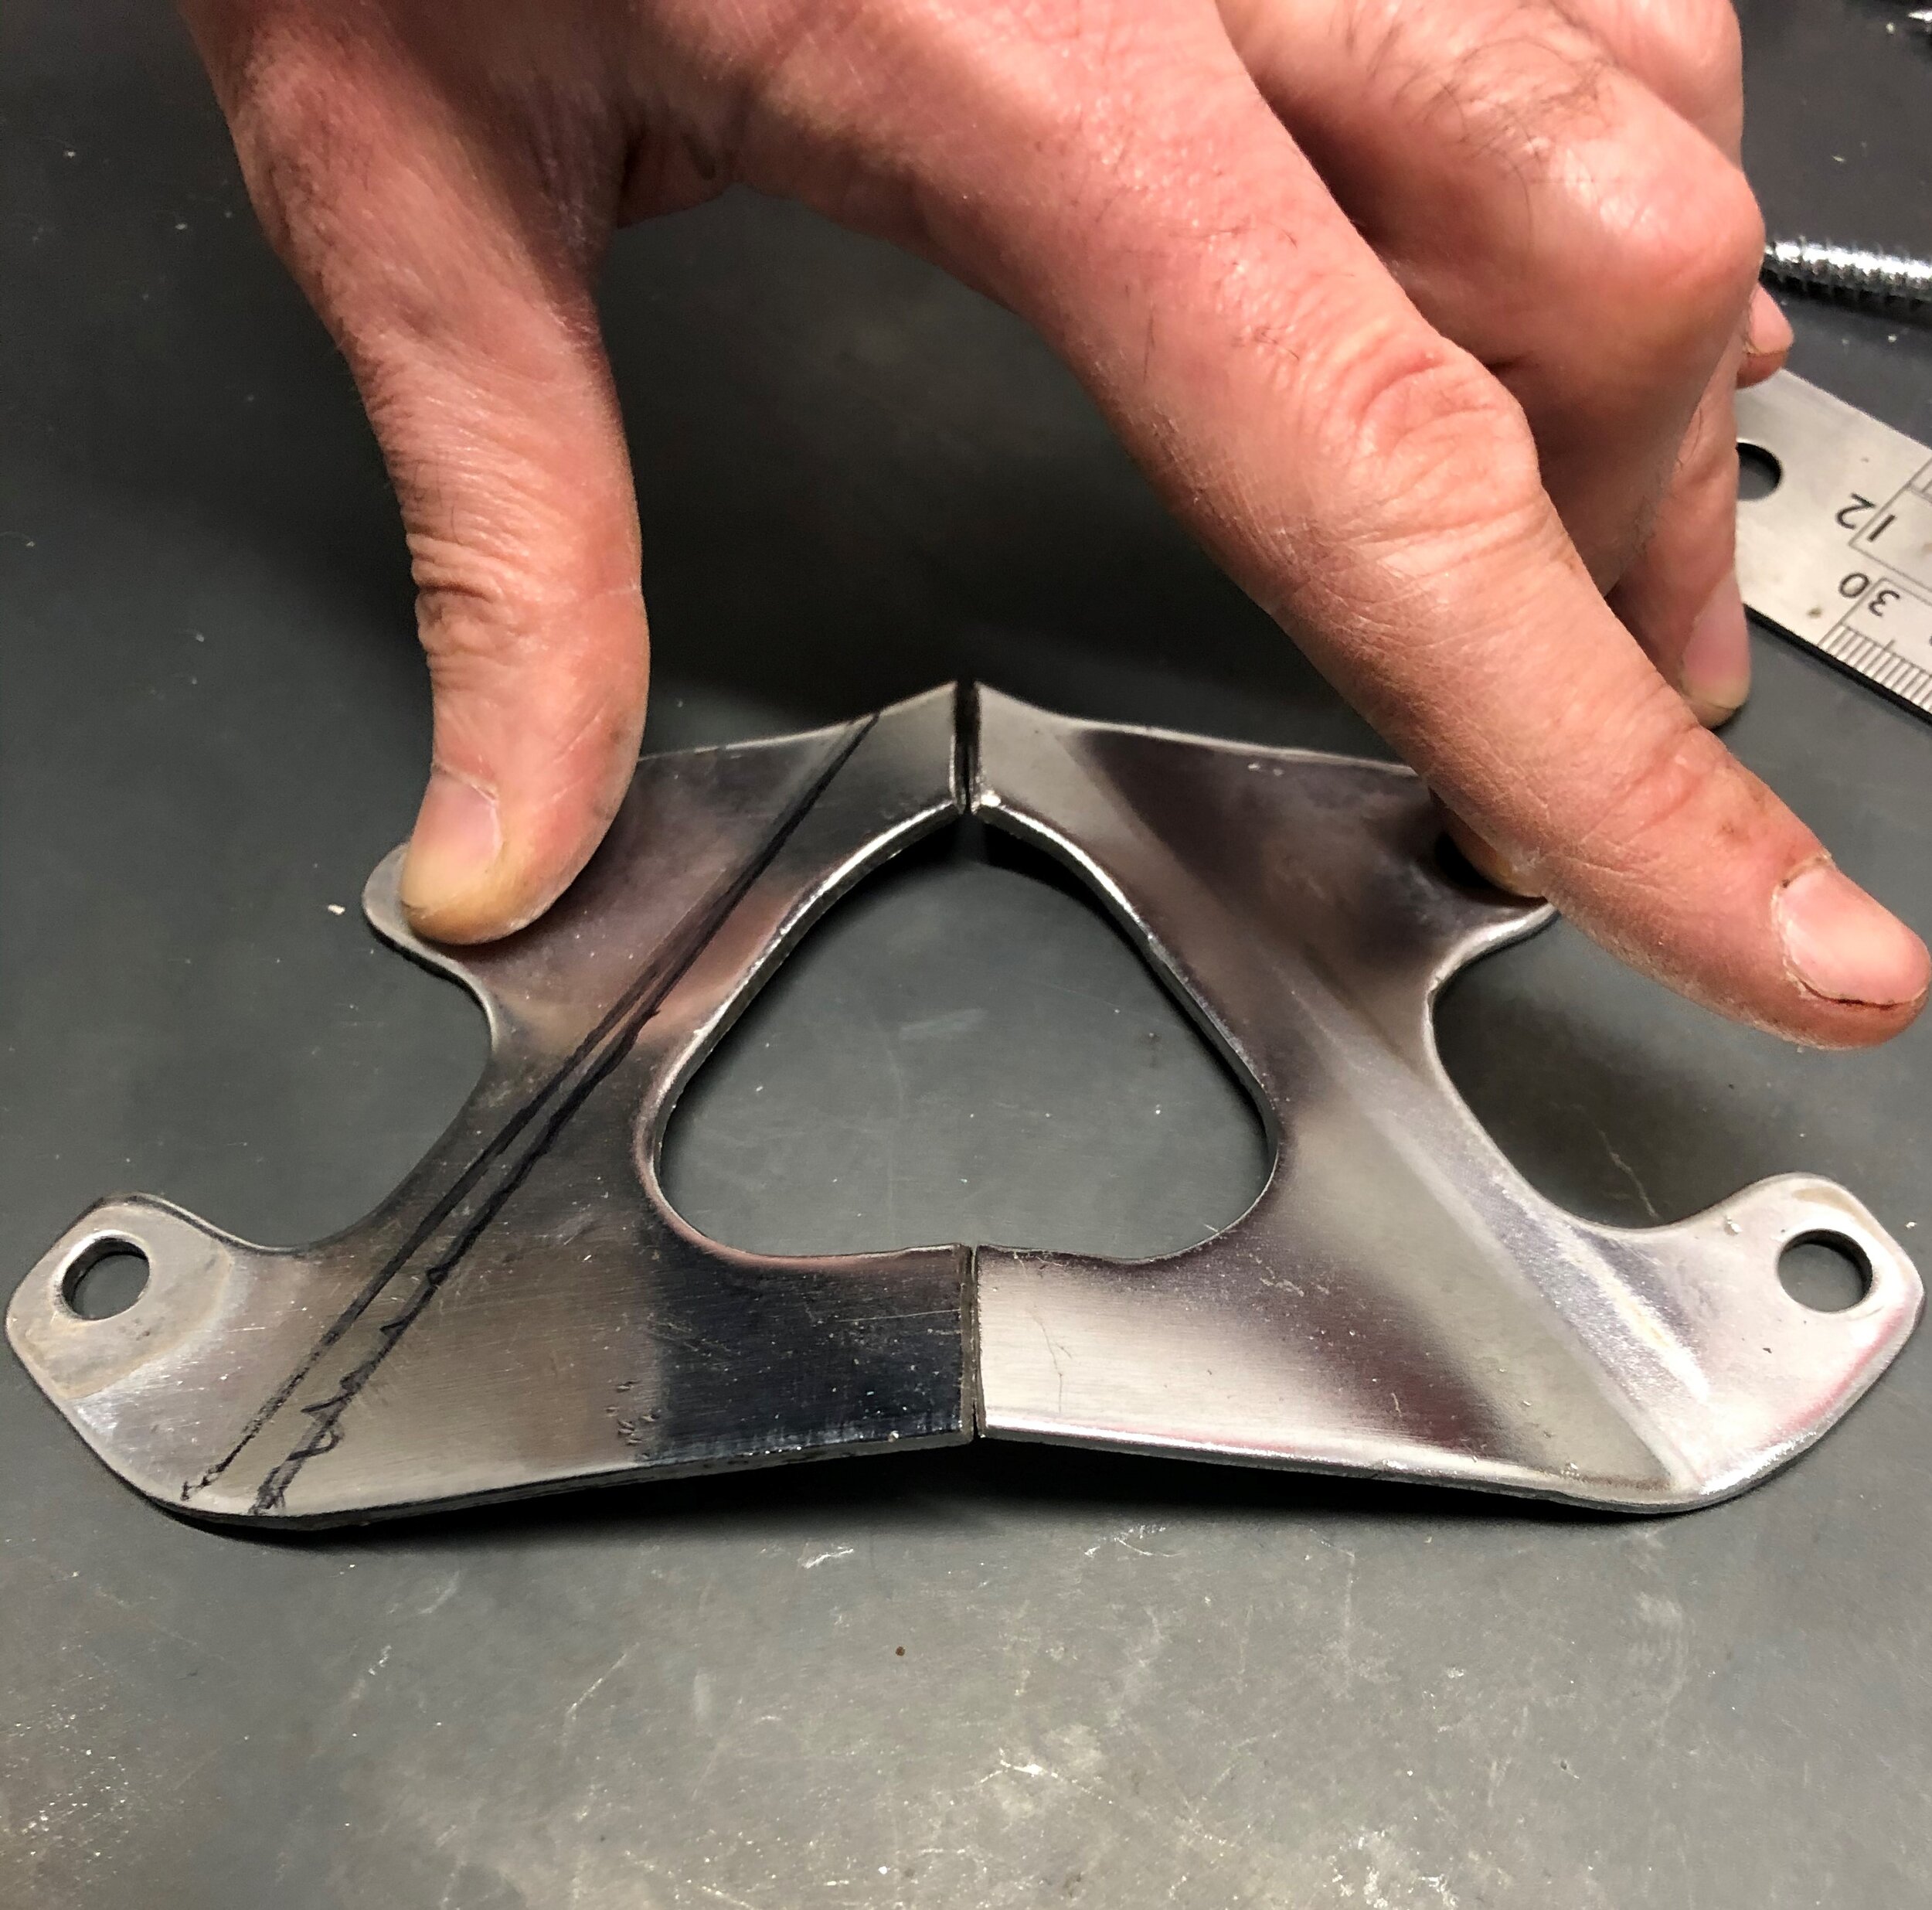
Some people use the mudguard bracket to fill in some of the 3mm gap between the T bracket and forks but I decided to flatten the RHS bracket and shape it to mirror the LHS. I mounted these on the forks and shaped them to clear my wheel & tyre - but only just. The tyre currently on the bike is a Dunlop ArrowMax 100/90 - 19. I plan on changing to a proper “old money“ 3.25 x 19 inch tyre - probably Heidenau K34 front and back. My assumption is that the tyre will be smaller in height and width…


I then shaped the top arch to fit the new mudguard, cut the brackets down, fixed the new fender temporarily with bolts then welded it all back together. I used 4 x 4.8mm x 8mm aluminium rivets to secure the guard to the bracket.
To do: It just needs to be riveted , a few coats of primer then satin black and it’s good to go.


The above spiel and pictures make the job sounds straightforward but in reality it involved hours of pounding, test fitting, bending, test fitting, grinding, test fitting, drilling, test fitting and swearing to get it right. Even though I wrapped my sprayed stantions in foam, I managed to scratch them which was annoying. They also got a bit cooked when I tack welded the brackets. If I knew I needed to fab a fender bracket then I’d have done things in a different order. They’ll probably need a re-spray.
Cafe racer headlight & brackets
For some reason, headlight brackets are pretty expensive for what they are. I bought a generic cheap set for £22 but when I test assembled, the gap between the brackets and headlight was pretty big. I could have made a spacer but I decided that they looked cheap anyway so looked for a better set. I decided on these extra short Highsider ones from Bikermart for around £90. I wanted my headlight tight against the forks and most brackets have a good 12cm reach which looked too long for me.


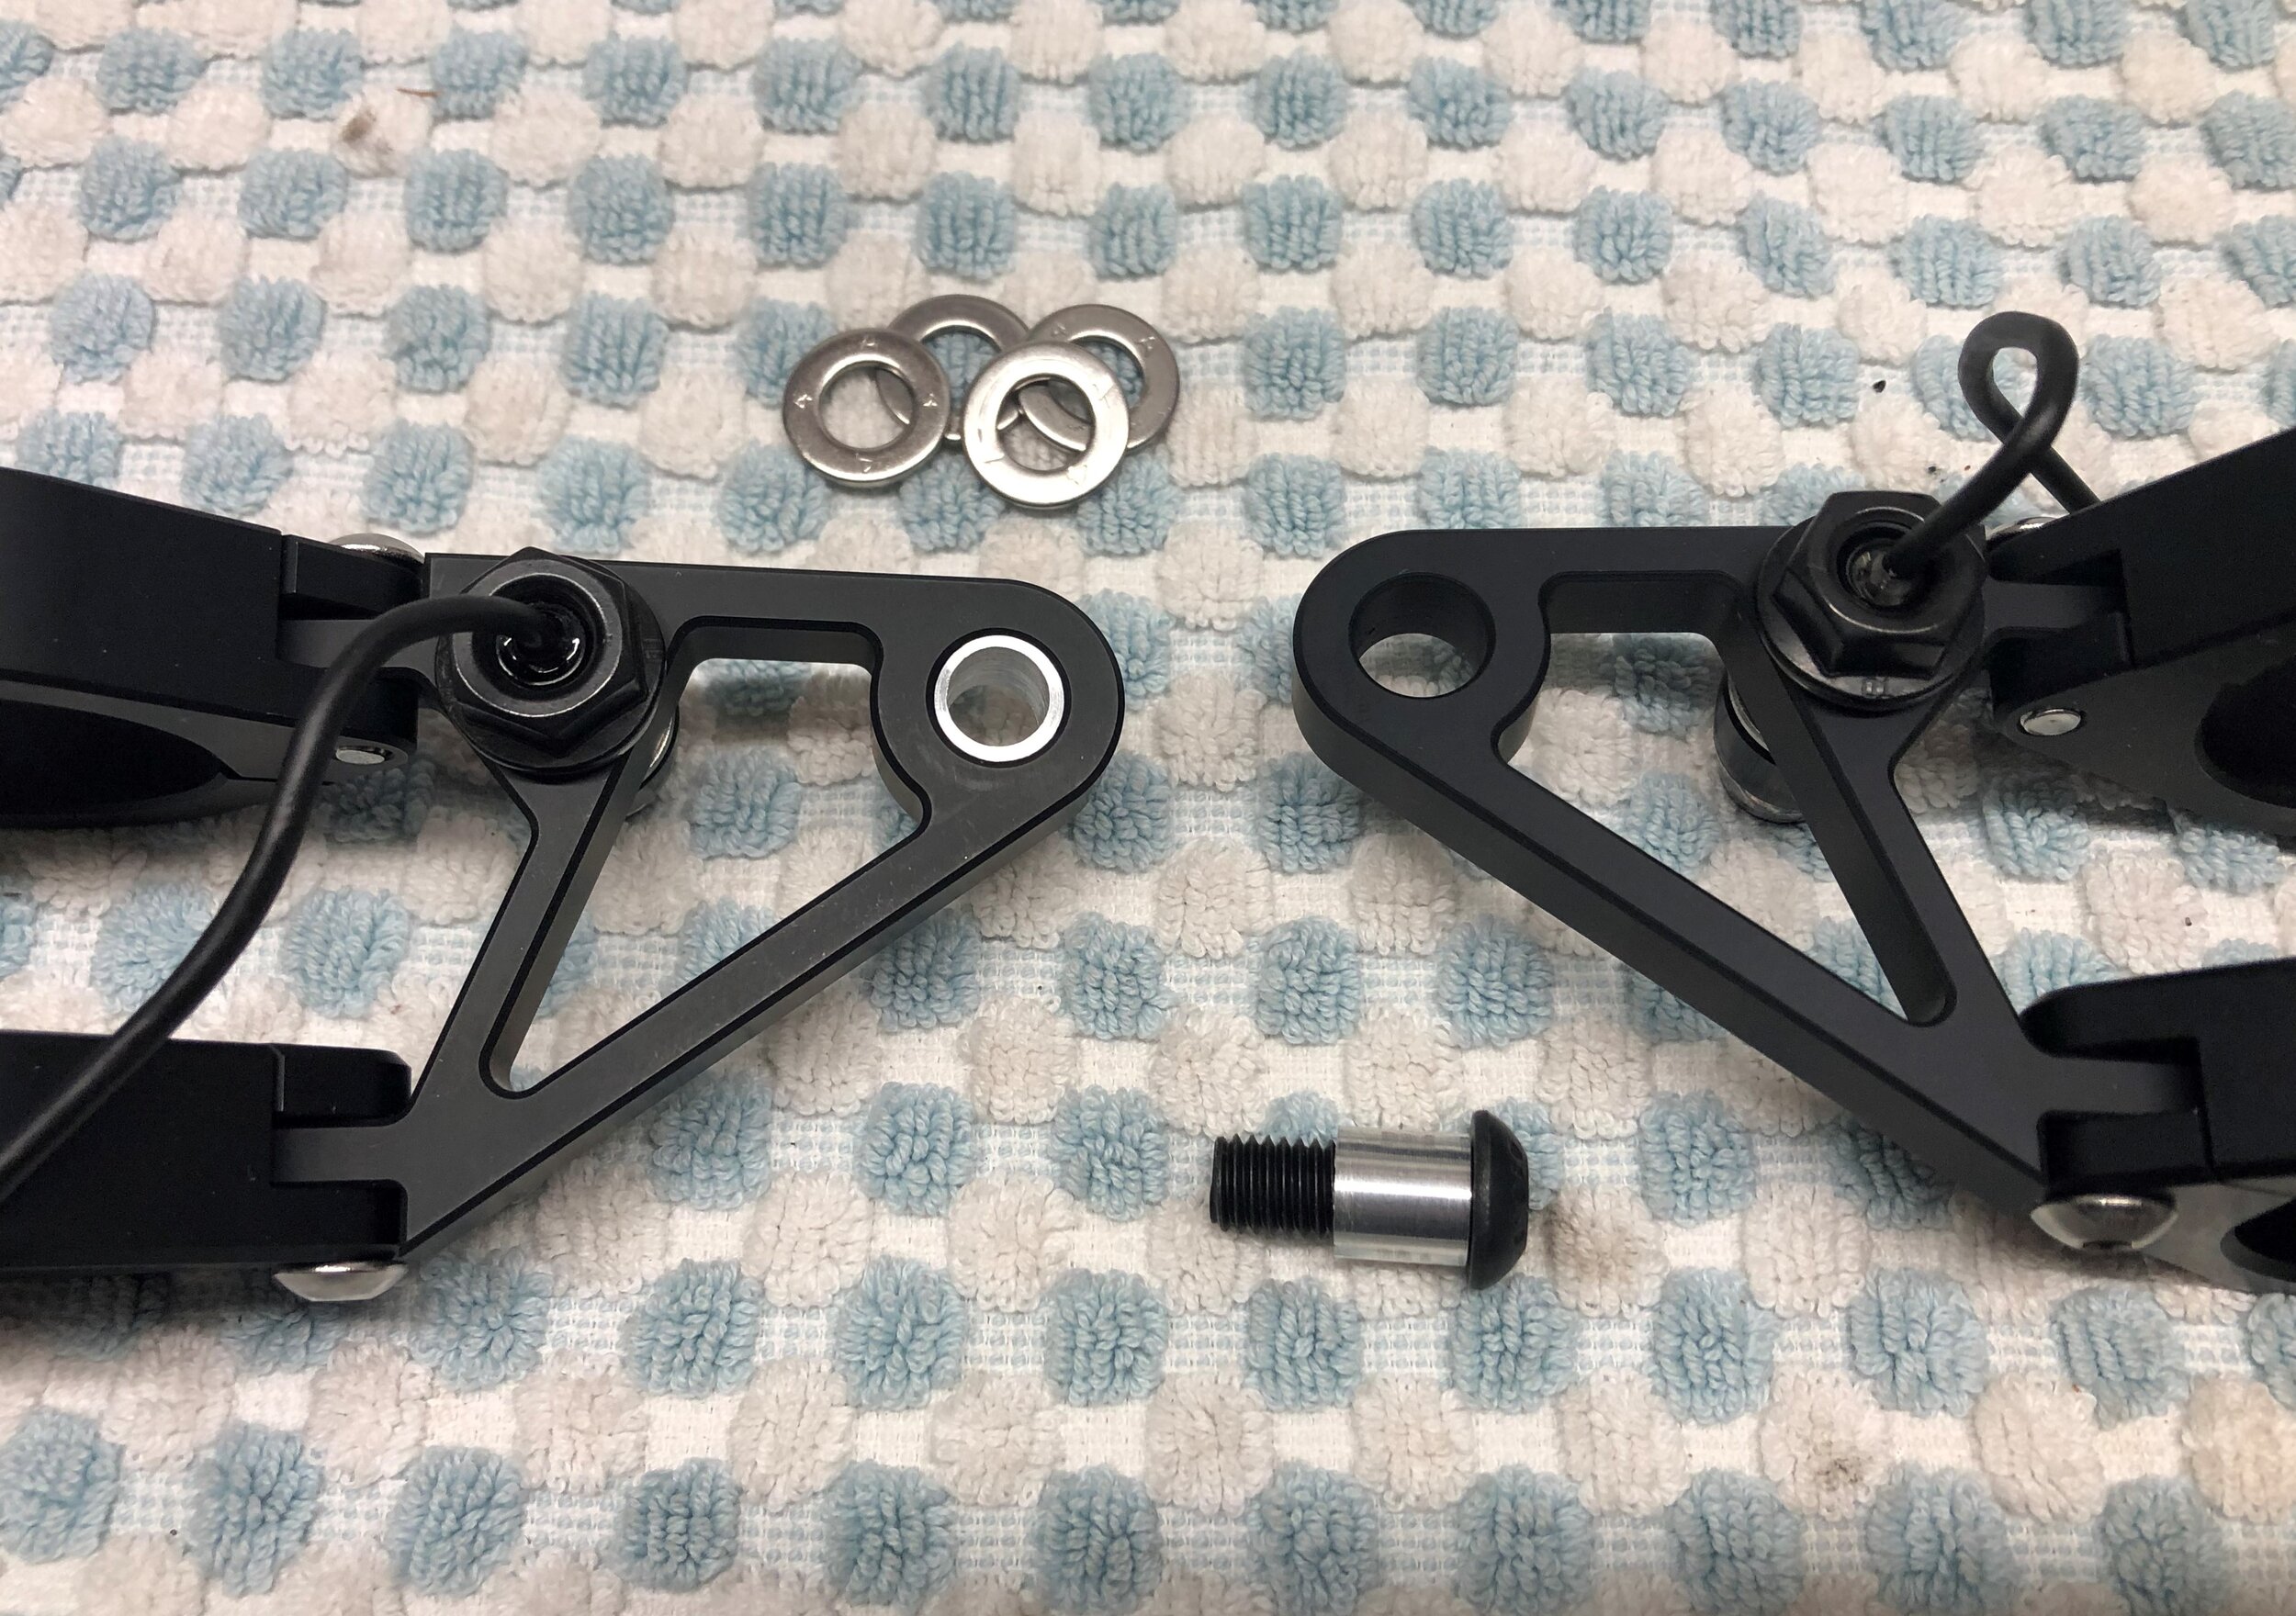

These brackets don’t specifically have an indicator mounting point like the longer ones but I saw a picture of someone using them and mounting their indicators in the triangle to the rear. My MotoGadget m.blaze pin indicators have M8 bolts that fit perfectly. I swapped out their nickle plated bolt for black ones and used a few stainless steel washers to add some contrast.
My Shin Yo 5 3/4 inch headlight has an M8 bolt hole but the brackets have M10 holes. I found a guy on eBay (Sam Curley) that machines aluminium stand-off washers to spec. I measured and ordered M10-M8 reducers to fill in the gap and they fitted perfectly.
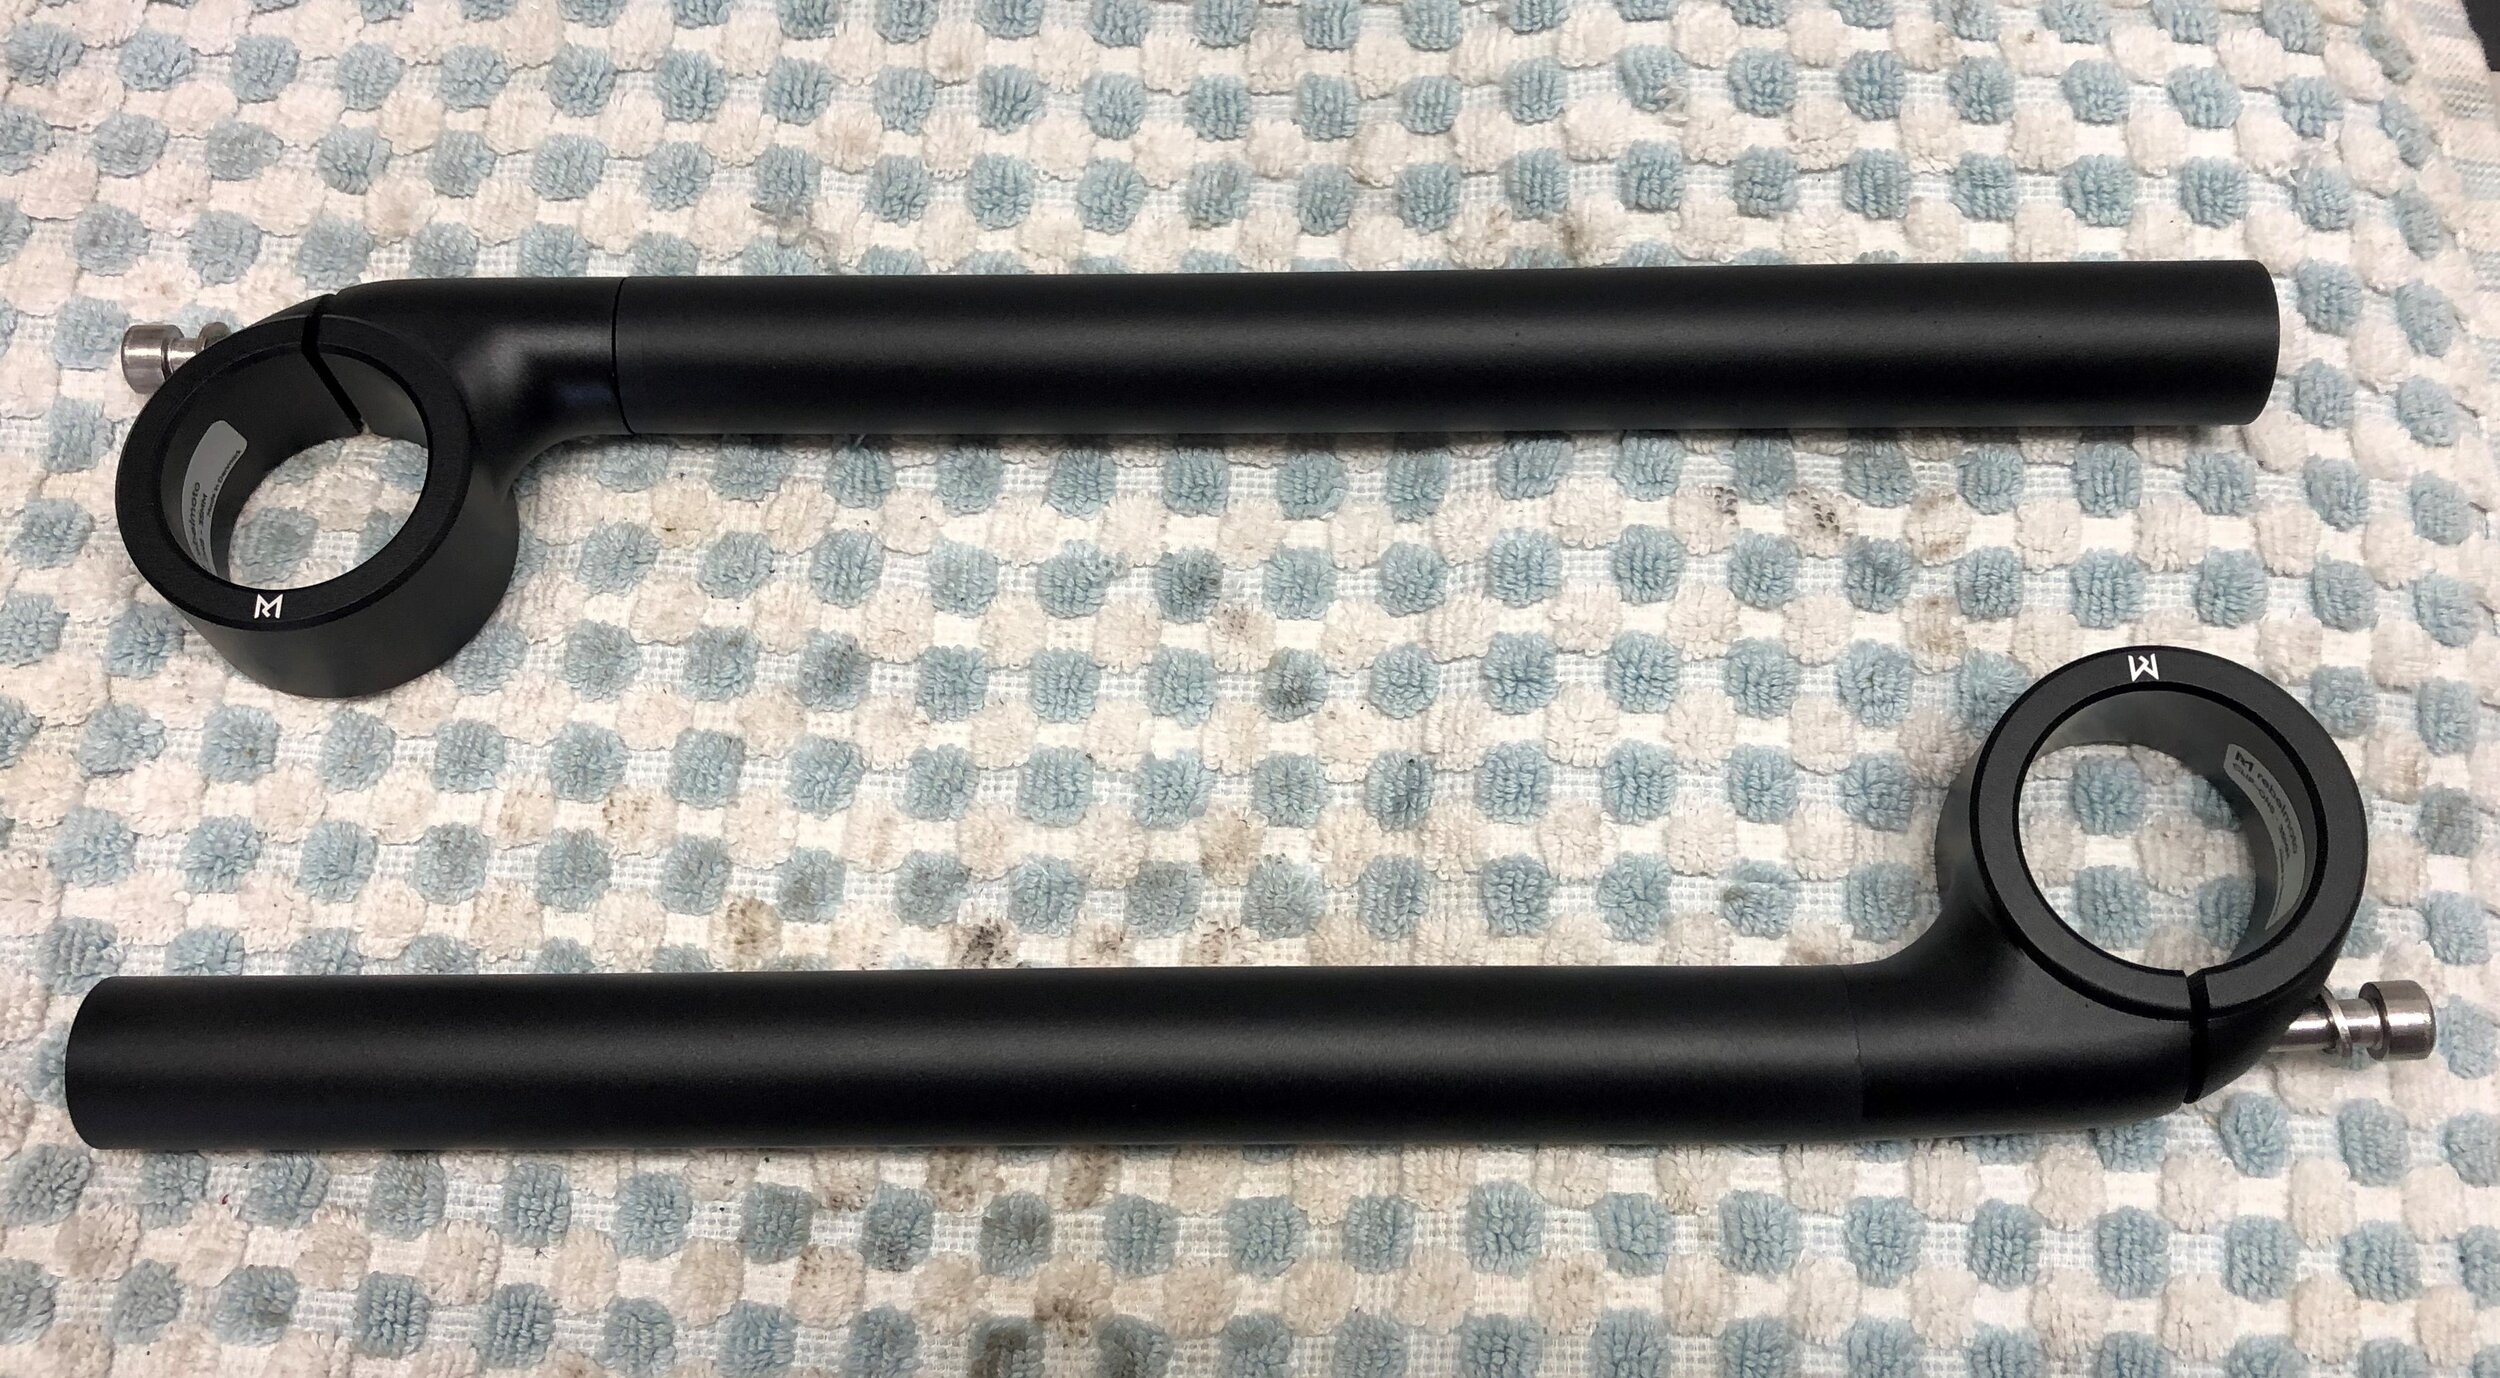
Rebelmoto low rise cafe racer clip-ons
As with the headlight brackets, I bought a set of clip-ons early on and decided I didn’t like them. I actually ordered a similar high-rise set but they looked cheap and wouldn’t sit right under the top yoke without machining some metal. For a while I was going to buy rebelmoto risers and get a drag bar or low tracker bar but when I sat on the bike with my feet on the Tarozzi rearset, clip-ons was the correct position. I looked around and almost bought Tarozzi clip-ons but ended up going for rebelmoto low rise clip-ons from ASE Custom Motorcycles - they’re expensive but look phenomenal!

In summary
I’m happy with everything so far. At this stage it’s all mock-up so I’ve no idea what the end result will be as yet. Once I sort the frame and rebuild the bike the final look will come together.